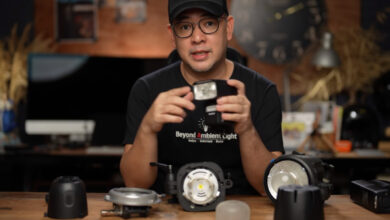
Have you ever had to sort through every box of photos, perhaps from your parents’ vacation photo collection? An all-too-common question is: “When was this photo taken?”
Sometimes the year of an image can be estimated by a date stamp added to the back of the image if it is machine-processed. Later in the film era, some cameras had the option to add an optical timestamp to the corner of the film image. In the era of digital images, every photo has a digital timestamp in the file’s header. But is it always correct?
The biennial ritual of “jumping forward” or “backward” of an hour always leaves me running around the house (frustratingly) updating our clocks. If you’re diligent about getting accurate timestamps on your photo files, you should also keep your camera clock up to date.
The camera clock in particular has been an annoyance to me for years. In order to have an accurate local time stamp on photos while traveling, we need to have a mental map of the time zones in which we are traveling and remember to keep the camera’s clock up to date. In the United States, state lines often mark potential time zone changes, but there are annoying exceptions. For example, Arizona does not use daylight saving time. Reservations for Native Americans can also be an exception. And even some counties within a state may have their own rules. International travel adds another layer of complexity, especially when it comes to crossing international date boundaries.
World time zone (Wikimedia)
Why worry about time?
So why worry about timestamps on your photos? In most cases, just having the exact month and year is enough. But in some cases, having an exact time can be helpful. Can be useful if you are photographing an accident, crime, or unusual natural phenomenon.
Another reason to have an accurate time is to have an exact location. If you know where you were at the time the photo was taken, you can also find out where the photo was taken by its timestamp. As for a cell phone photo, that’s a no-brainer. Unless you’ve turned off location stamps, you can also see where the photo was taken by clicking the info tab for the photo.
But for non-mobile cameras, having a locator stamp is not a standard feature. A GPS receiver is usually an optional accessory (for example: Canon or Nikon), and in many cases they have been wiped out as GPS receivers have become more common in other devices. In the past, I have considered buying a GPS accessory for my camera, but the problem is that if you have multiple camera bodies, the cost can be very high. The other problem is that the GPS receiver needs to be powered on or it can take a while (many minutes if you’ve turned it off for a long time) to determine the exact location. This is not conducive to taking snapshots with your camera.
One early solution I used was to take a screenshot of the GPS receiver from time to time to “record” the location of a group of photos. In the photo below, the culmination of a trip to Tibet is captured along with a snack at a altitude 17,251 feet (5258 meters).

My current solution is to use my cell phone to run an app that records my location and time continuously when out taking pictures. Normally, I set it to logging every 30 seconds, which is fine for hiking or walking around town, but might not be fast enough to take pictures from a car or plane. Location matching with photos depends on matching time and location from cell phone logs with photo timestamps. The more accurate the camera time, the more accurate the location will be. Newer apps capture placemarks at a much higher rate (up to 1 per second), but can be harder on your phone’s battery.
Since the last time I used my GPS tracking app (before the COVID pandemic), it disappeared from the Android app store, so I have now downloaded “GPS Logger”. This app’s slowest logging interval is 3 seconds (default is 1 second).

To create a GPX track file, start a track with the “Record” button and hit “Stop” when done, then go to the “Watchlist” tab and “share” it with yourself via email. The app sends an email summary of the track with a GPX record attached.
Add location to photo metadata
Stamping the position of a photo can be done very easily when post-processing an image in Lightroom. Once a series of photos is selected, in Lightroom’s “Maps” module, you can import .GPX tracking logs sent from your mobile phone. Lightroom automatically calculates where each photo was taken based on the photo’s timestamp and updates the metadata with latitude and longitude coordinates. These photos will then appear on Google Maps where they were taken, allowing you to zoom in and see exactly where you were when the photo was taken. Clicking on the orange markers opens a thumbnail browser for the images themselves. This can be especially useful for revisiting a location after the initial scouting trip.
Lightroom showing geotagged photos – Peru 2016
Unfortunately, the Lightroom interactive map of your photos can only be browsed from within Lightroom. But the route log can also be imported into Google Maps to create an interactive map, which is then available for browsing by anyone to whom you provide the link. However, the photos are not associated with this map. In the example below, the recorded location points are connected to road segments. The big jumps occurred in some places as the tracking app was turned off for a while to conserve cell phone batteries, and the bus ride up the reverse turn of Machu Picchu was noted as jagged jumps. jagged because the logging interval is set to 30 seconds.
Google Maps show tracking diary
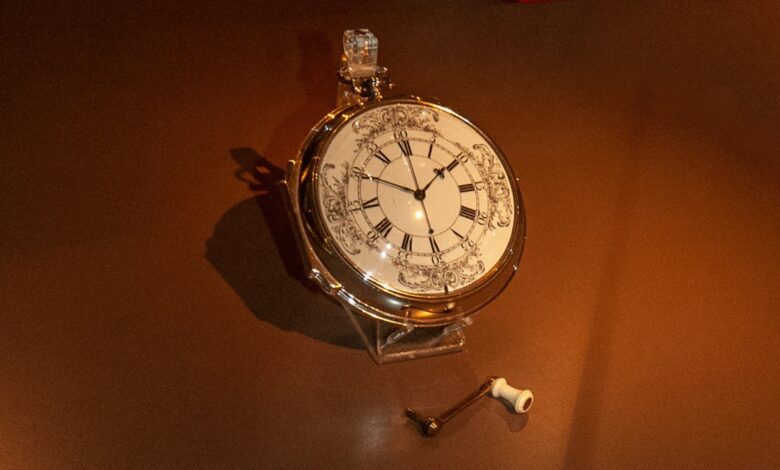
Ensure the accuracy of the watch (or fix it)
The accuracy of photo location depends on how accurately the camera matches the tracking log, so it is important to set the camera’s clock correctly. But what if you accidentally set the camera’s clock? All is not lost. To fix this, all you need to do is find out how much time zone difference there is between the phone tracking log and the camera. Then Lightroom can save your photos as it has the ability to offset timestamps for a series of photos.


If there’s not much time left (just a few hours or days, for example), your camera clock will run at a reasonably accurate rate, so the offset shouldn’t change much. At this point, my solution is to take the camera and capture the time (with seconds display) on my mobile phone. The time shown in the image can then be compared with the timestamp of the image to derive the amount of time offset for Lightroom. Alternatively, you can take a picture of the camera’s clock with your mobile phone if the camera’s clock can display the number of seconds (for best accuracy).

Deal with time zone changes and daylight saving time
After years of enduring the annoyance of having to adjust multiple cameras (or forgetting to do so) every time a time zone is crossed, I’ve finally decided on a universal solution: Ignore local time! I have now set all my camera clocks to UTC (Universal Time). If I need to get the exact local time on my photos, I can fix everything later in Lightroom. Note: UTC is the same as London time only part of the year because the UK uses daylight saving time as BST (British Summer Time).
Often I wonder if it wouldn’t be better if we dropped the concept of time zones altogether. I think people can adapt to using UTC for everything. For myself in California, I can get used to thinking that 01:00 UTC is dinner time. After all, China is a single major time zone, and when traveling in China, I never even noticed anything but the convenience of not having to adjust my watch!