As a photographer who is constantly experimenting with new ideas and techniques, I’ve been busy with some of the unique things you might find in a photographer’s kit.
I am interested in creating images that stand out both visually and aesthetically. Sometimes, the only way to make an image stand out is to use a unique photography technique. To me, it has to look interesting, one way or another. This can be through placing something in front of the lens or using an odd lighting technique. All in all, here are some of my favorite tricks that I use to make pictures look interesting.
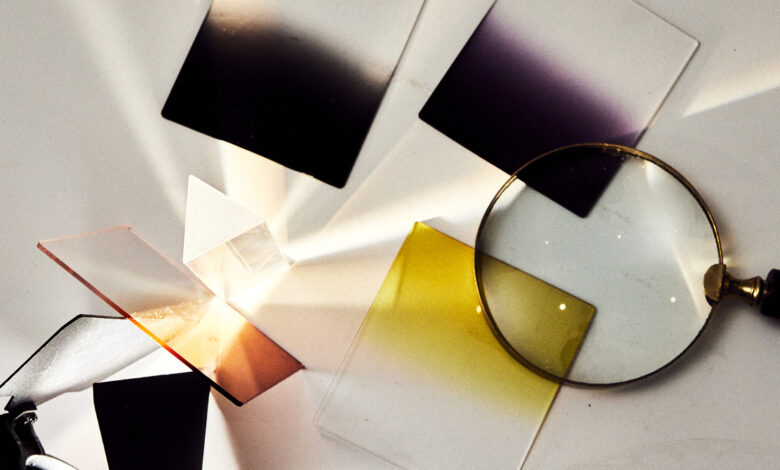
stained glass
This is a recent purchase of mine. I wondered for a long time if this would make a difference, and it turns out it does. In fact, it made a huge difference and I regret not getting it sooner.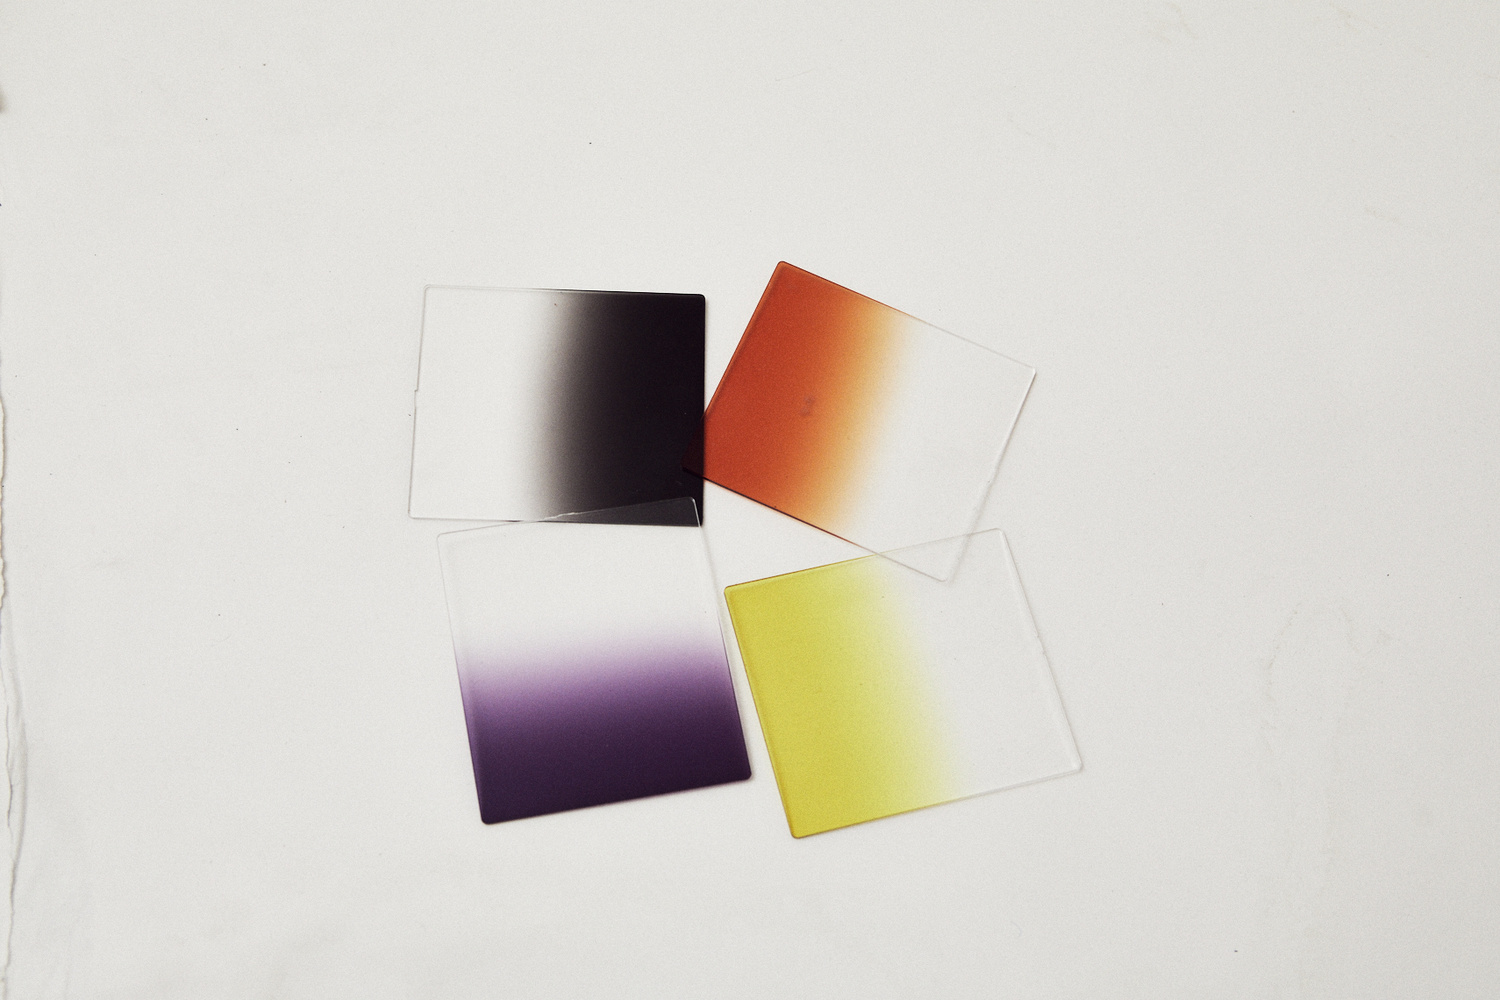
Commonly found in a landscape photographer’s kit, this is a rather low-quality collection of graded stained glass. Despite the negative impact on technical image quality, this toolkit makes all the difference visually. You can create gel light effects with it, play with reflections in glasses, create patterns and highlight different parts of an image. Here are some pictures that I took with this piece of equipment.
This image has a completely white light coming in at the start. However, after adding green and blue glass, I made it look a lot more interesting and impressive.
When working on the street, I usually try to find a background as simple as possible. However, I’m always missing something when working with simple backgrounds. In this shot, I was fiddling with the position of the hierarchical glass filter in front of my lens until it gave this result.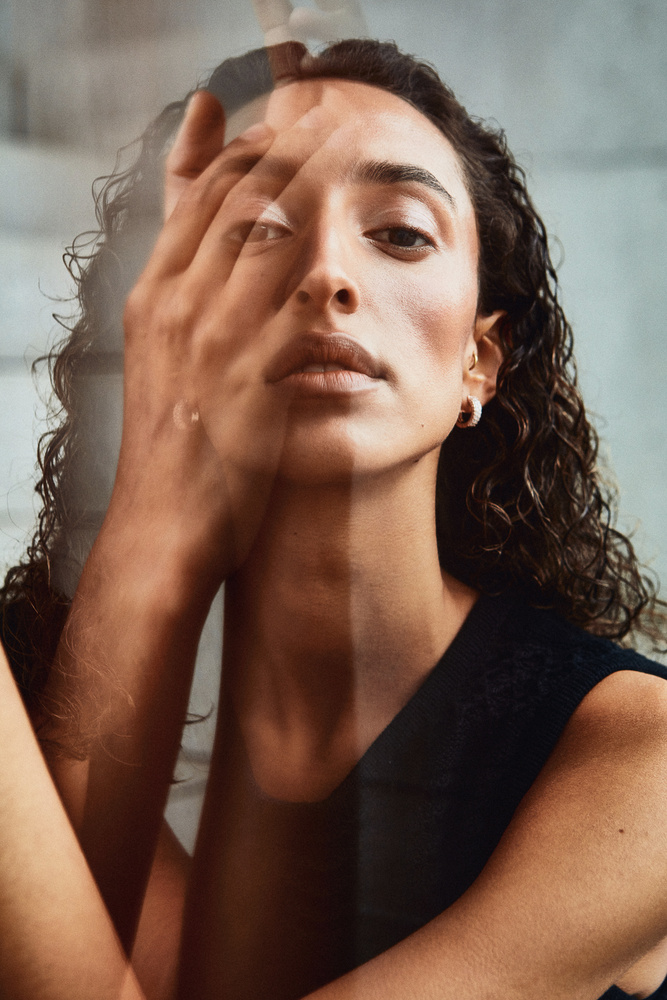
My kit costs about $30 from Amazon, and I’d say it’s enough for most photographers. Sure, if image quality is a bigger concern for you, opt for a more expensive pair of glasses. Quality wise, this is plastic and cheap.
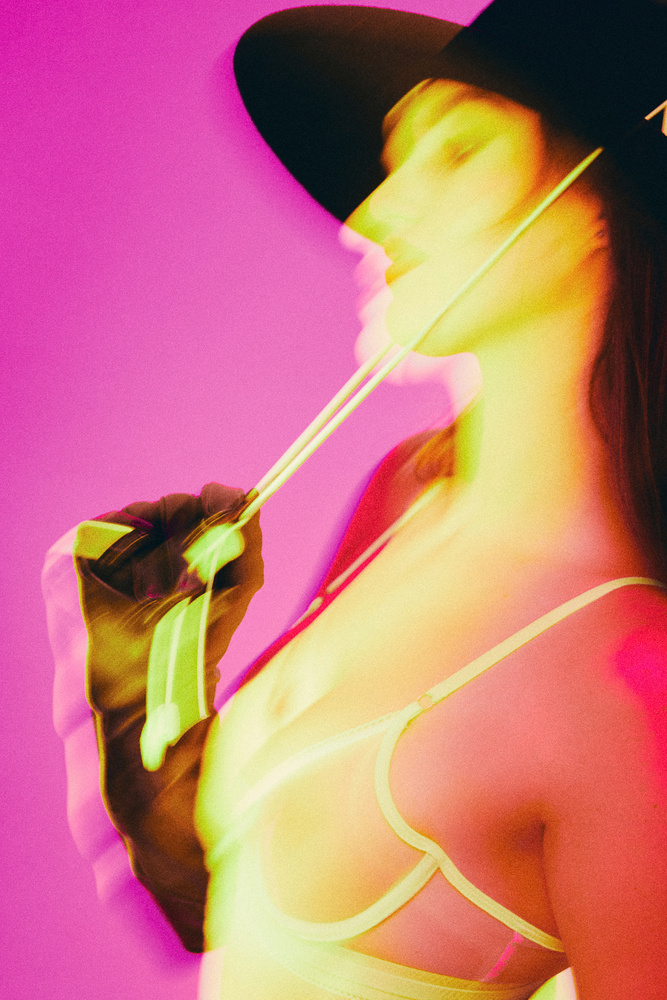
Drag the shutter
If you take the time to visit Illyaovhcar.com, you’ll quickly see that I love long exposure photography. It’s one of my favorite techniques for creative photography. Combining daylight, continuous light, and flash into a perfect blend is something I’ve been experimenting with for a while. Simply setting the exposure to less than 1/160th of a second in your studio and changing the sync to second curtain opens up quite a few things. You can play with patterns of light, shadow, dust, and more. The key is figuring out how to pose for the subject and what to move and what to keep still in the shot. Here are some examples of things I shoot with long exposures.

flashlight
This goes hand in hand with the long exposure technique. Some time ago I was given a BitLighter. It is essentially a dedolight in the form of a flashlight. Although the one I got is a bit overpriced, it’s a great product nonetheless. That said, some functions can be performed with a much cheaper device from your local Home Depot. Things to look out for when buying a flashlight for photography purposes are its ability to vary the power and focus the beam. If you’re tech-savvy, you can even 3D print a custom barn door for your lights, which will make it even better. I like to use the barn door that comes with the BitLighter. They allow me to create super cool light patterns that other light sources can’t.
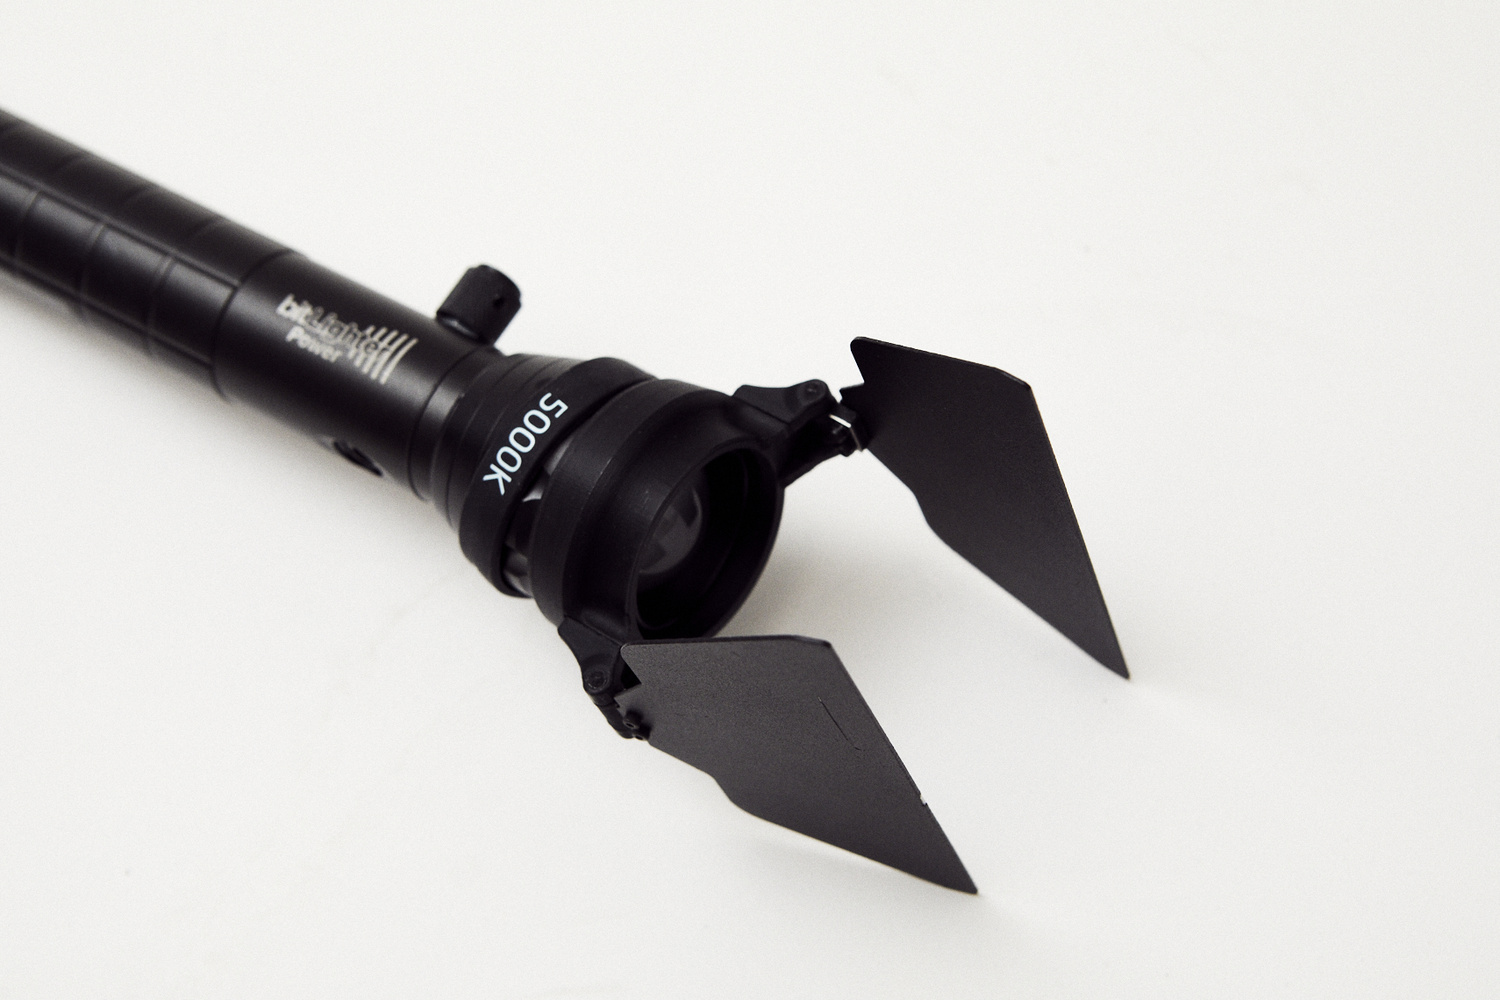
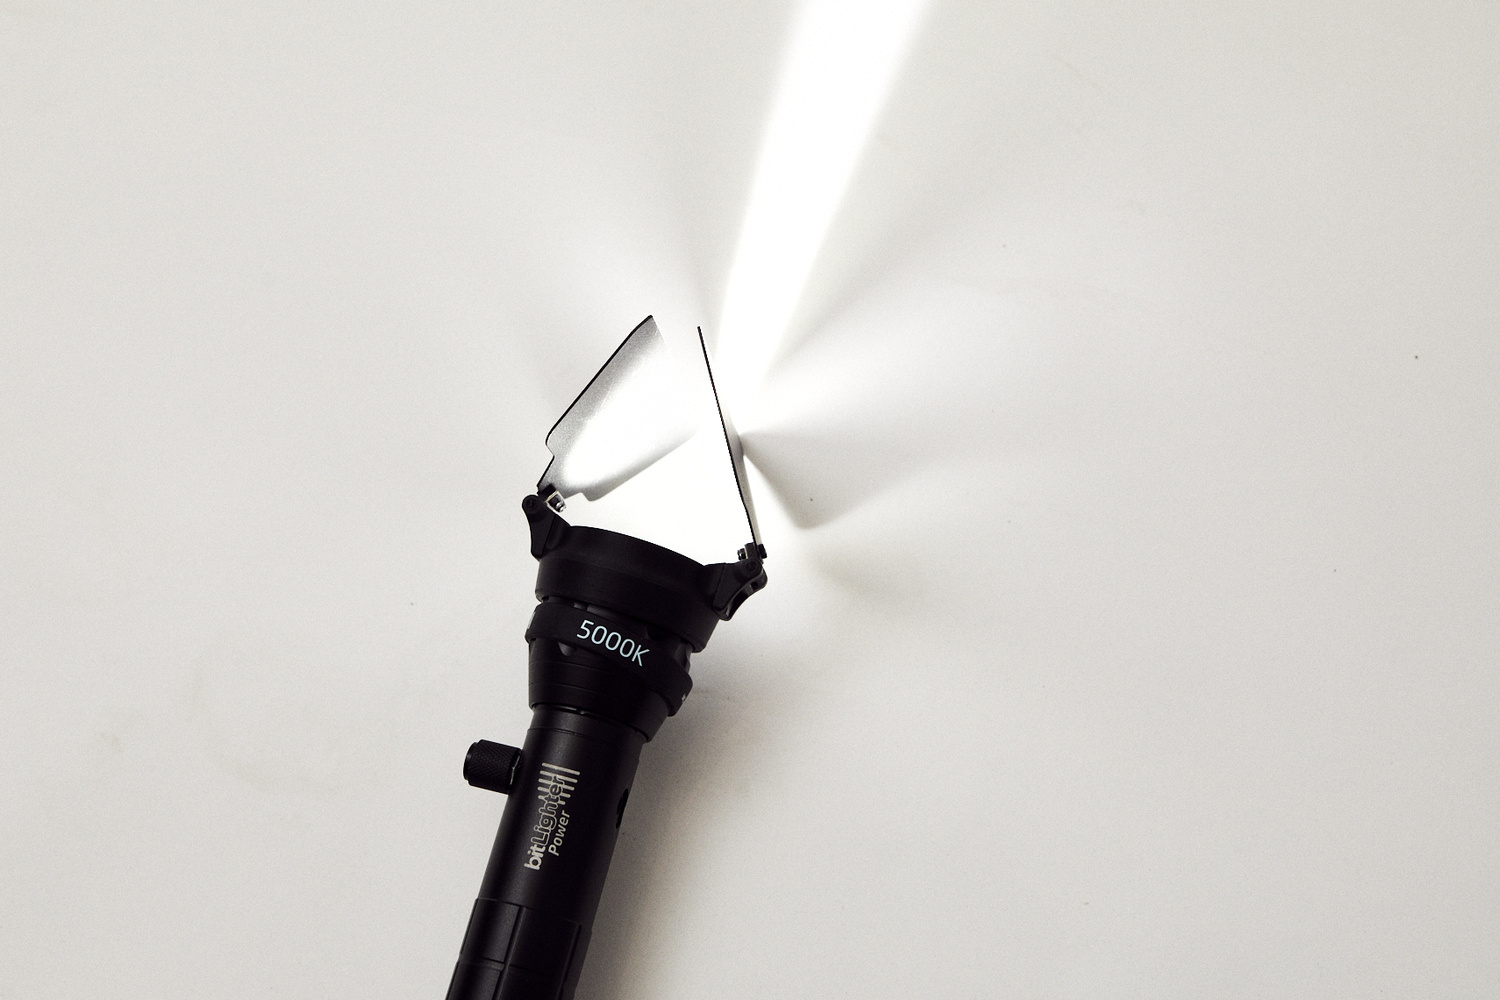
Here are some pictures I took with BitLighter and other flashlights.
mirror
What is a mirror? In essence, it is a highly reflective surface. What do such surfaces do? Light reflection. The beauty of using mirrors is that they can act as optical binoculars, producing intense light with hard edges while being cheap as hell. Mirrors will reflect the shape of the light they receive, meaning that if you create a triangular gobo and place it on a mirror, you will get a triangular light reflection.
When working with a mirror, you need to pay attention to the type of light that you shine on it. My favorite is Fresnel, because it focuses the beam of light and makes it harder. That way, I only illuminate the mirror and nothing else. The downside of using mirrors is that you’re complicating things quite a bit. You need to control the distance between the subject and the mirror, as well as the light source and the mirror.
wind machine
Although a professional photographic wind generator costs more than 100 USD, it can be replaced by a simple ventilator. I have two of these in the studio, and they also do the job of an expensive studio wind machine. Another useful tool is a leaf blower. Although more expensive, this type can be used to produce stronger, more directional winds.
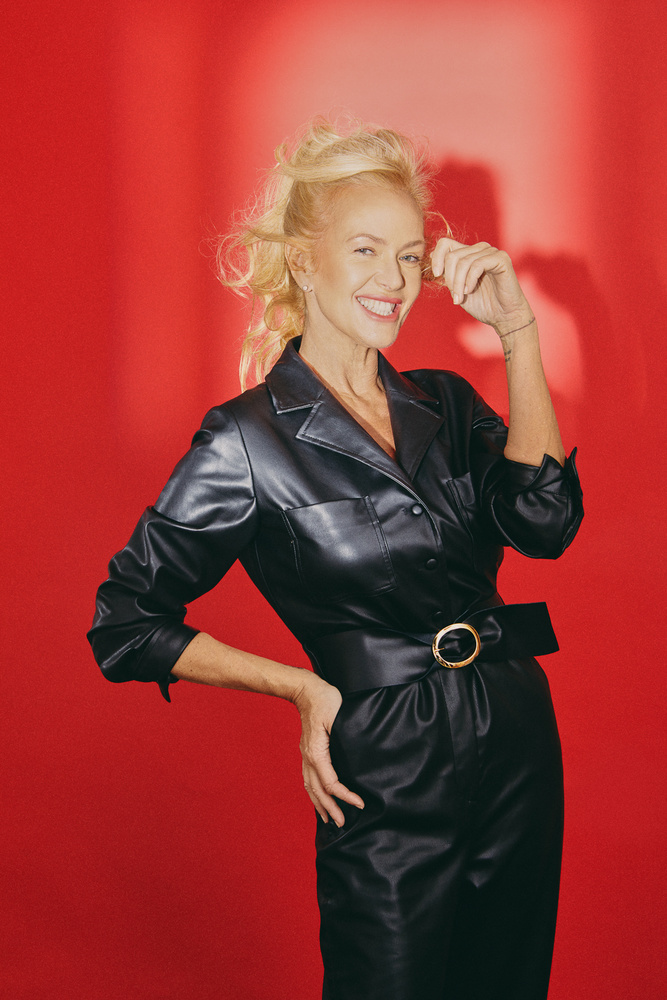
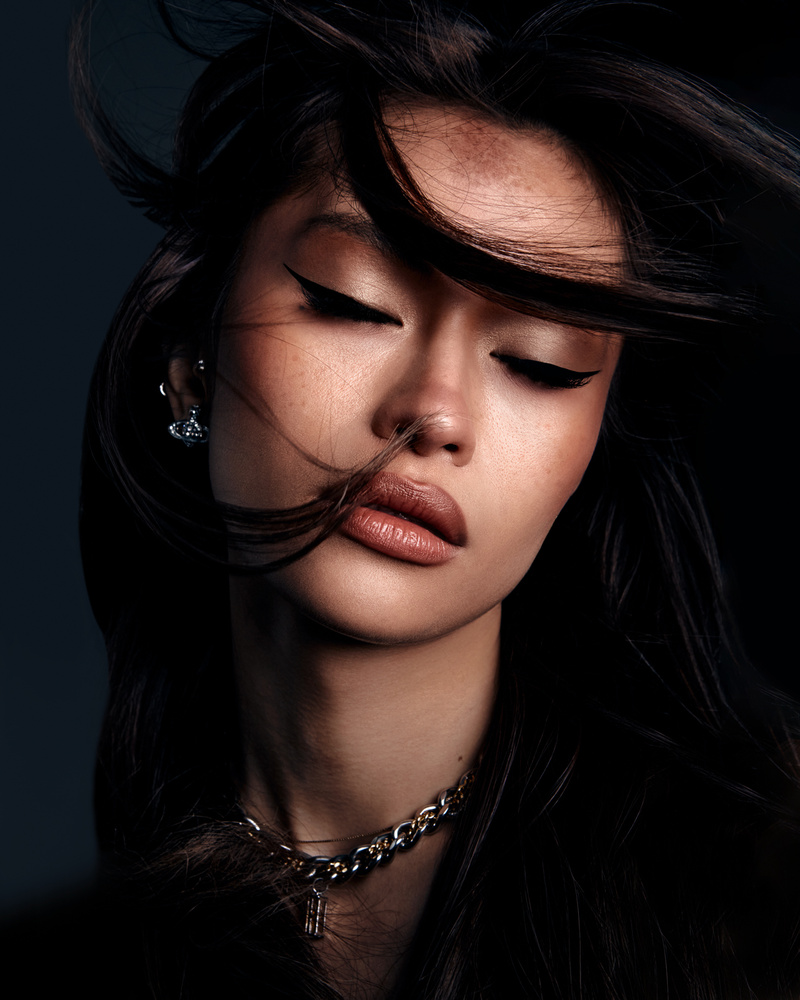
A technique I often use in portrait photography, wind is great for adding drama and movement. Sometimes your subject will simply be static and won’t move as well. I’ve had this problem too many times, and now instead of asking objects to move, I simply make them move by blowing a blast of wind.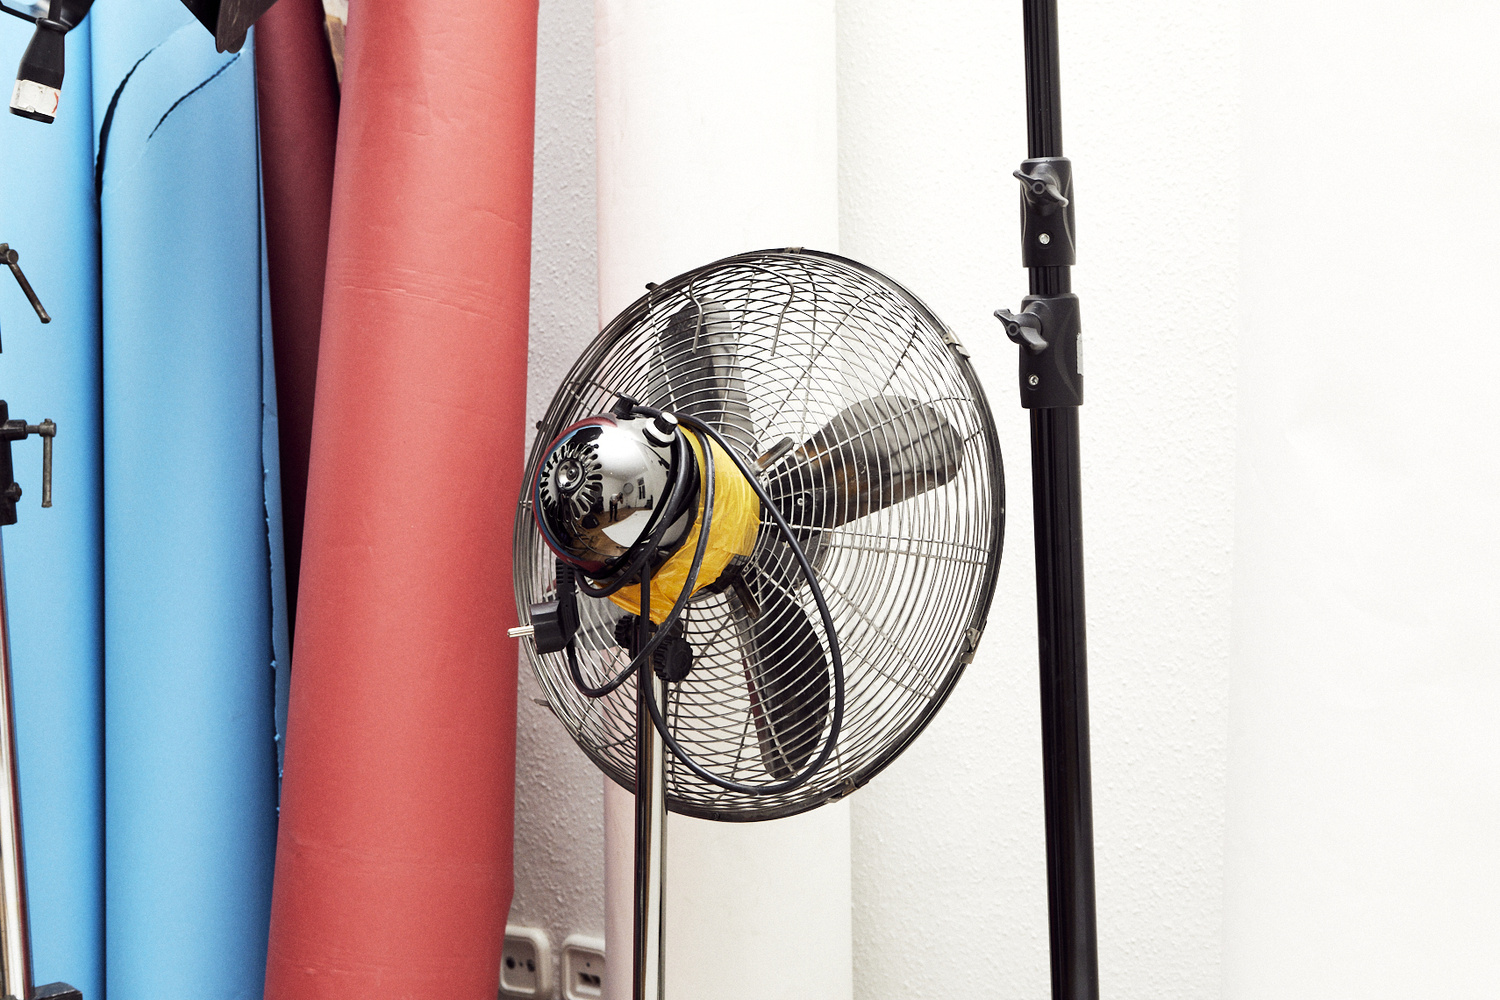
They are not only great for introducing movement in your photos. they can also be great for giving volume to the hair, creating emotions and making images more interesting. This is not only true for creating movement in the hair, as the wind can also move clothes amazingly. For example, lightweight fabrics like chiffon can move amazingly freely with the help of wind. From there, you can use the blur effect to create smooth patterns, or go in the opposite direction and freeze the motion with the flash.
Stop thinking
So you’ve got my favorite tricks for photographing people and more: stained glass, wind machine, flashlight, blur and mirror. All are under $100, and some are free if you watch in your storage room.
What are your favorite studio hacks? Let us know in the comments below!