When it comes to creating a professional portrait, knowing how to light, pose, and photograph your subject is only half the battle. A great portrait also needs intense retouching to perfection. This awesome video tutorial will show you how to retouch a portrait from start to finish and show you some helpful tips along the way.
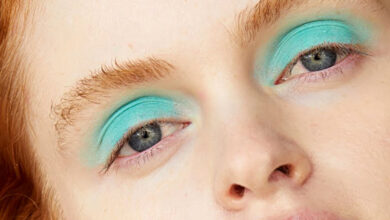
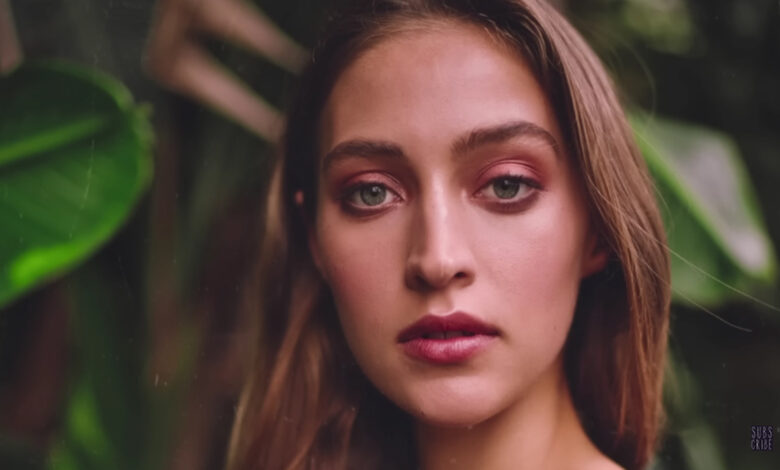
Coming to you from Julia TrottiThis awesome video tutorial will show you how to edit portraits from start to finish using Luminar Neo. Retouching portraits takes a little touch, especially when you’re working with tones, like Trotti featured in this tutorial. Working with color is an effective way to create compelling final images and develop a recognizable personal style, but it’s important to remember that less is generally more. Most modern editing software will allow you to make major changes to the colors in an image with just a slight movement in the respective sliders or controls, and most of the time, that’s true. Reality is all you need, lest you come across as garish or the final image fussy. Generally, I like to complete an edit, then leave the computer for a few minutes to reset my eyes, then go back to evaluate the photo again before I export it. Check out the video above for a full rundown from Trotti.