

This is a great tutorial for making homemade bath bombs. I really enjoy “testing” these at home.
I’m thinking I should invite some friends over to a homemade bath bomb party. Extra bonus: It really makes your whole room smell amazing when you make these!


Below you’ll find a super quick video tutorial for making your own bath bomb, or you can scroll down to see text and image instructions.
I actually went to work on some of these for Valentine’s Day, and a few different tutorials I’ve tried haven’t worked out well.
One of them was actually completely glued to the mold, and I had to cut it off with a fork so I could start over. Bastard! But hey, if you don’t succeed at first, sometimes you have to try again.
What I’ve decided will be my last attempt, I’ve tried this guide but changed the amount based on how much I wanted to make and… it worked! I have some extra tips if you’re going to make these yourself, so check out those below.
Homemade bath bombs, make two (you can easily double or triple this recipe)
–bath bomb mold
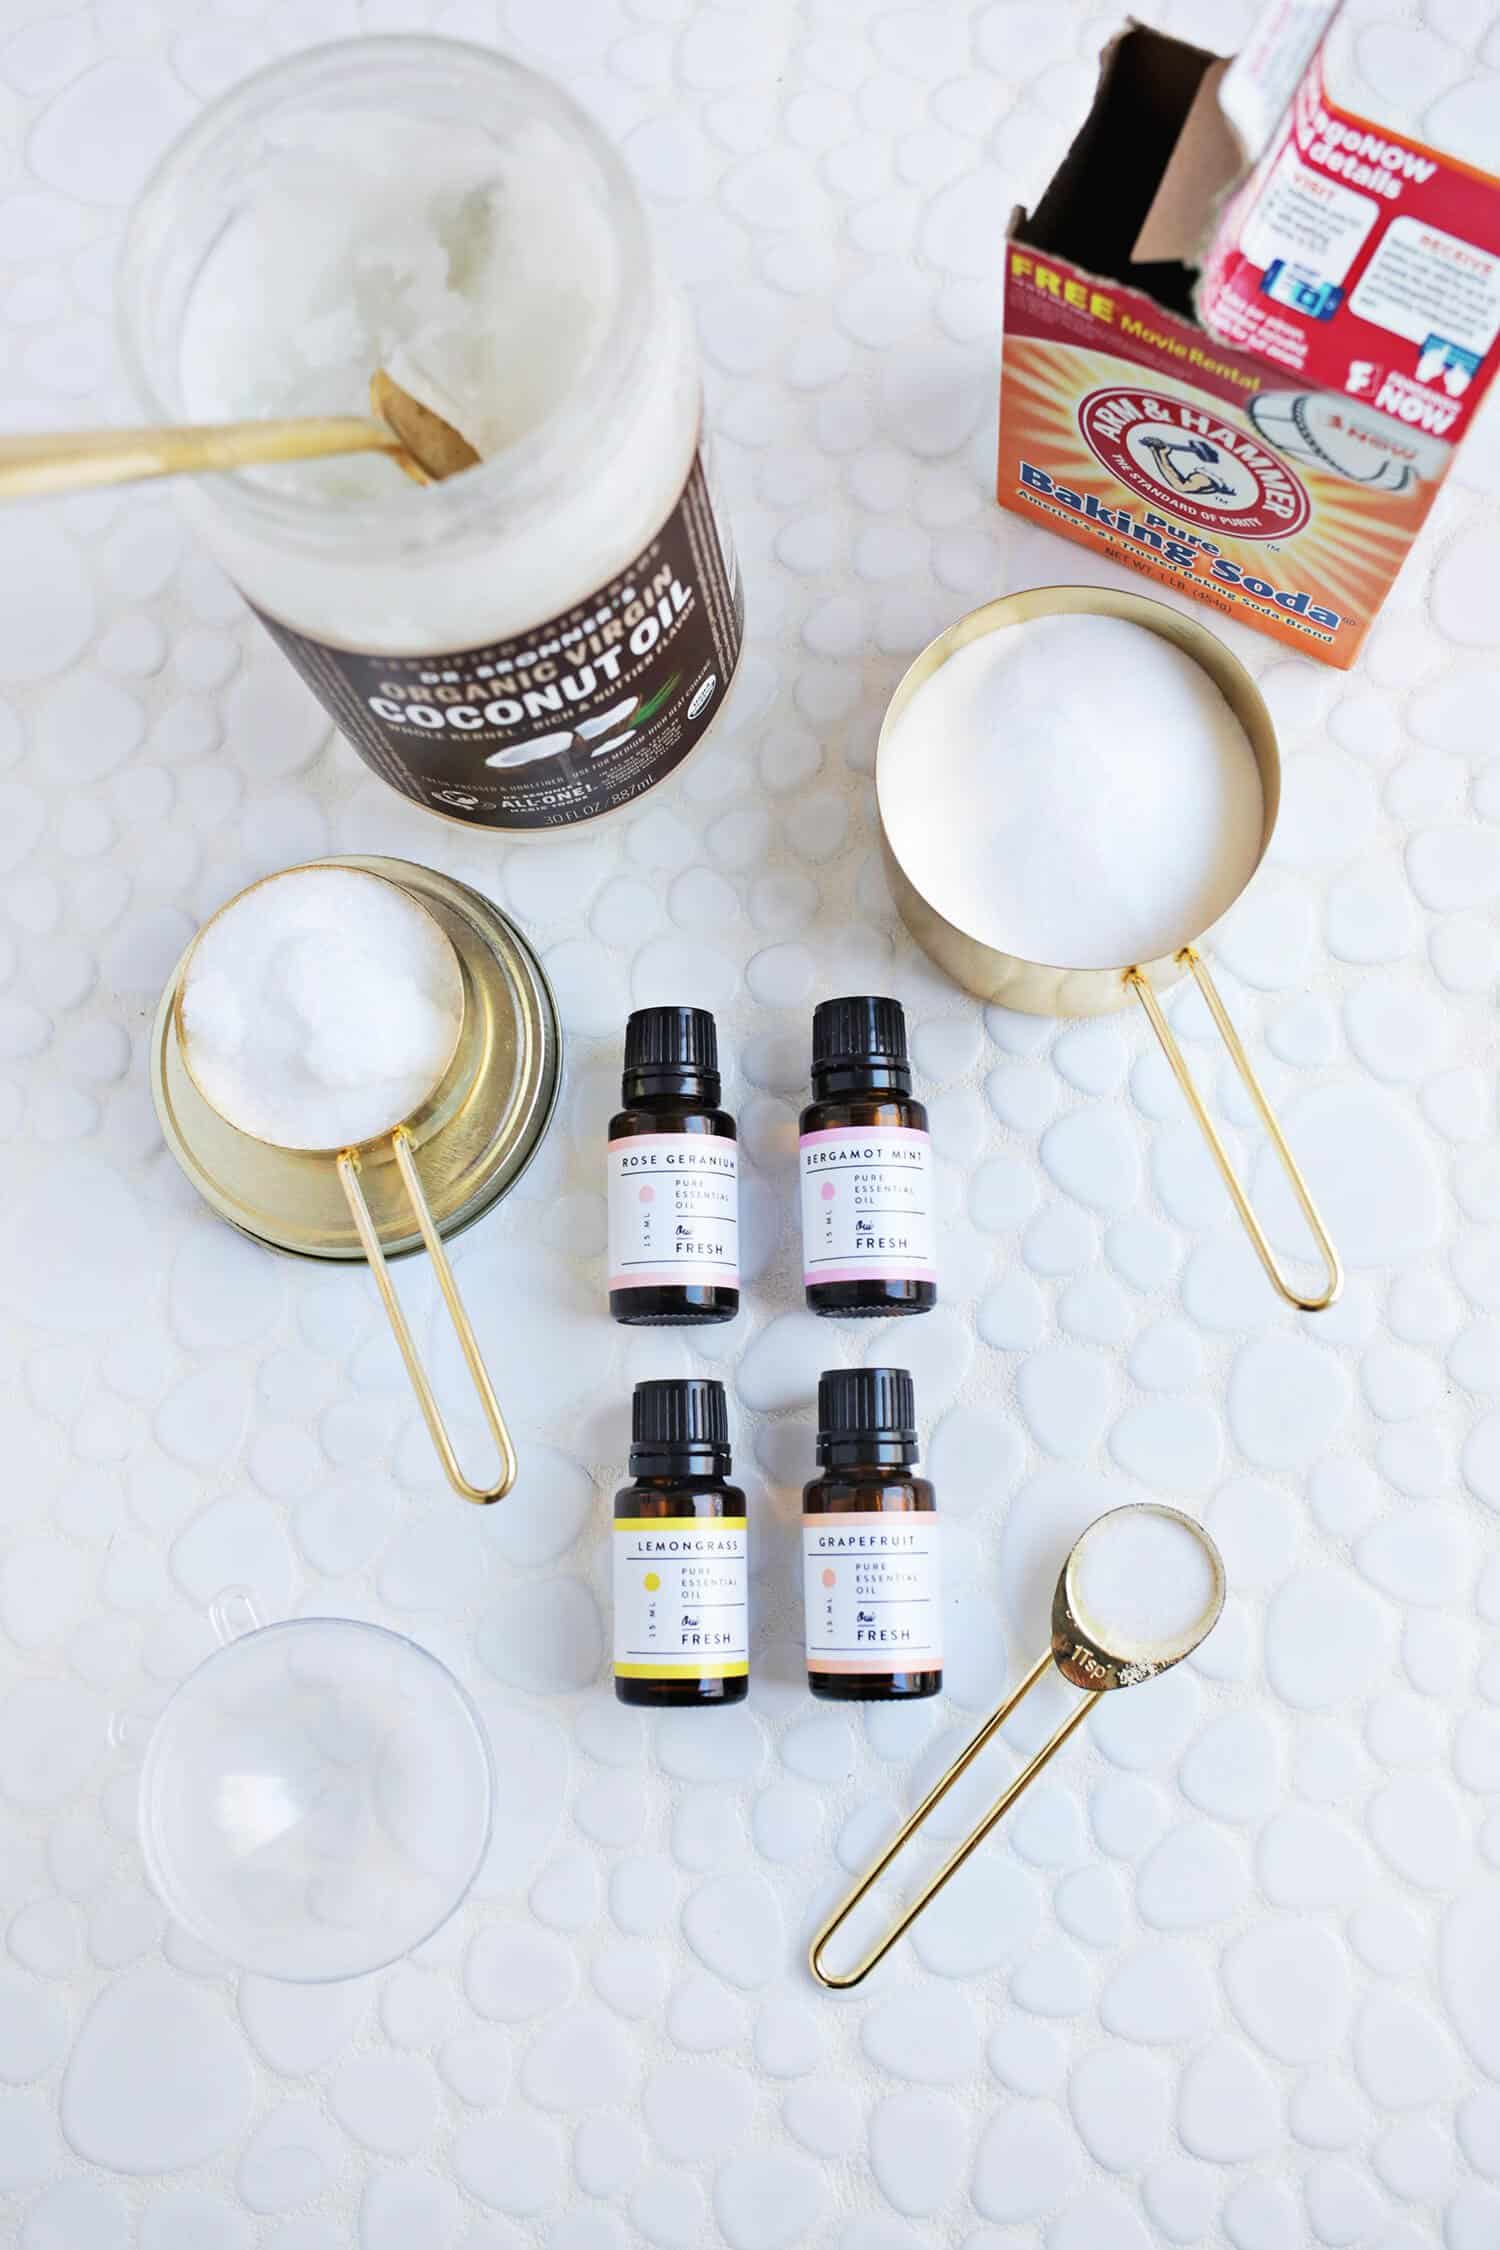
–4 ounces baking soda
–2 ounces corn starch
–2 ounces citric acid
–2 ounces epsom salt
–1 to 1/2 teaspoon water
–5-10 drops oil Your choice
-1 1/4 teaspoon oil (I prefer coconut oil or olive oil here)
-1-2 drops food coloring (optional)
In a bowl, combine dry ingredients (first four listed above). Whip to remove any clumps (cornstarch tends to be lumpy). In a small glass jar, stir together wet ingredients (last four listed).
If you are using coconut oilLet it melt quickly in the microwave or stove so it will easily combine with the other ingredients.
Slowly Pour in the liquid mixture with the dry mixture, beating to your liking. If you find the mixture frothy or bubbly, you are probably adding the liquid too quickly.
After the wet and dry ingredients have been combined, take a small amount into your hand and squeeze well. It will stick together pretty well into one or two large blocks.
What if the mixture is too powdery?
If there’s still too much dough to stick together, add a little more water and mix until it’s all glued together. If you find it difficult to add liquids slowly, use a spray bottle to add them instead of pouring.

Next, fill in half of bath bomb mold with the mixture until it is just slightly overflowing. Press together, then gently remove one side of the mold. Place the bath bomb on the tray and let it dry before removing the other side.
How long do you wait before taking it out of the mold?
Wait an hour before removing the bath bomb and then see if it comes out of the mold without breaking. If it breaks, just press the mold again and let it dry longer.
The goal is to get the bath bomb out of the mold so it can further dry overnight. I’ve noticed that if you leave them in the mold for too long, they can start to stick and then get harder to remove without cracking.
So find balance here and remember that if something cracks at this point, you can just press the mixture back into the mold and you’ll be fine. Do not worry!
When you are ready to remove the other side, tender Invert the bath bomb so the uncovered side is face down, then gently remove the other half of the mold from the top. These things can fall on you very easily if you are not careful.
What should I do if the bath bomb cracks?
If the bath bomb splits in half while it is being removed, you can either gently press it back on the other half or return all of the mixture to the mixing bowl and start the kneading process again.
I’ve had this happen a few times, so don’t worry, it’s very easy to fix.
Once they are completely out of the mold, let them dry for 8 hours or overnight. Once completely dry, you can wrap them in cling film and store them in a dry place until you can use them, or you can gift them to your friends.
")
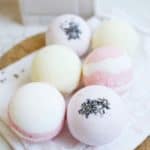
In case you’re curious, the flavors I create include: lemongrass (green), lavender (purple), and mint (white and red). You can mix oil into every bath bomb, too.
I’ve had several people ask about using citrus oils, as they can sometimes cause photosensitivity. I think there’s citrus here because you’re going to rinse your skin in the bath and not leave it on and then immediately get out in the sun.
That said, if you’re new to essential oils, it’s a good idea to figure out which scent you like and work best for you and your skin.
We are all different so allergies or sensitivities can occur, so just be aware and use what works best for you.
What else can I add to my bath bombs?
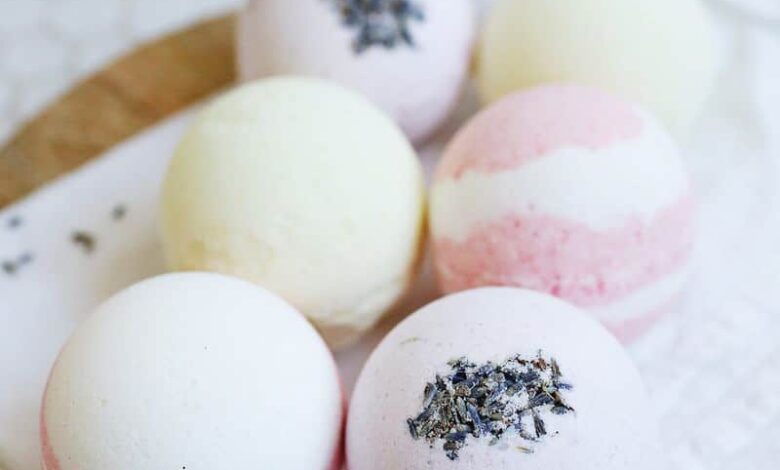
You can add dried flower buds (alike lavender bud) with these pretty easily. Just remember to use food grade dried flowers to avoid flowers that may have been planted with pesticides, since you don’t want to soak in the tub with them.
Remember that after using bath bombs with dried flower petals, you will have to remove them from the bath.
If you want to create a two-tone bath bomb, like my mint, simply mix your dough in two separate bowls and add only food coloring to one bowl. Easy!
More DIY bath bomb ideas:

These turn out to be fun and even more fun to use. I highly recommend trying them out, or you can make a batch to give to friends or family. Interesting! so so. Emma
PS: If you are not a DIY person, I recommend buying a natural bath bomb like these ones.
Homemade bath bombs
A great way to make bath bombs that won’t crack or fall apart
-
4
ounce
baking soda -
2
ounce
corn flour -
2
ounce
citric acid -
2
ounce
epsom salt -
1 to 1
teaspoon
country -
5-10
drop
essential oil of choice -
1¼
teaspoon
oil
I like coconut oil or olive oil here -
1-2
drop
food coloring
optional
-
In a bowl, combine dry ingredients (first four listed above). Whip to remove any clumps (cornstarch tends to be lumpy). In a small glass jar, stir together wet ingredients (last four listed).
-
If you are using coconut oilLet it melt quickly in the microwave or stove so it will easily combine with the other ingredients.
-
Slowly Pour in the liquid mixture with the dry mixture, whisking to your liking. If you find the mixture frothy or bubbly, you are probably adding the liquid too quickly.
-
After the wet and dry ingredients have been combined, take a small amount into your hand and squeeze well. It will stick together pretty well into one or two large blocks.
-
If there’s still too much dough to stick together, add a little more water and mix until it’s all glued together. If you find it difficult to add liquids slowly, use a spray bottle to add them instead of pouring.
-
Next, fill in half of bath bomb mold with the mixture until it is just slightly overflowing. Press together, then gently remove one side of the mold. Place the bath bomb on the tray and let it dry before removing the other side.
-
Wait an hour before removing the bath bomb and then see if it comes out of the mold without breaking. If it breaks, just press the mold again and let it dry longer.
-
The goal is to get the bath bomb out of the mold so it can further dry overnight. I’ve noticed that if you leave them in the mold for too long, they can start to stick and then get harder to remove without cracking.
-
When you are ready to remove the other side, tender Invert the bath bomb so the uncovered side is facing down, then gently remove the other half of the mold from the top. These things can fall on you very easily if you are not careful.
-
If the bath bomb cracks in half while you’re removing it, you can gently press it back on the other half, or return all of the mixture to the mixing bowl and start the kneading process again.
-
Once they are completely out of the mold, let them dry for 8 hours or overnight. Once completely dry, you can wrap them in cling film and store them in a dry place until you can use them, or you can gift them to your friends.
In case you’re curious, the flavors I create include: lemongrass (green), lavender (purple), and mint (white and red). You can mix oil into every bath bomb, too.
If you want to create a two-tone bath bomb, like my mint, simply mix your dough in two separate bowls and add only food coloring to one bowl. Easy!