It’s interesting how people see you when all they know is what they read on ZDNet or watch on YouTube. Somehow, I seem to give the impression that I know what I’m doing when it comes to some of my construction projects. And, yes, sometimes I do. But more often than not, I am just as troubled and confused as anyone.
Just to be clear, my professional education is in software. My friends often joke that if it (whatever “it” is) requires the use of a physical tool, I should stay away as much as possible. But since I started to explore 3d printing, I’m learning my way around tools and workshops. My skills have improved and I have brought you along so we can learn together.
Also: Building the desktop 2022: A fun year in the Fab Lab
However, sometimes I feel frustrated. This article describes one such example.
I designed a series of 3D printed vacuuming adapters that connect my various power tools to their vacuum hoses. Since there are so many adapters, each adapter needs to be labeled.
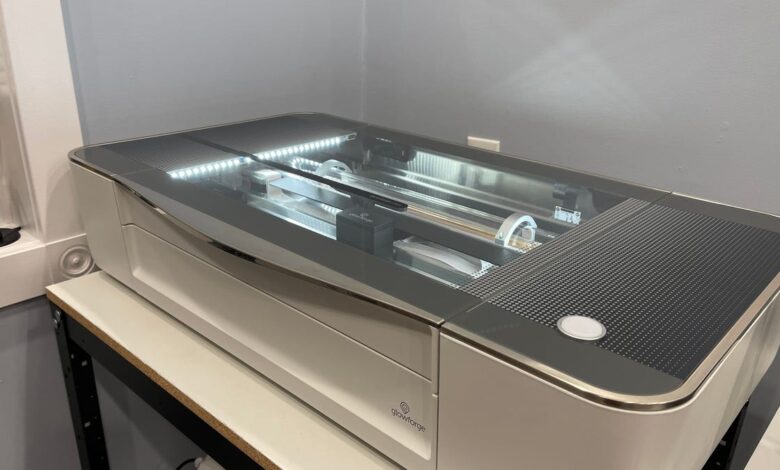
I tried the 3D printing method, but the labels are hard to read and I don’t like how they look. My alternative is to use Glowforge laser cutting machine to engrave traditional two-color plastic labels and stick them on 3D printed objects with double-sided tape.
The model on the left shows the landing zone for the label. The model on the right shows what it looked like once I figured out how to solve my problem. David Gewirtz
As you can see, I have designed a flat space to hold the label. I intend to laser the label on Glowforge and stick it in that flat space. In theory, this idea makes a lot of sense.
The problem is that even though I double- and triple-checked my measurements when the labels came out of Glowforge, they were still too small. I do not know why. I used a lot of materials and I was disappointed.
So I tabulated this project for almost three months. I also don’t run anything else on Glowforge, because I don’t trust it, and it clearly hates me.
Also: Glowforge Pro review: Laser cutting and engraving for serious hobbyists and makers
As I mentioned earlier, you don’t usually see the “flap your hands and howl” phase in my projects, but it’s there for most of them. I’m working on so many projects at a time that when I get bored with one, I move on to something else until I feel like digging into the project again has pushed me up the wall.
My problem in action
This is the design, made in Autodesk Fusion 360. As you can see in the image below, the horizontal distance between line 1 and line 2 is 36.956mm. The vertical distance is about 25mm.
I designed this entire collection of adapters for any tool that spews sawdust. David Gewirtz
Fusion 360 is great for designing three-dimensional parts. But for flat engravings like the ones I’m trying to do with Glowforge, a vector drawing program such as Adobe Illustrator is a good choice. In the image below, the red arrow pointing to the ruler shows that the label is about 37mm wide. This is because it should be.
Note the size near the little red arrow. David Gewirtz
I exported my design as an SVG file and imported it into the Glowforge interface. As you can see from where the arrow is pointing, the label is clearly less than 30mm wide – much smaller than what I needed.
I’m sorry, Dave. I’m afraid I can’t do that. David Gewirtz
That’s when I have to point out that the word “obvious” above is used somewhat one-sidedly. The original size difference was not obvious to me at all. In fact, I loaded Glowforge with fancy blue white plastic material and cut 16 labels.
Here are 16 labels that turned out to be too small. When I thought I had the answer, I reused some sheets of paper to run some decent sized proofs. David Gewirtz
Labels have all the appropriate lettering and cuts at the right depth. However, as you can see from the clipping above, the 16 labels that I originally cut were significantly smaller than the labels that were actually needed.
Too bad they’re all the wrong size. David Gewirtz
And that’s where I dropped it for a few months while I pondered over the issue.
Troubleshoot
I know the right size in Fusion 360 because I designed the model with carefully selected dimensions. And I know the correct dimensions in Illustrator because I can check them with a ruler. But somehow, between leaving Illustrator and entering the Glowforge environment, the dimensions changed.
It’s never easy. Or if it’s easy, it’s never obvious. In all cases, uncheck Response. David Gewirtz
I’ve been trying to find something in the Glowforge environment that might indicate dimensional instability. I don’t see anything obvious. So I decided to see if there was anything wrong with exporting SVG from Illustrator. Here is the export options panel in Illustrator for SVG files.
I tried screwing with the Decimal option. No. I realized that because the label was so small, I should have turned off Minify because that option was like something designed to make things smaller. No joy. I even looked at the code. I like the code. I understood the code. I am a programmer. But the code doesn’t tell me anything other than that I’m more comfortable with the code than with real-world machines.
Totally out of ideas, I tried flipping Illustrator’s Responsive switch. Usually the term responsive is used for Web design, so I don’t expect it to work. So, of course, it worked. Make sure that Responsive is unchecked to make the whole thing work.
Ironically, turning off the Responsive switch makes everything respond the specific way I want it to. Life is like that sometimes.
Also: My first laser cutter project: St. Patrick’s Day Coasters
My theory is that responsive Web design will adjust based on the device it is being viewed on. Therefore, hard dimensions don’t really have a place in responsive design. Everything needs to be relative to the screen size of the device being used to view the page.
So my thinking is that the Responsive test would somehow remove the absolute dimensions from the design, allowing the Glowforge UI to just pick random numbers out of the air and create an engraving. too small.
In any case, it’s the magic secret. Just disable the Responsive checkbox and all is well. And if you run into an odd problem, remember that there is usually a solution. It’s just a matter of digging in, getting rid of the things that don’t work, and moving on.
Have you had problems with doing something? Can you solve that problem? What problems did you encounter and what did you do to solve them? Share with us in the comments section below.
You can follow my daily project updates on social media. Be sure to follow me on Twitter at @DavidGewirtzon Facebook at Facebook.com/DavidGewirtzon Instagram at Instagram.com/DavidGewirtzand on YouTube at YouTube.com/DavidGewirtzTV.