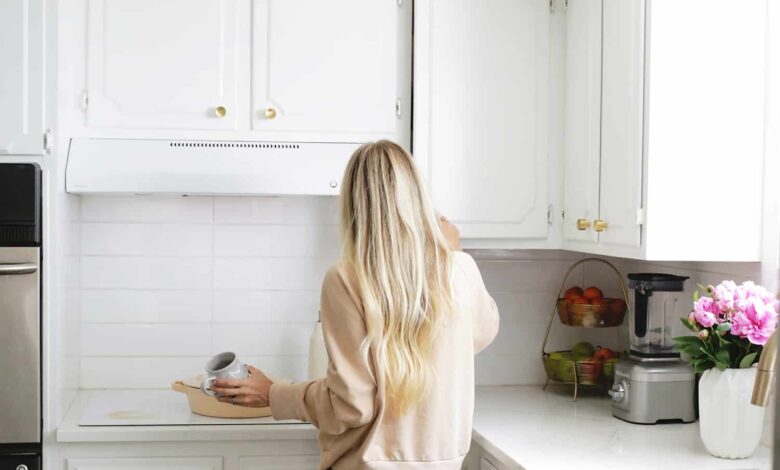


We moved into our Nashville home seven years ago (my god, time flies!) And the first thing we did was sand and paint the dark wood kitchen cabinets white to bring in some extra light. into the little house. kitchen.
Let’s just say that years later (and a toddler), the paint job has become dry and worn out in many places, and I keep wondering when I’ll have time to freshen up my kitchen cabinets, since first painting them is a big process.
 When I actually sat down to think about it, I realized that it might not be as big of a job as one might think. And, once I did the planning, I realized I could actually refresh an entire cabinet in just one afternoon!
That sounds more doable than spending a weekend at work, and once it’s done, it makes a huge difference in how clean space feels—I’ll show you what I’ve done!
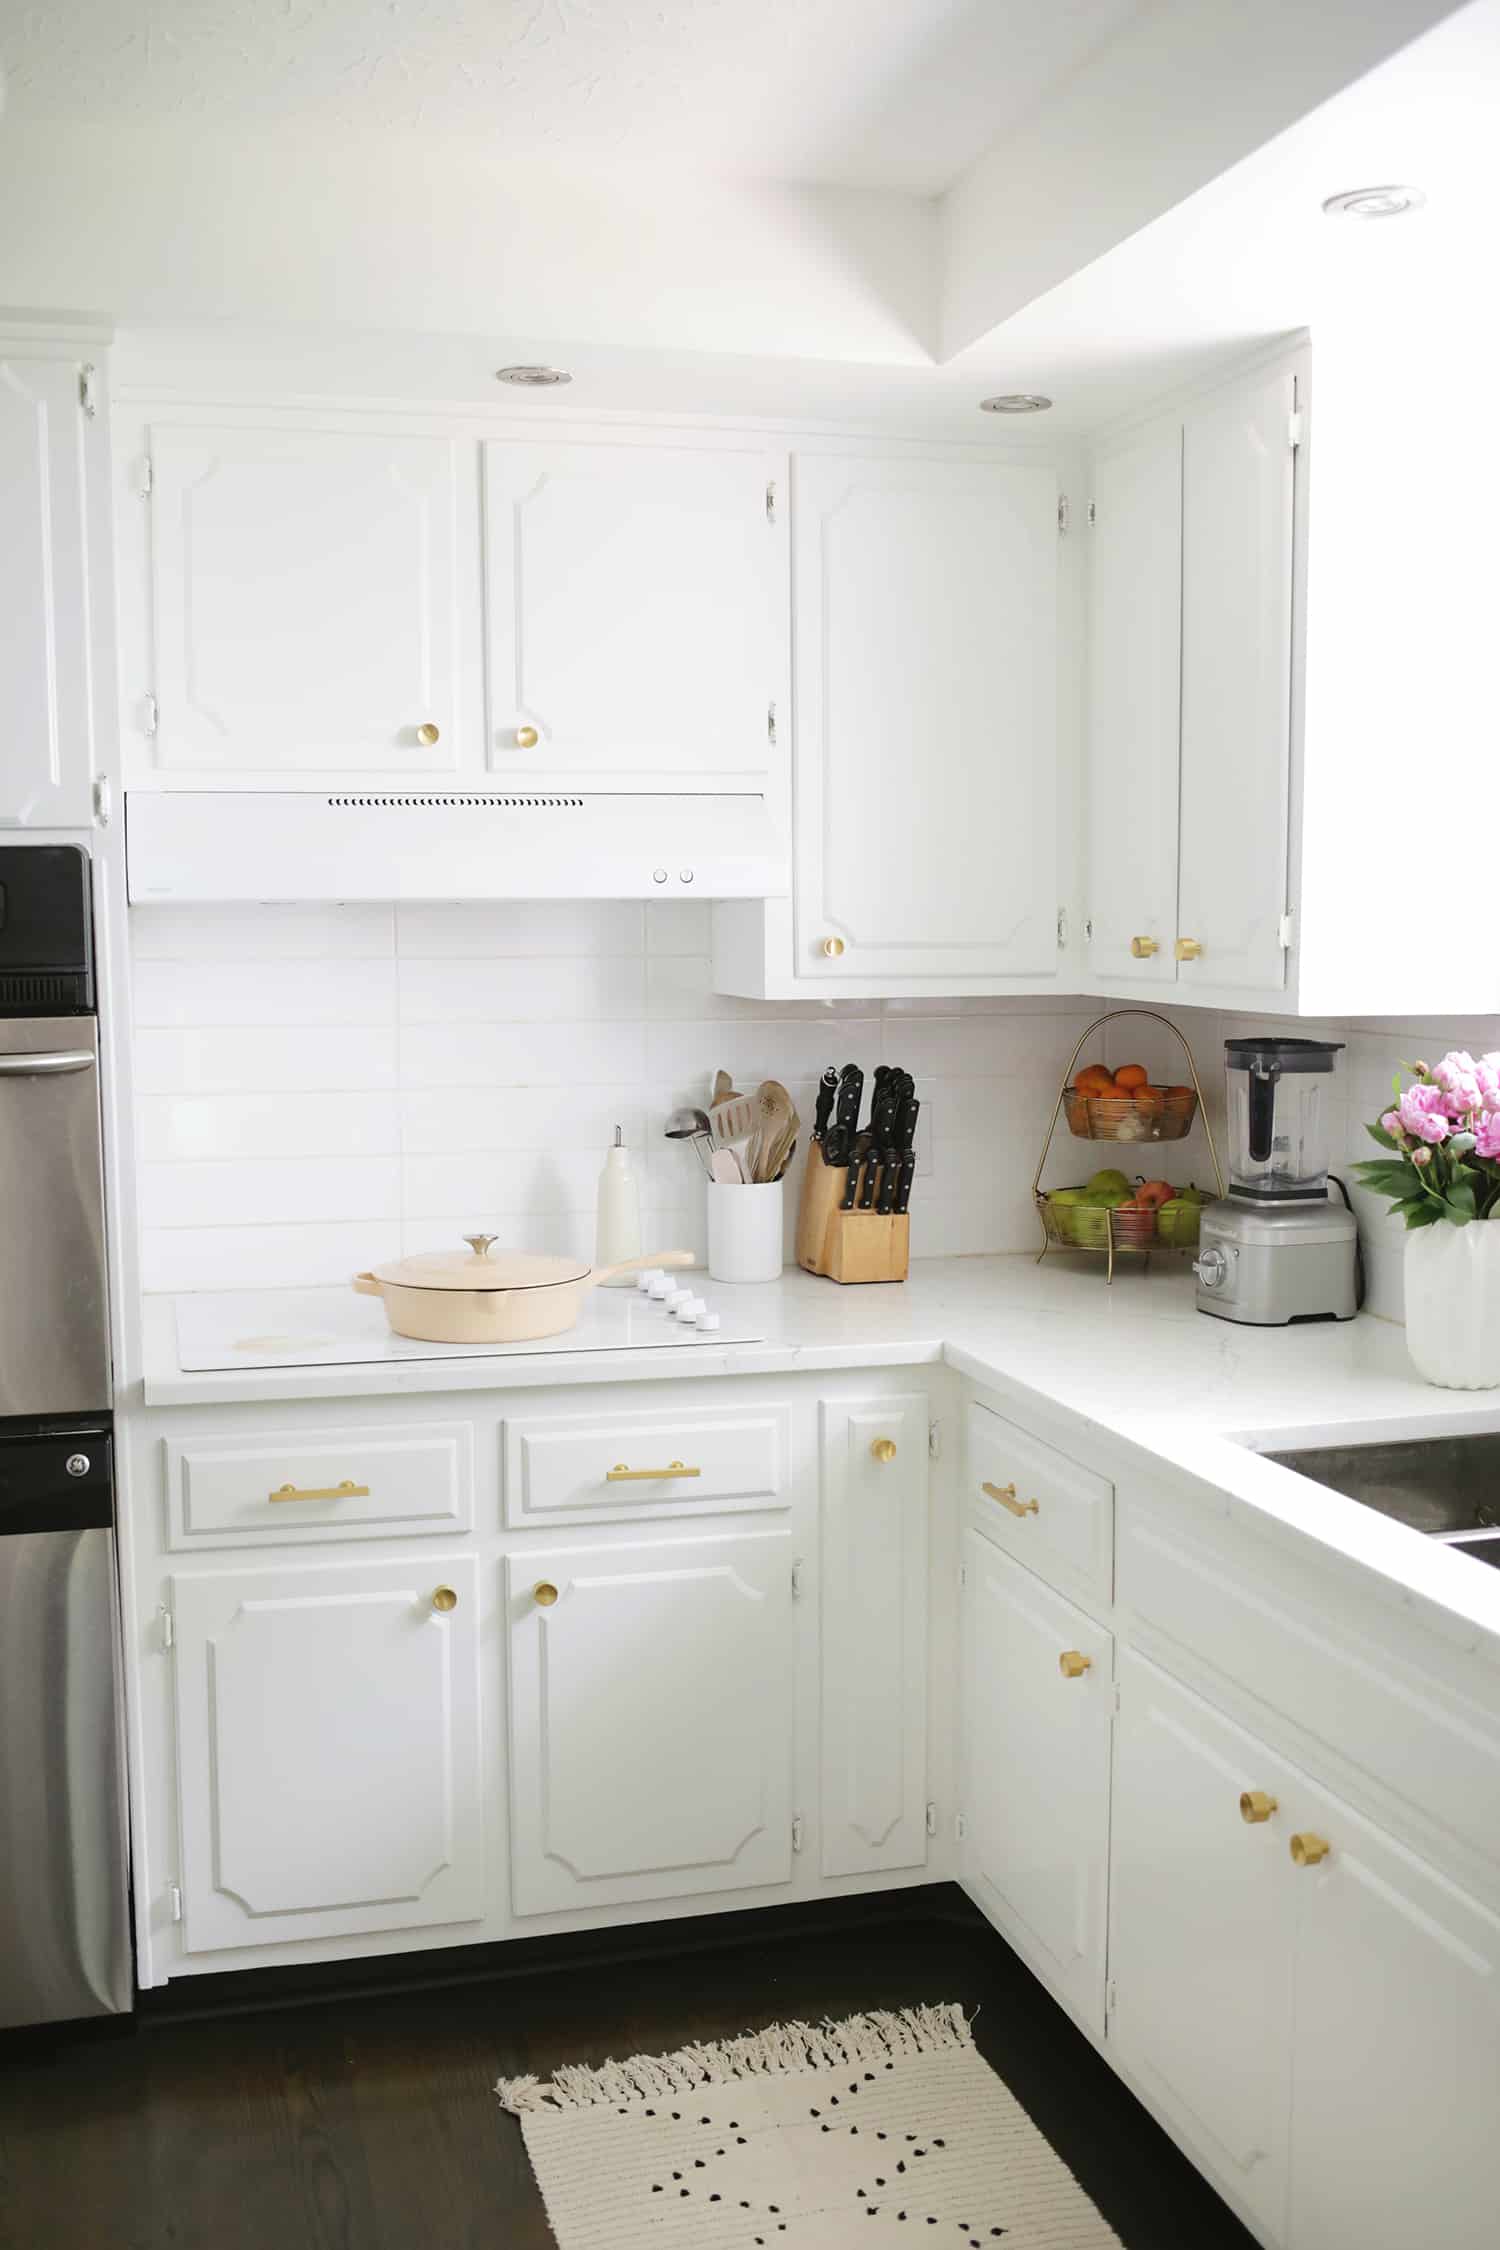
You can see above in the previous images that we definitely need a refresh. Years of daily use really leave a mark!

Clean and decontaminate cabinets
This step may sound like a preparation for a real makeover, but I was amazed at how much better the cabinets looked just by giving them a thorough cleaning. magic eraser.
I can still see the paint wear, but It feels therefore Much cleaner overall, and show me where the paint is still in good condition.
I know if time runs out, I can skip repainting those areas. In the kitchen, you should also use some dish soap and water to clean areas before repainting.
Any cooking grease that remains on the paint can cause your touch paint to not adhere properly, so it’s a good idea to use a little soapy water or a degreasing product to remove the paint. this before. They also do these magic erasers there’s soap so you can do both jobs in one!
You can see the top left has been cleaned and the right is not… although there are still some paint stains, they already look so much newer!
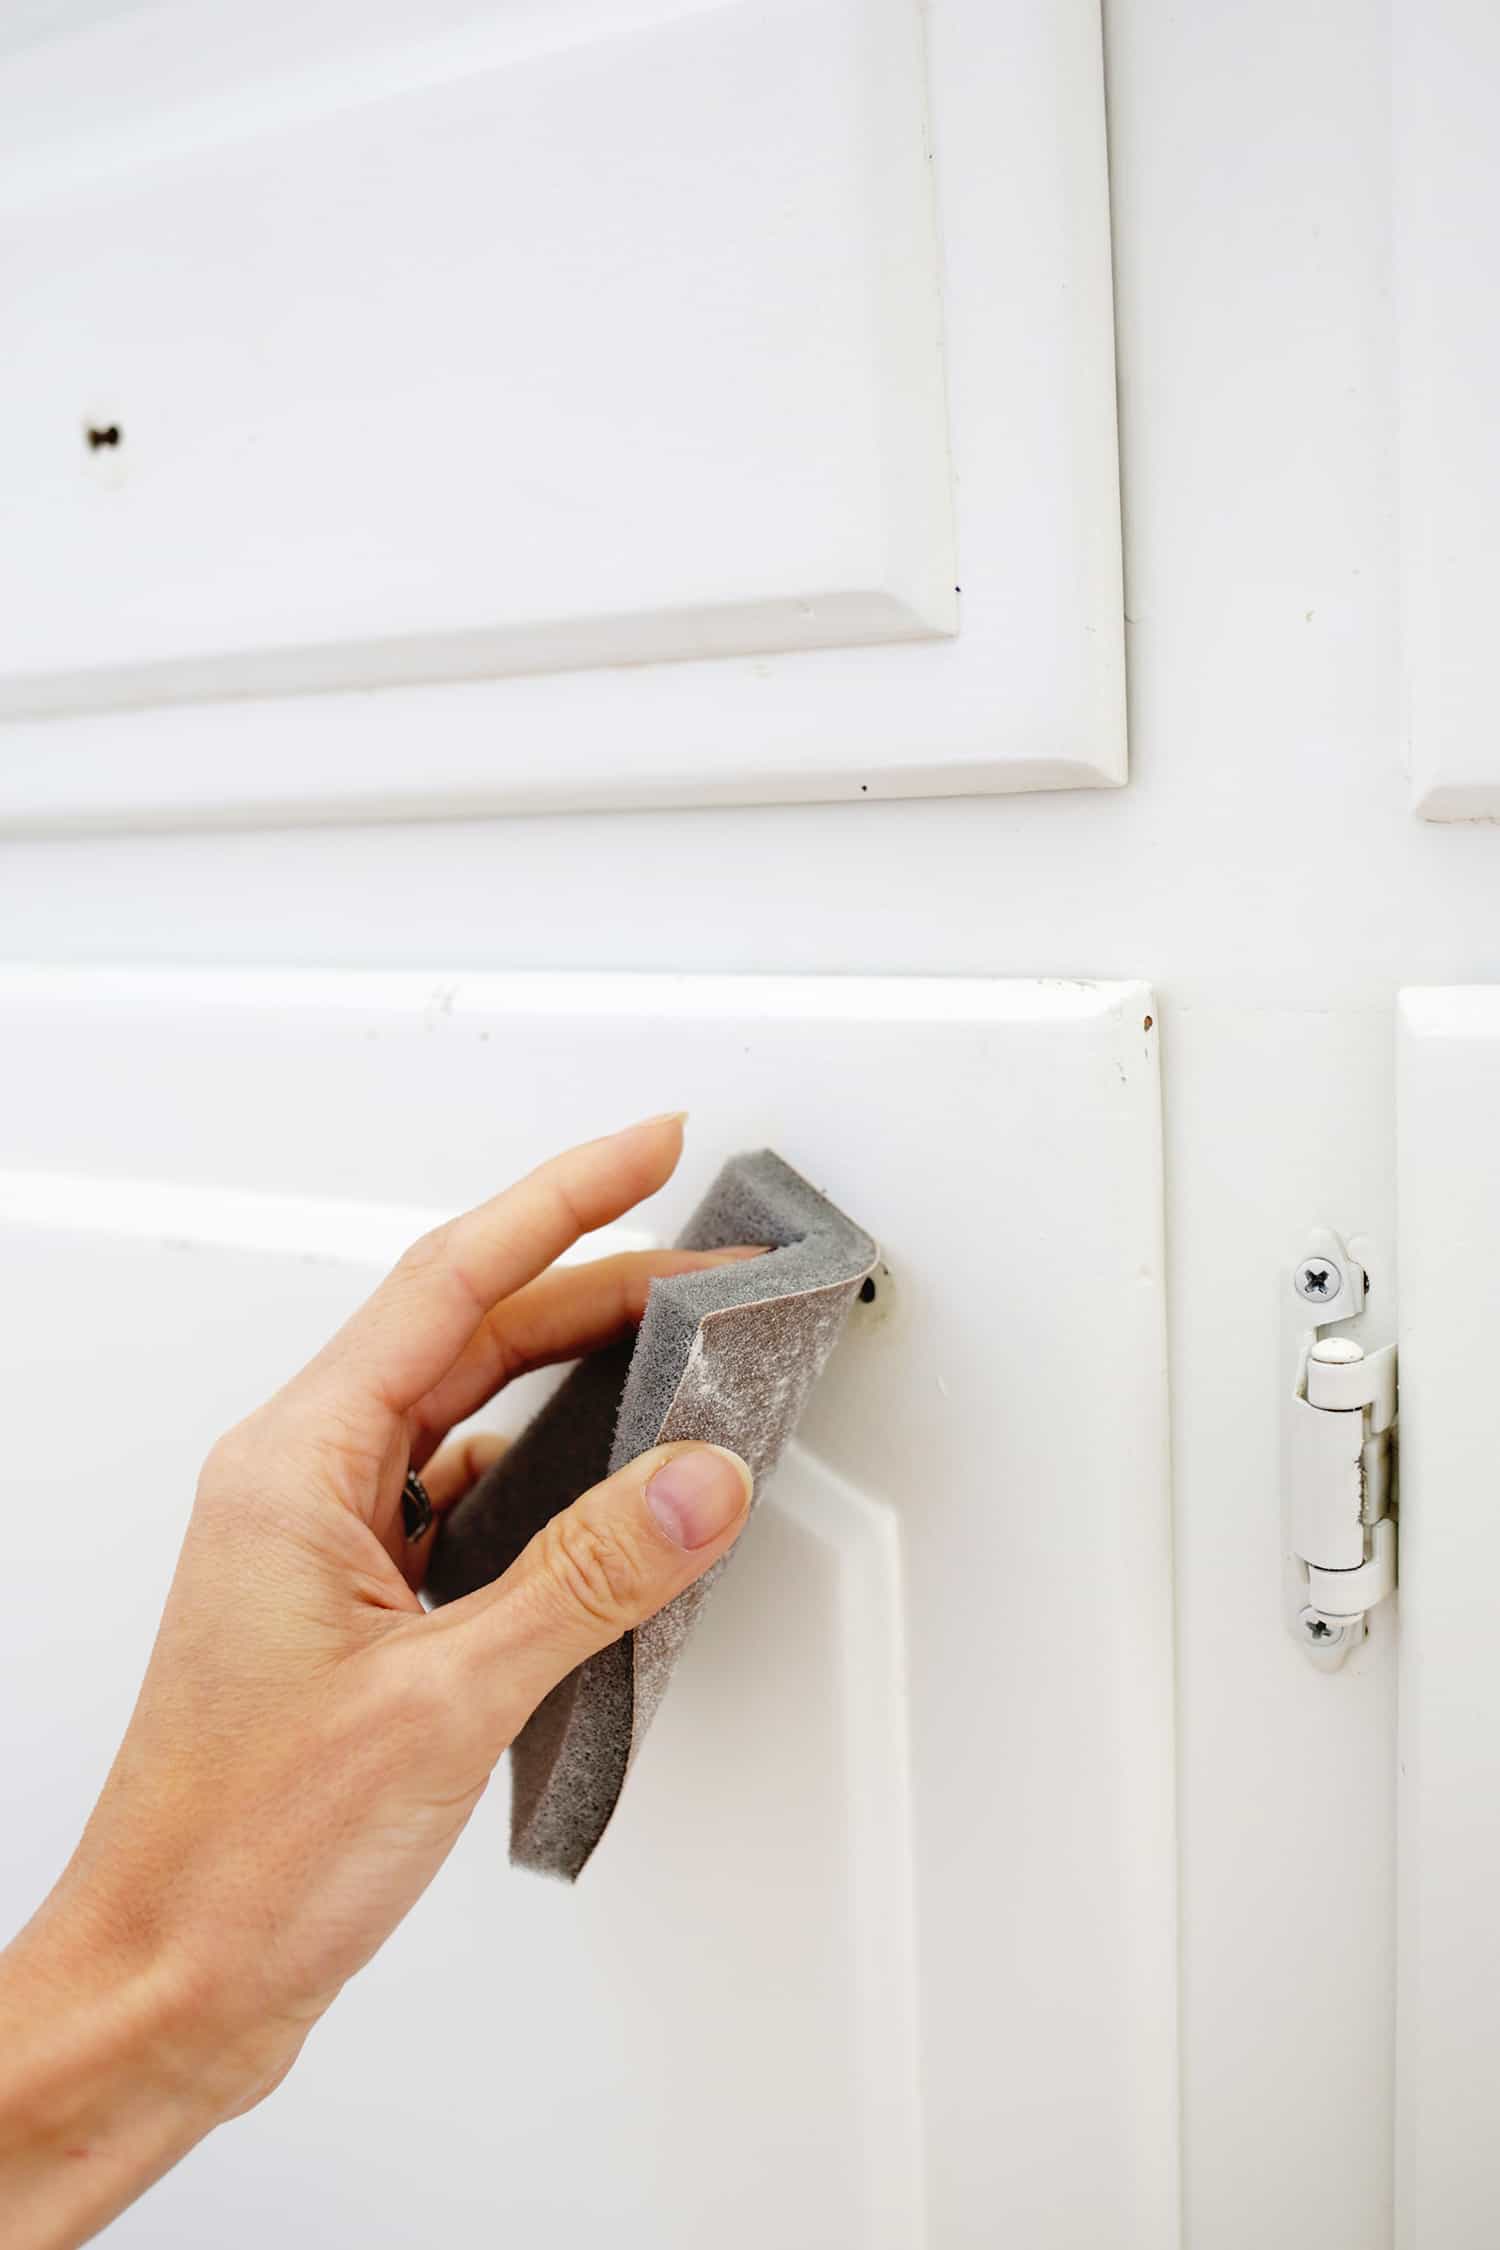
Give the cabinet a light texture
Once your wood is clean, use some fine sandpaper (I like This brand) to lightly sand the places you want to repaint. You don’t want to sand down the wood, so you don’t feel you need to sand too hard.
Lightly brushing the surface will help the new paint stick a little better. I also like to use a Sanding sponge with a back layer of foam so I can sand an area and then wipe away the dust with the soft foam.

Add some Touch-Up paint to the empty spots
I like to use a brush (this is my favorite) for hard-to-reach areas of the cabinet, but paint wherever I can with a foam roller really gives you the best overall look. Use it where you can on any flat area (remember to remove the buttons and pull your cabinets first).
I only intended to paint the most worn areas of the doors, but as I started going, I realized that repainting an entire door or drawer is actually pretty quick when you just repaint the same color.
So I just painted all the fronts and it really didn’t take much longer. And if you can get your drawers out first, that can also make them a lot easier to paint.
As you might have guessed by now, I’m assuming you know what paint was used on the cabinets the last time they were painted so you can learn more.
So if you don’t already have a way to keep track of what paint colors you use in your home, I high I recommend writing it down somewhere so you can refer to the list when needed!
If you don’t know the exact color, you can take home millions of paint samples until you find one that looks super close, but you’ll probably need to paint the entire cabinet door instead of just one corner in the case of color. unsuitable. does not match 1,000%.
Also, if you have a “stone slab” area like I do at the bottom of your cabinets (that’s where your base of the wall/quarter ring is near the floor), touching that while you’re painting is an idea. great. It gets kicked and scratched a lot with your feet (hence the name)!
It’s a relatively small area and it only took me 4-5 minutes to repaint, but it definitely helped the whole thing feel like new again.
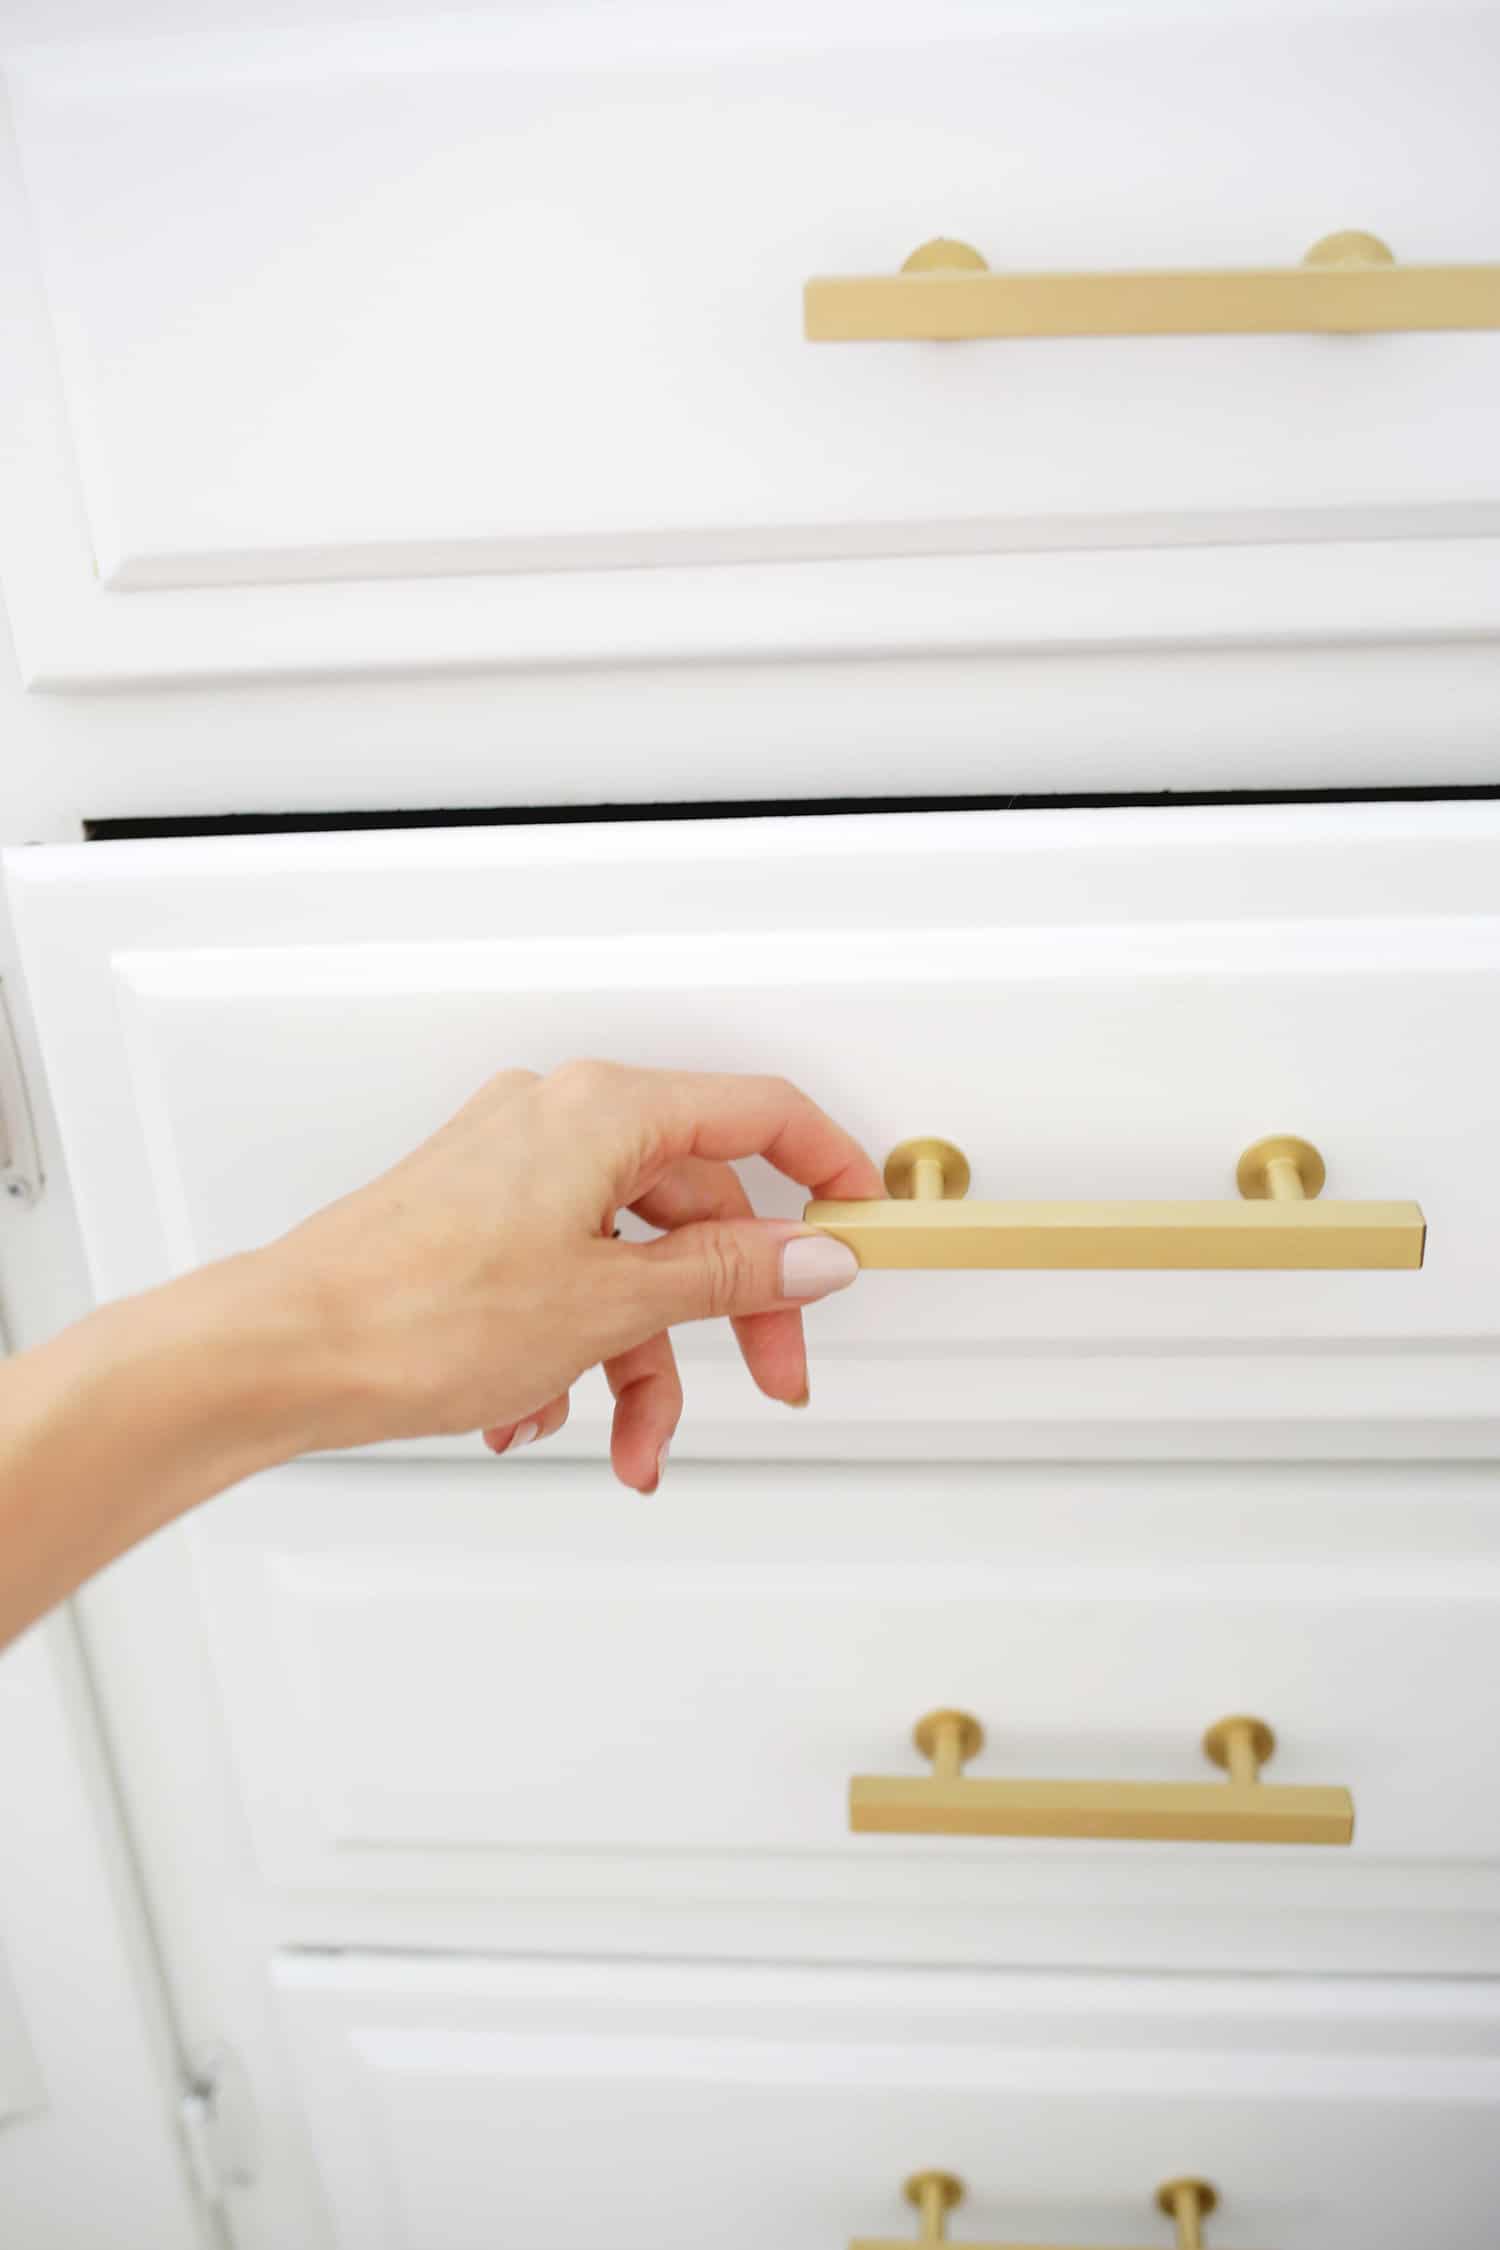
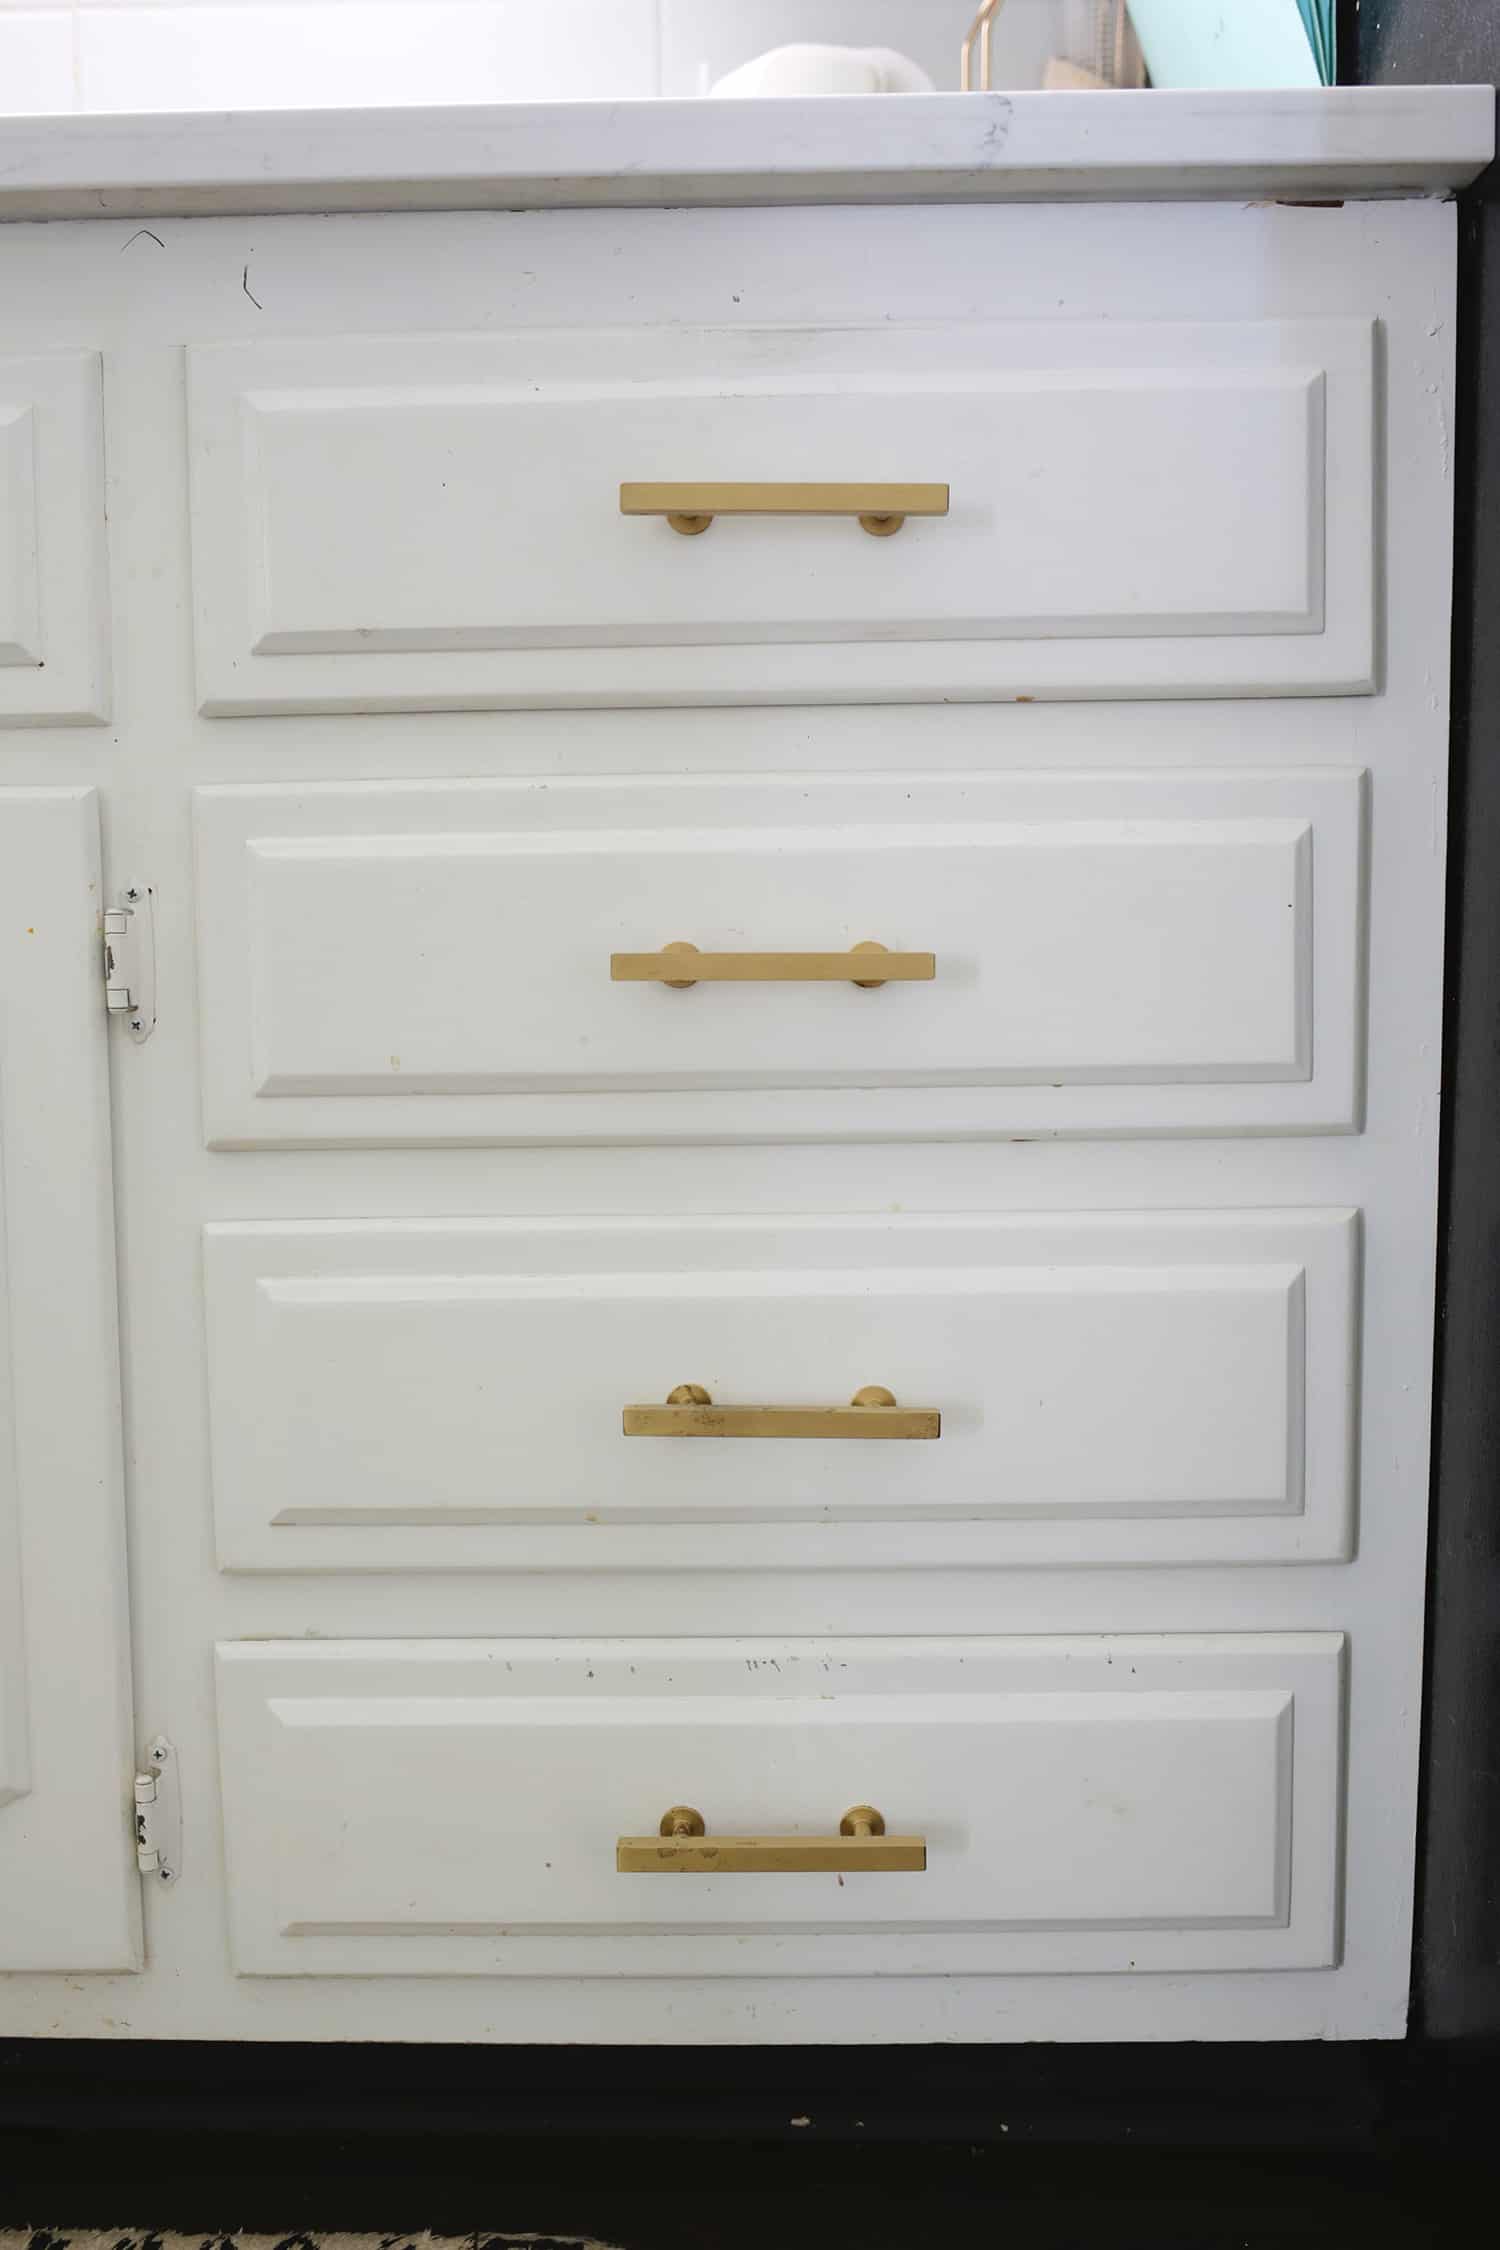
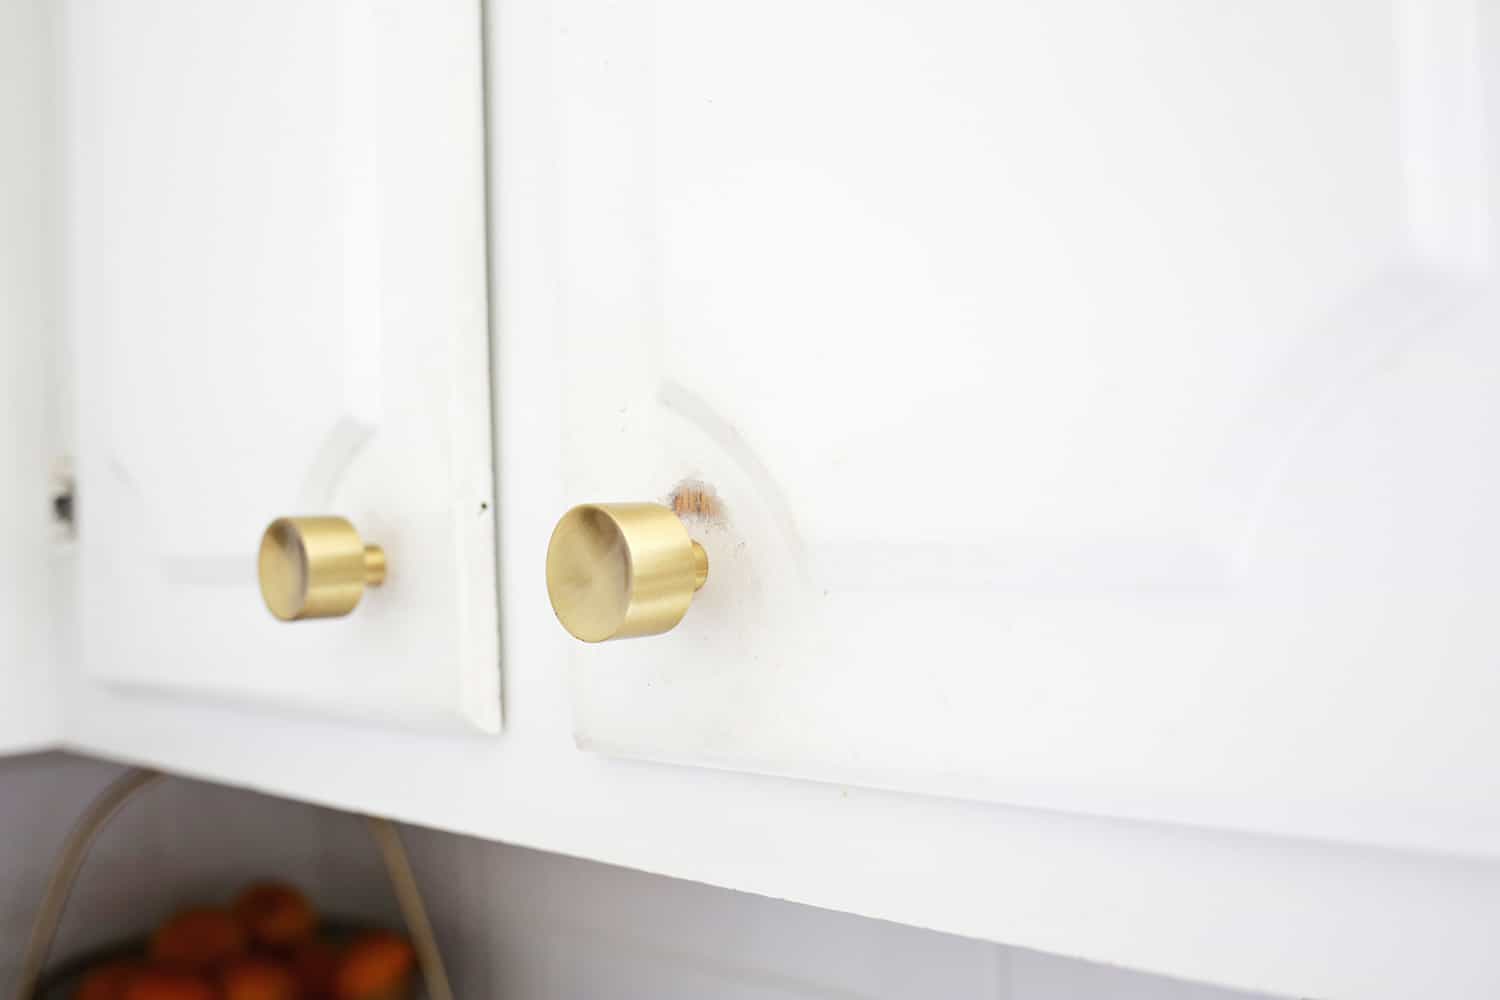
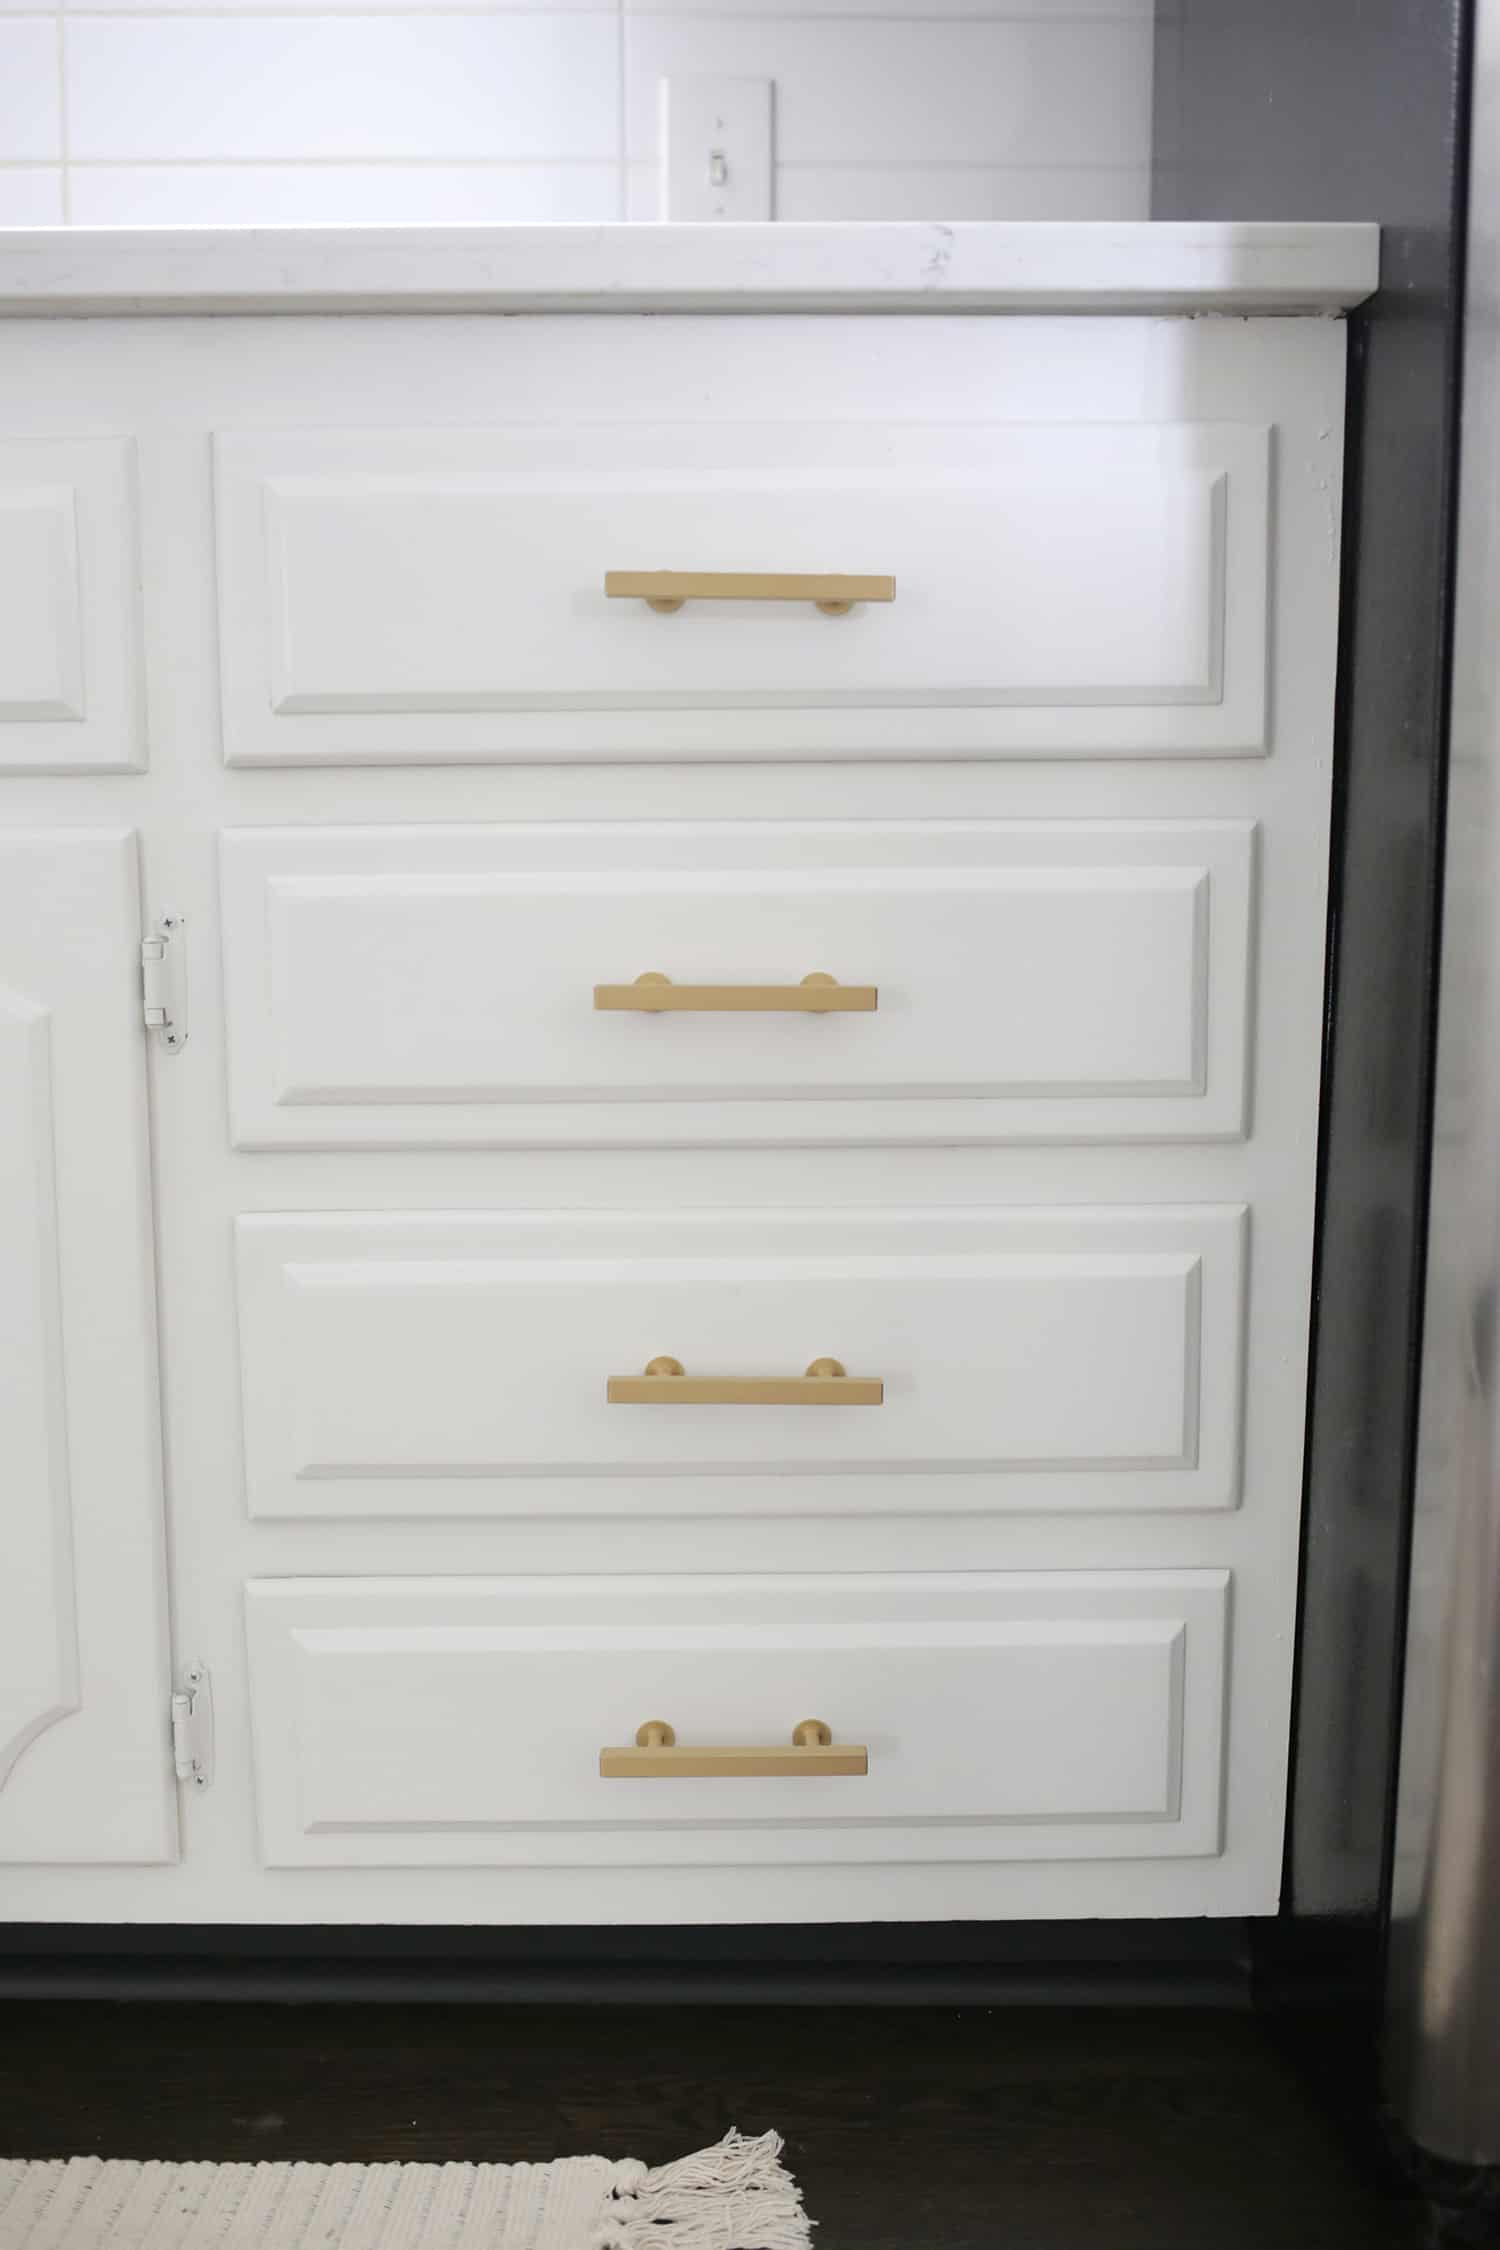
Replace old/worn hardware (or clean it)
It’s pretty obvious to me that tarnished hardware is another reason our kitchen looks a bit dirty. So if that’s the case for you, cleaning or polishing your hardware can also really help make them look as good as new.
And, you can do this while your paint is drying, so it won’t take long either! It might also be a good time to do a hardware upgrade if you’re choosing a more budget-friendly option for the first time.
I personally love School hardware and see it really wear out over time.
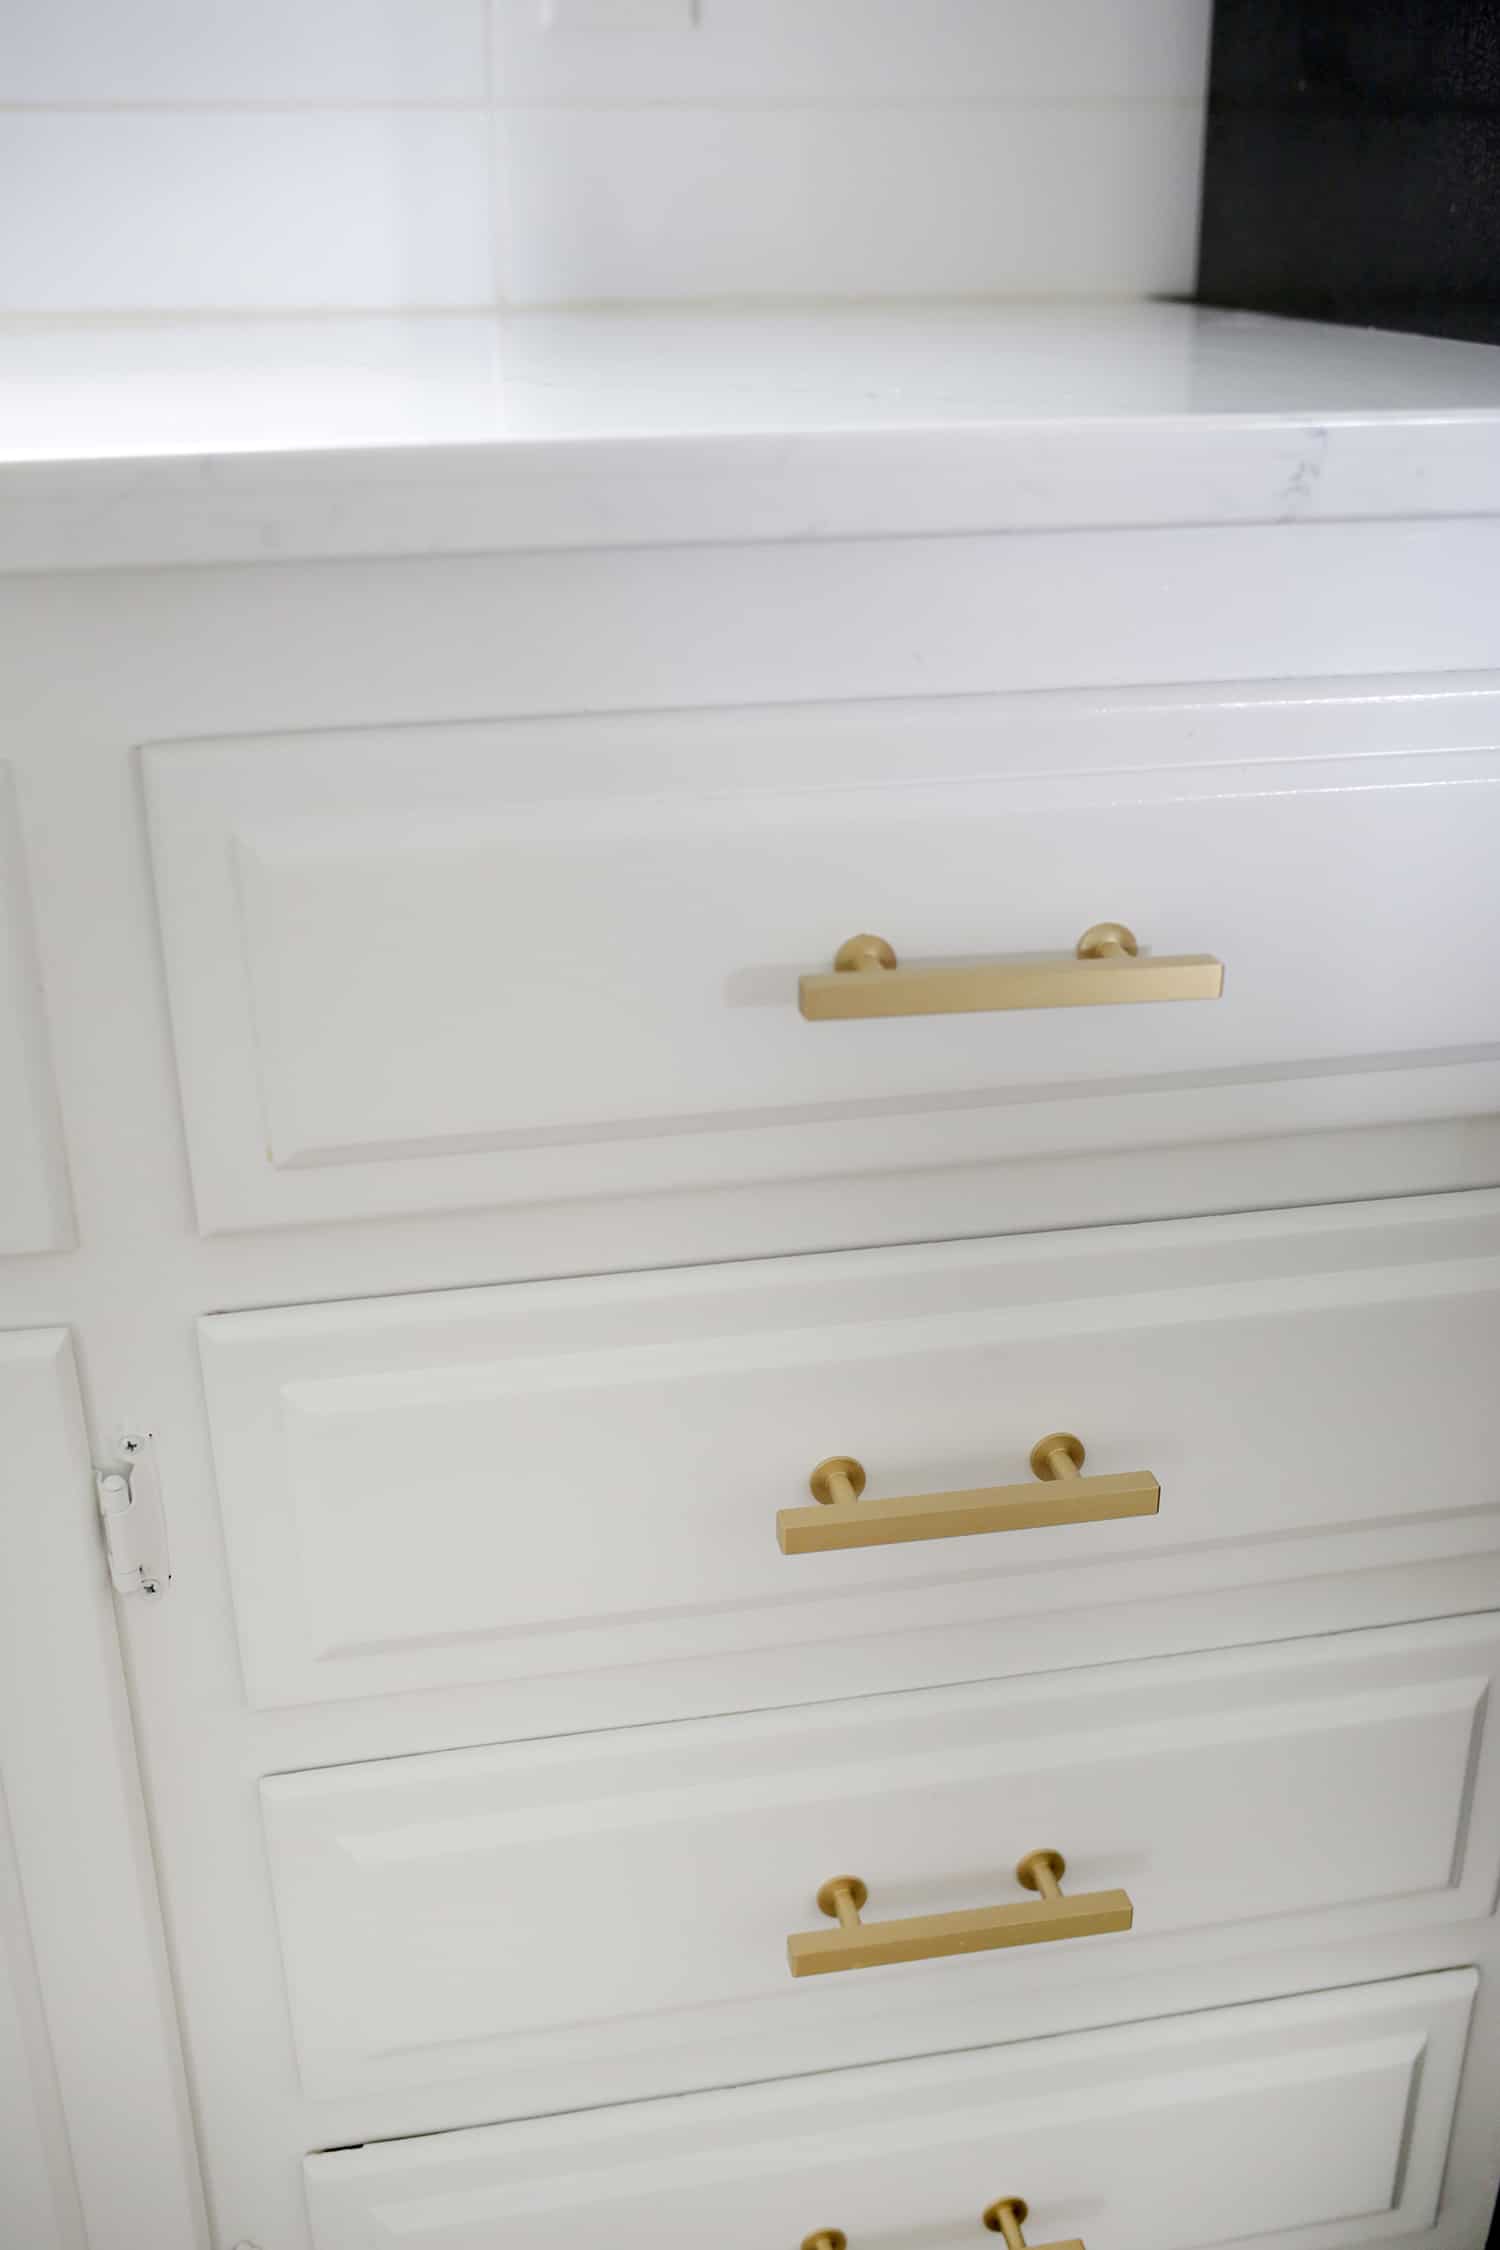
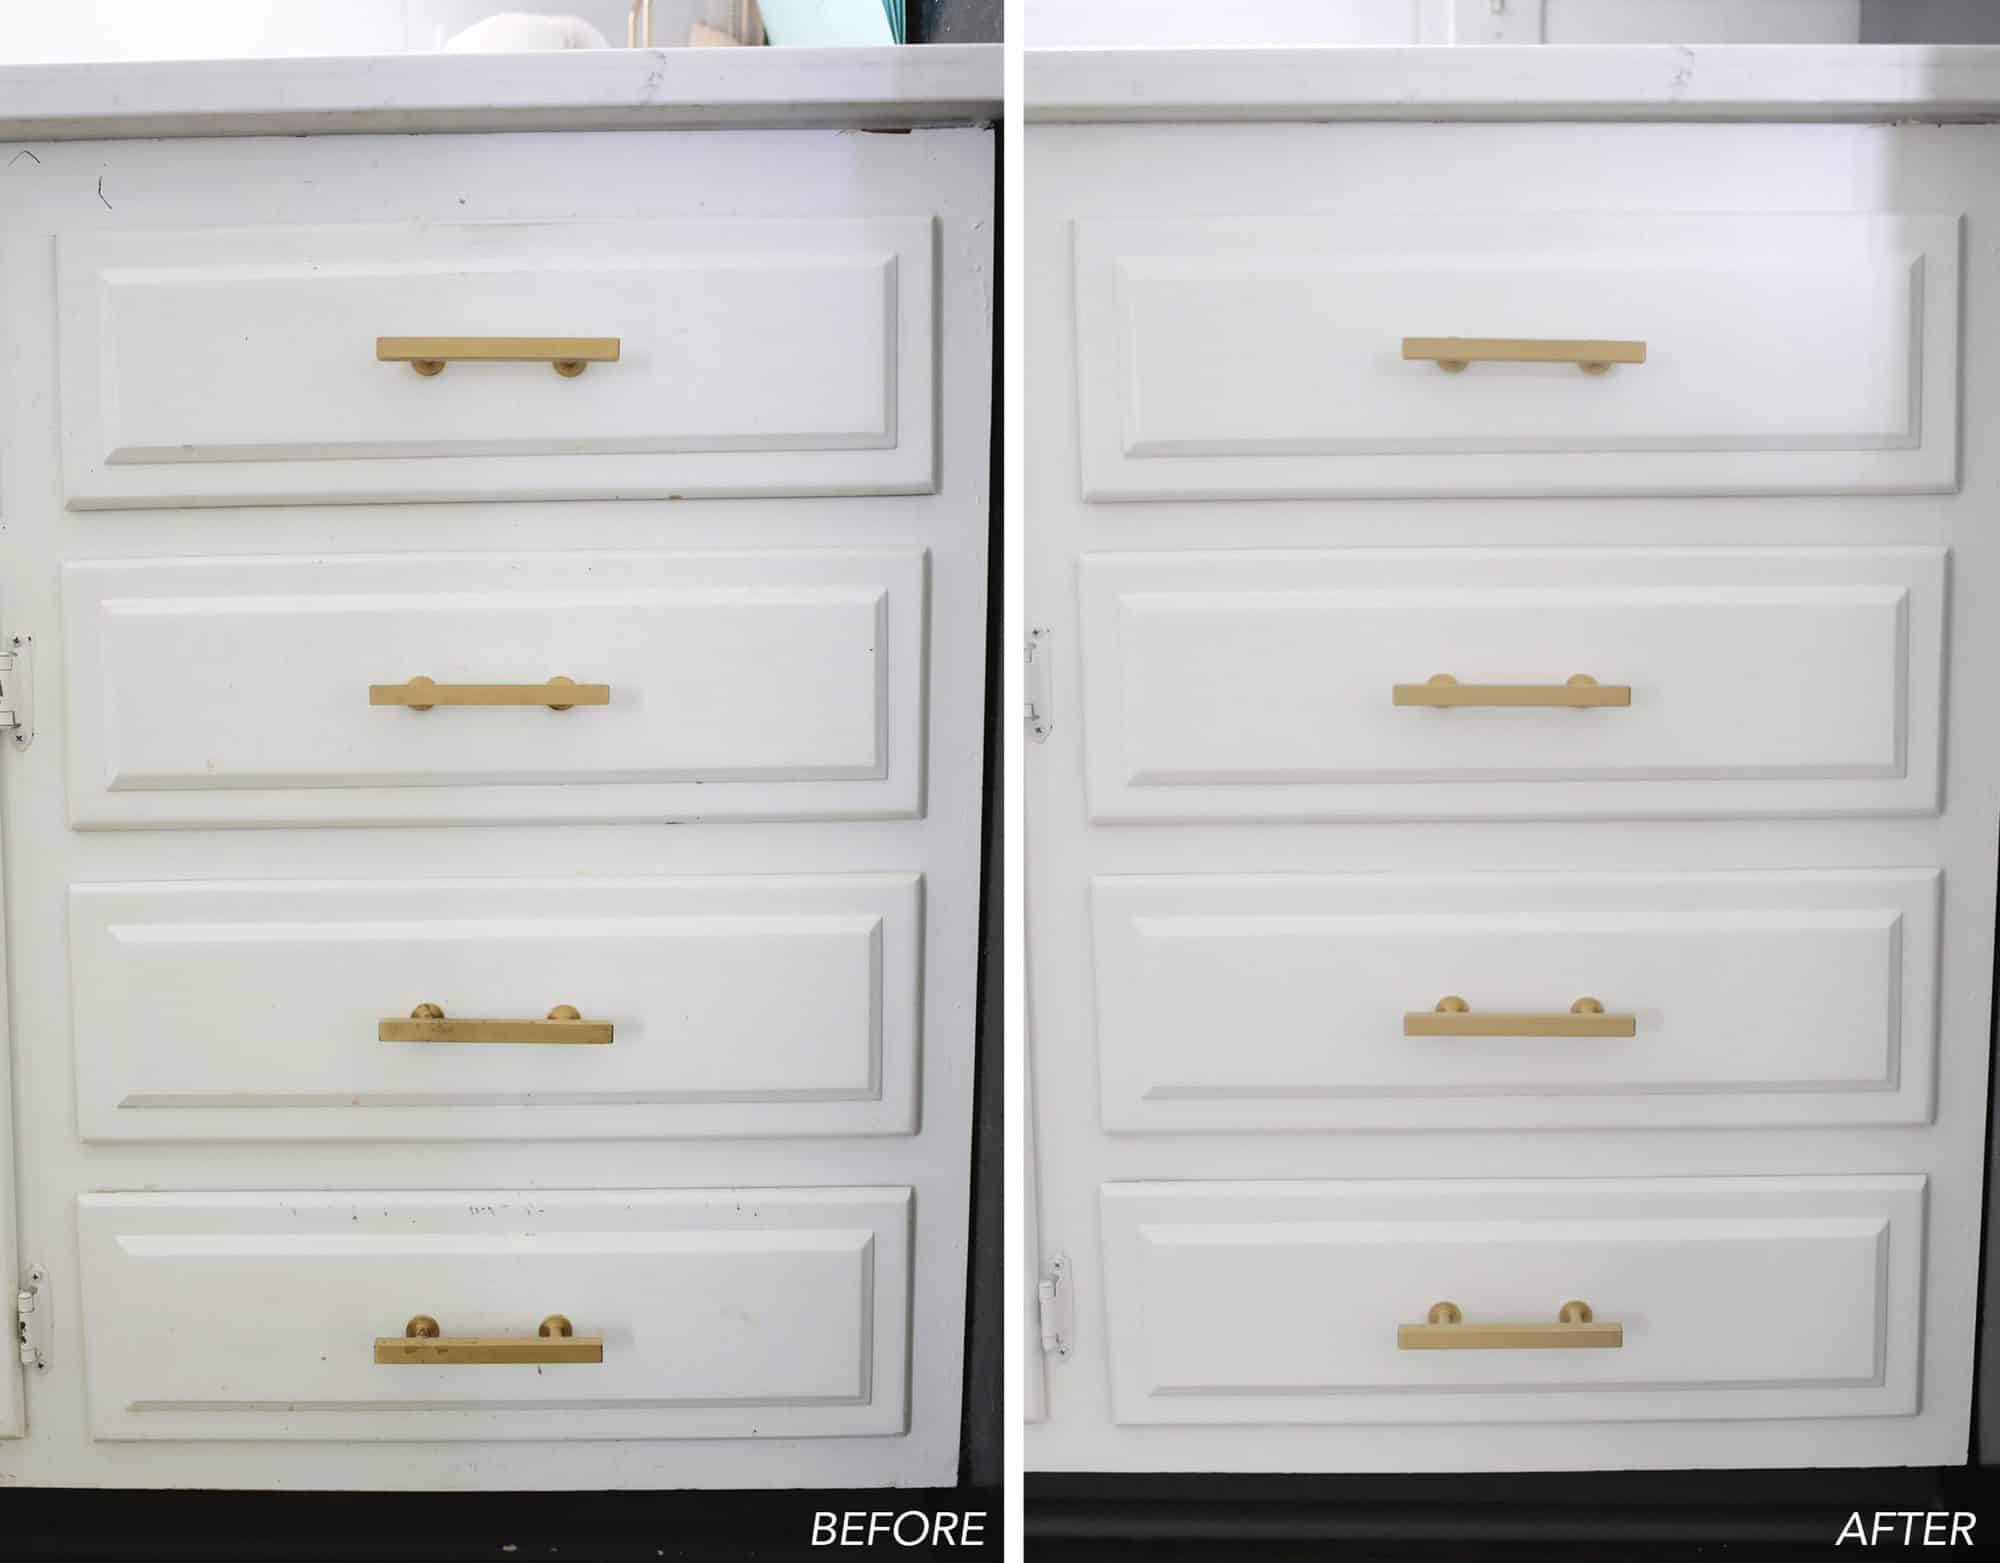 How much better does it look in just a few hours?!
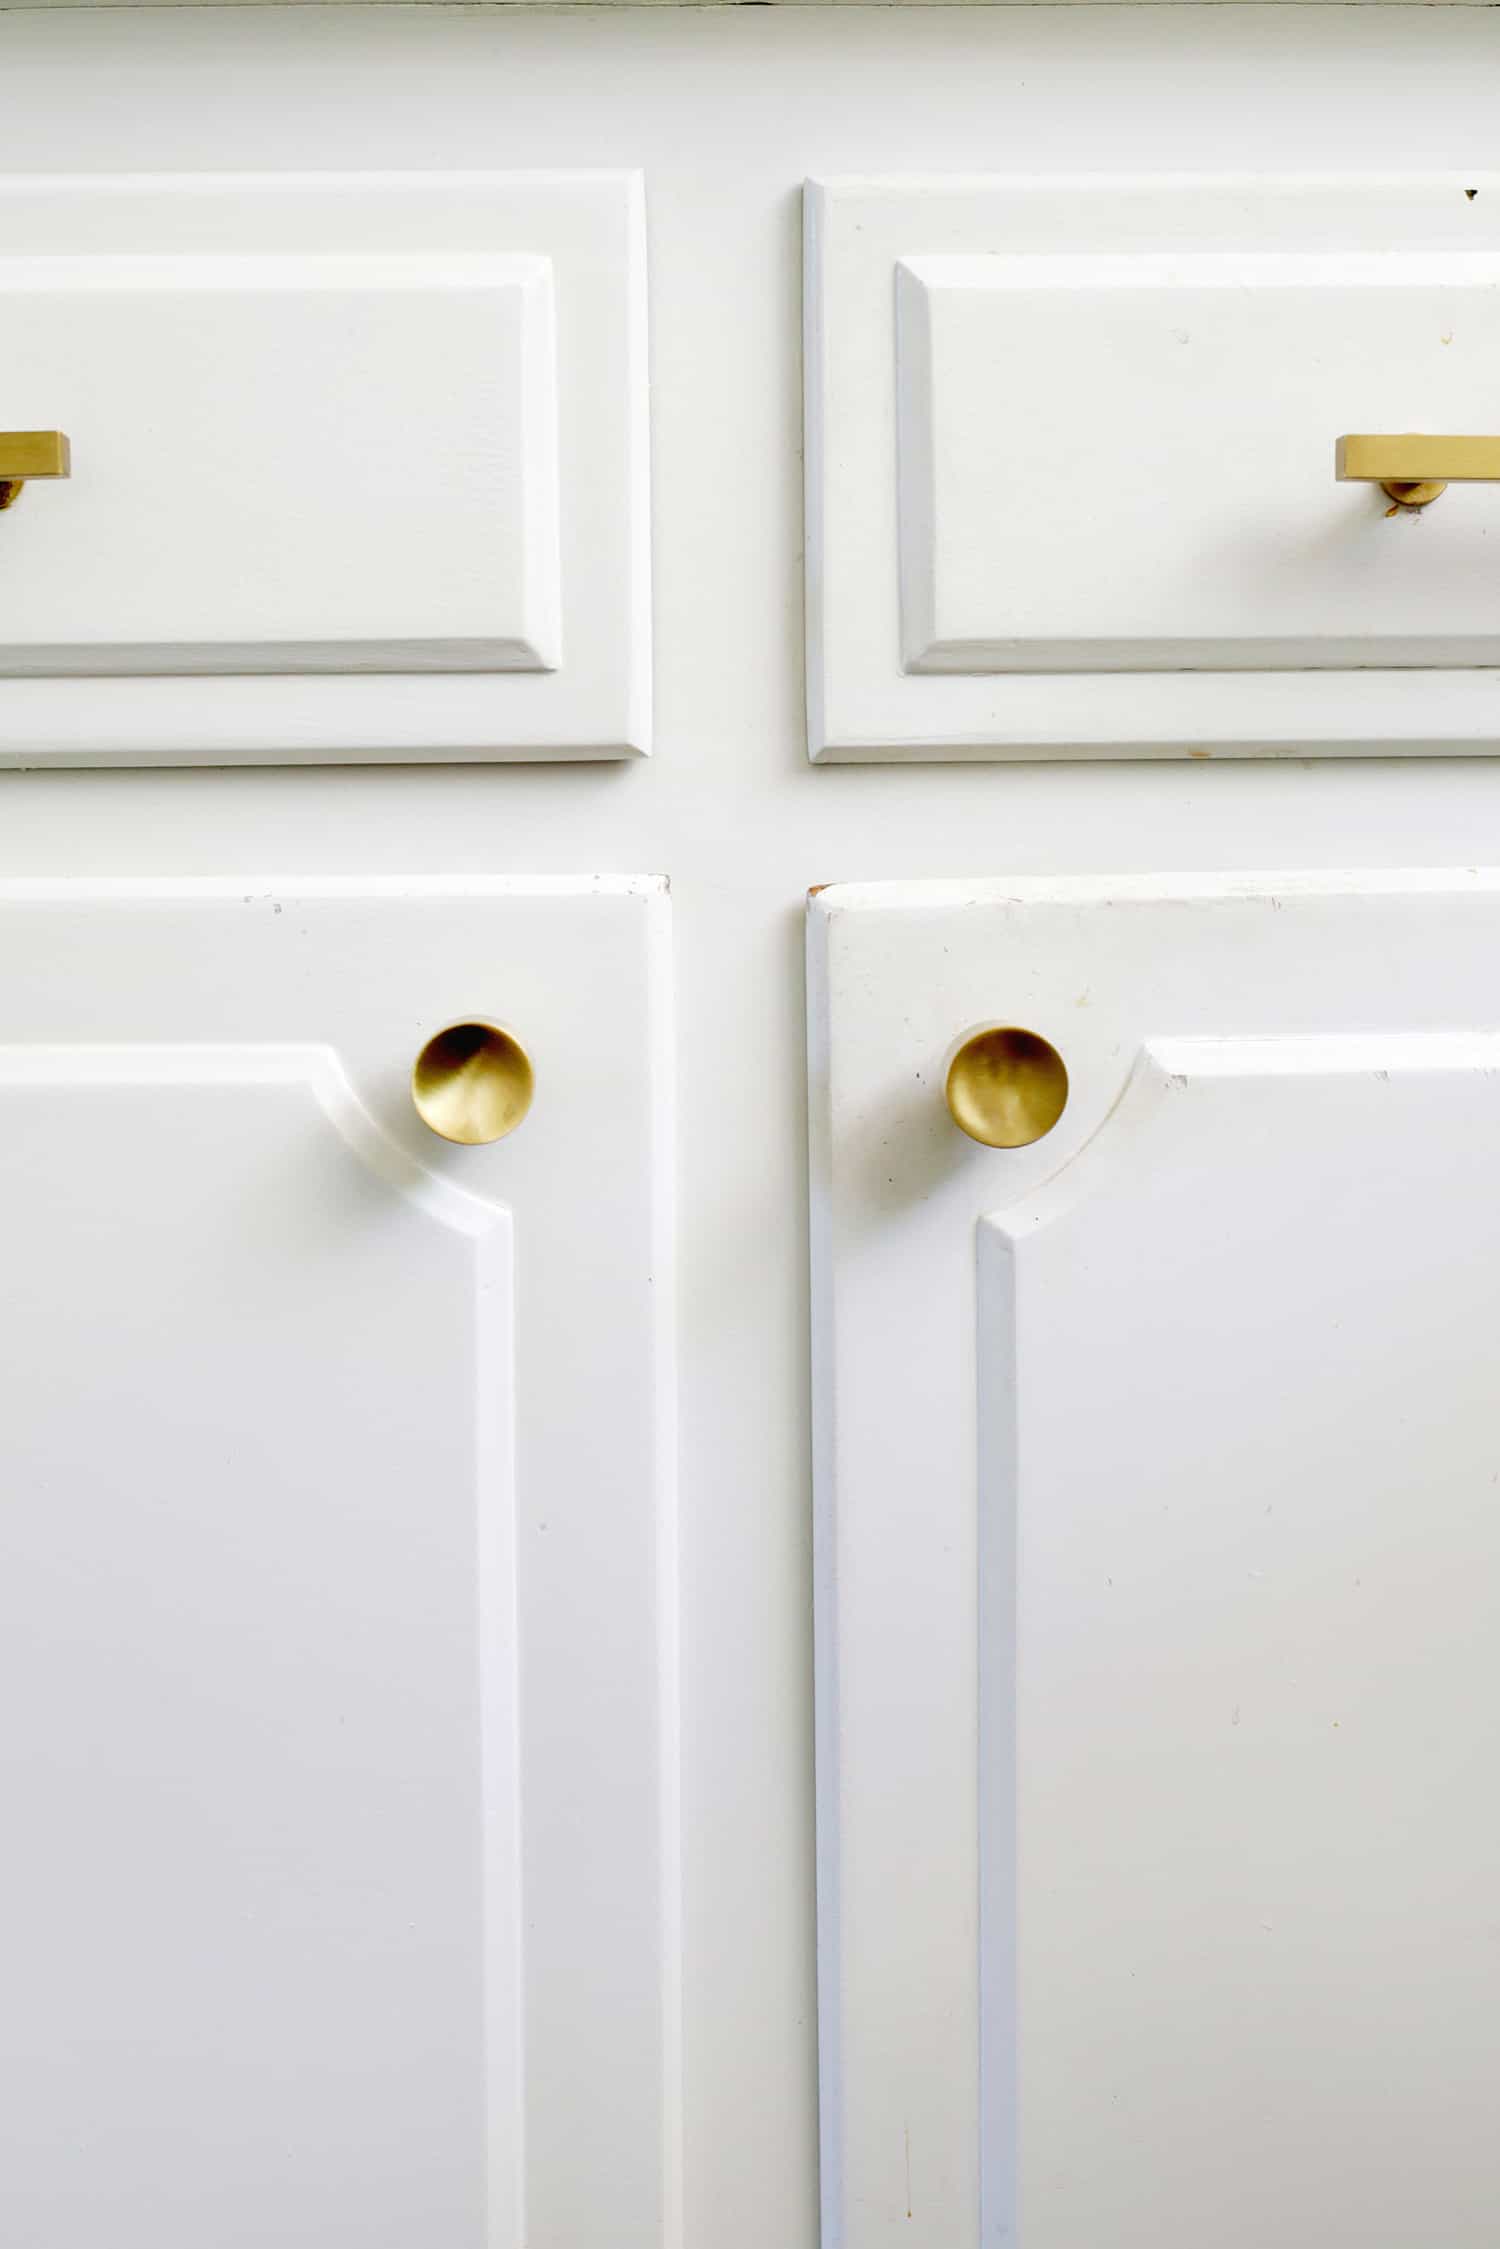
 If you have extra time, another thing that can make cabinets look like new is to replace the hinges that attach the cabinet doors to the wall.
It’s definitely a more time-consuming task if you have to do a lot of work, but if your condition isn’t great, just aim to move a door or two a day with your dynamic drill and it will. success feels more doable.
Converting them with different hinges has different hole locations (you’ll have to repair, fill, sand and paint all the old hole locations), but if you’re using hardware with the same hole position, It’s not such a big deal.
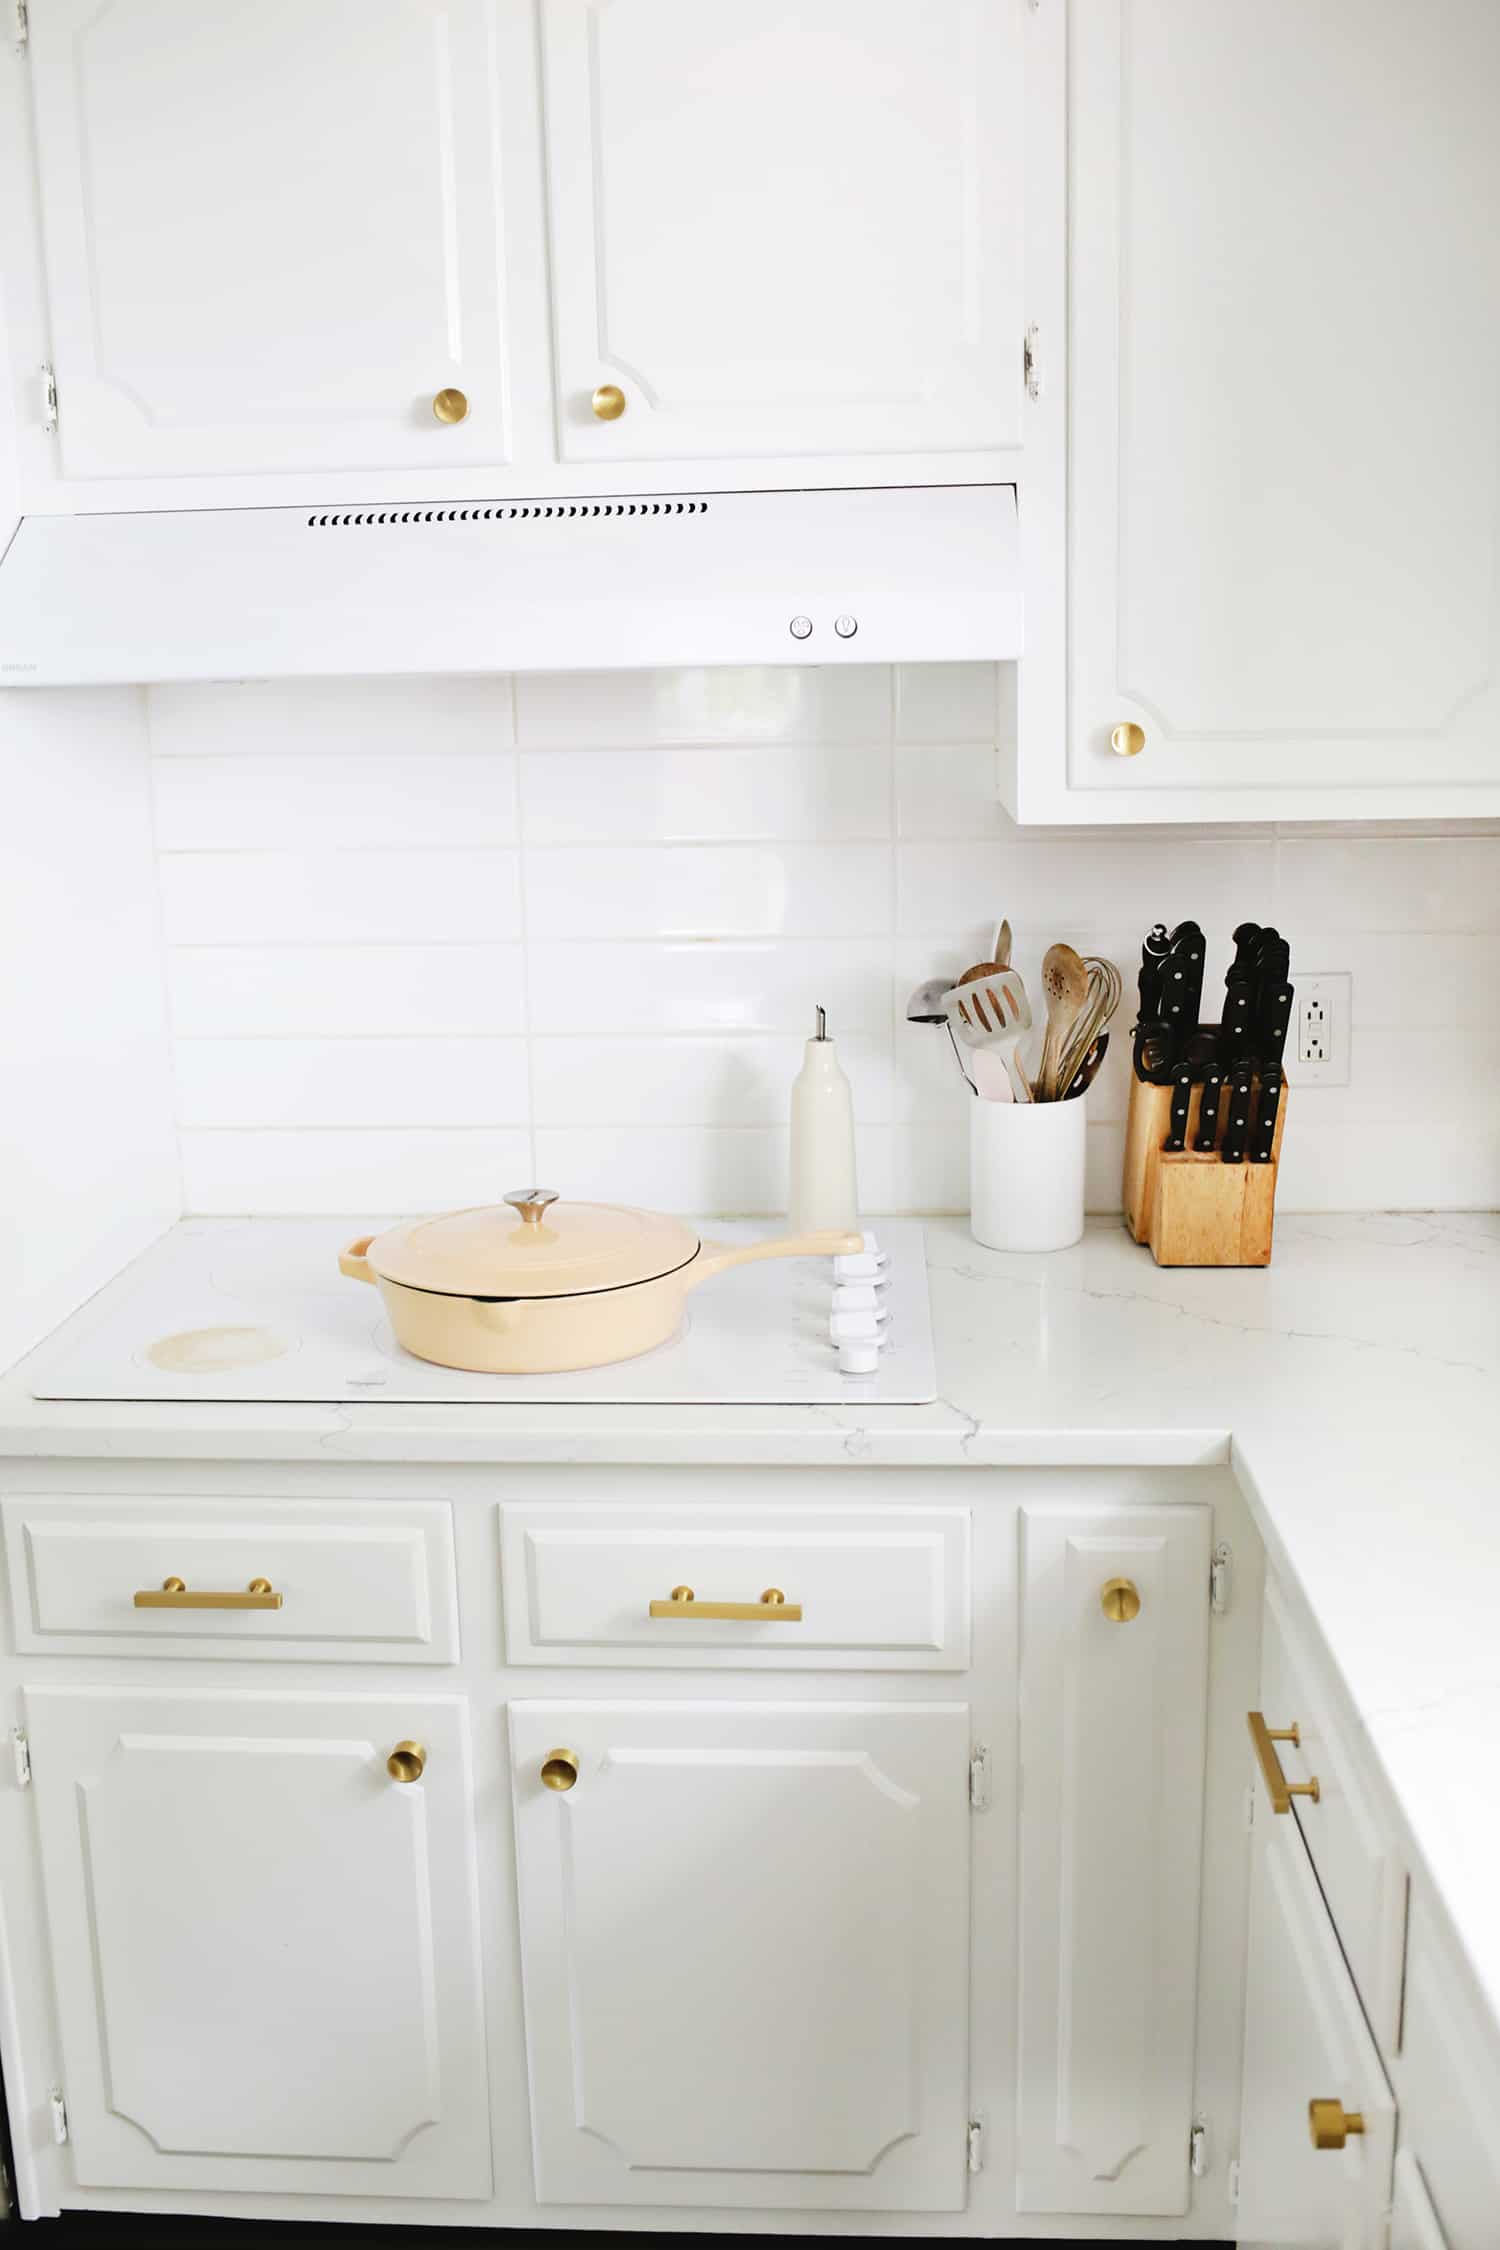
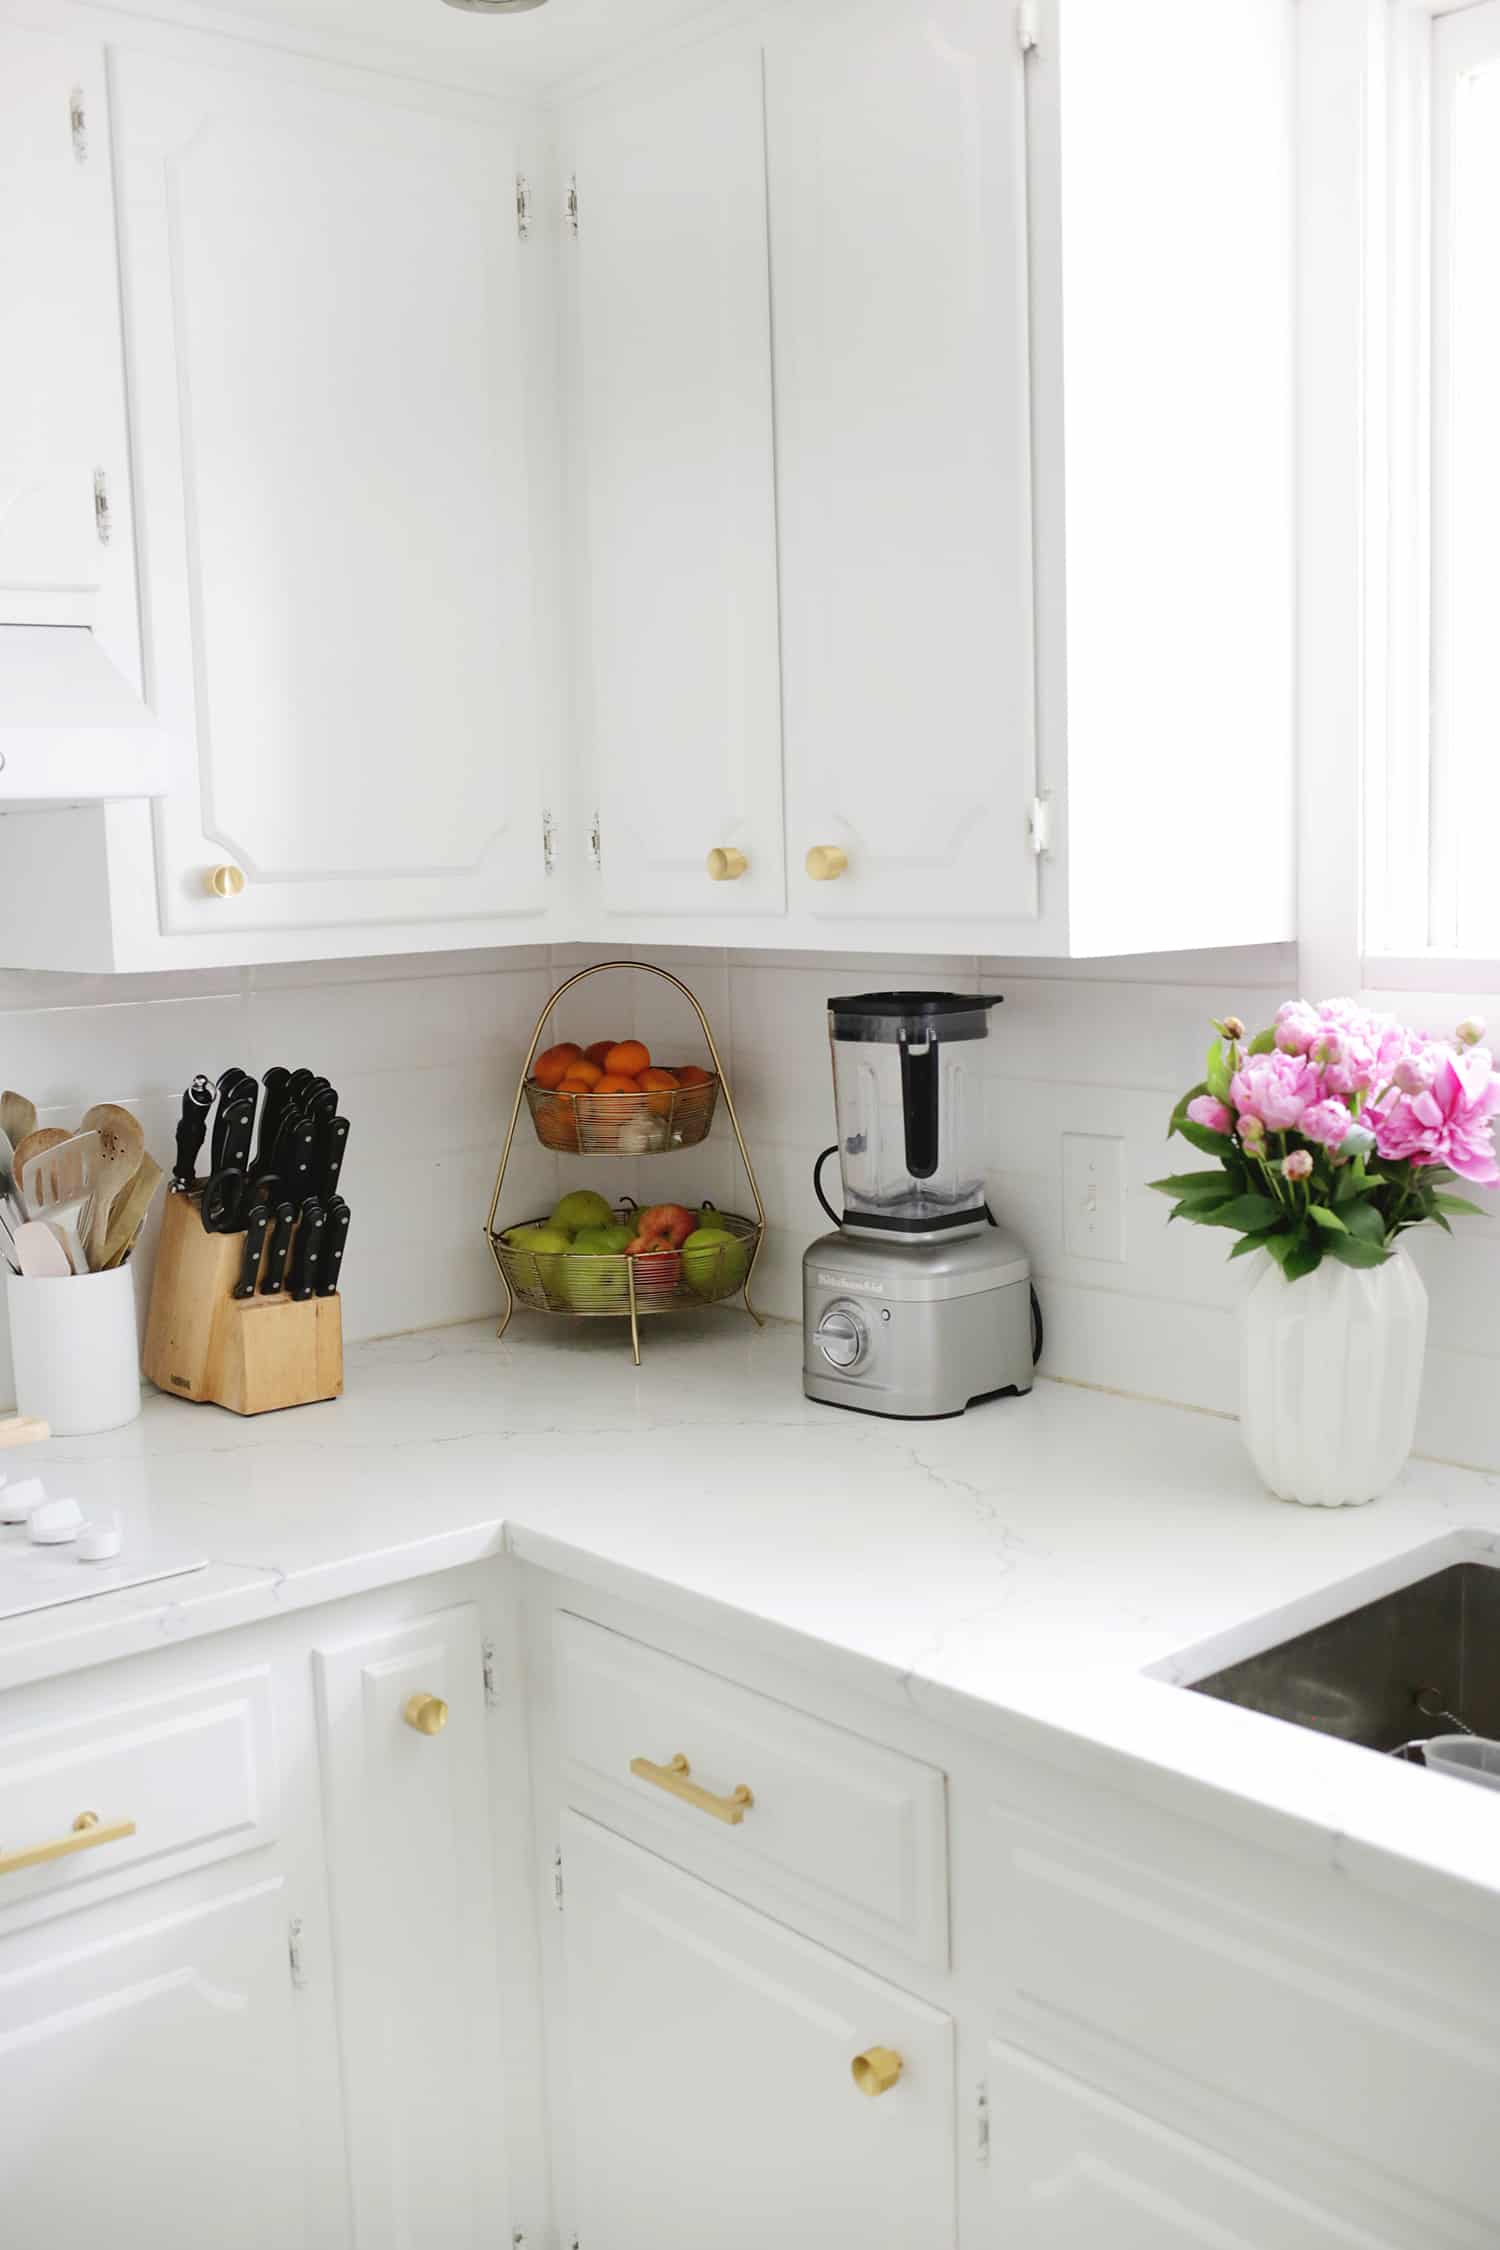
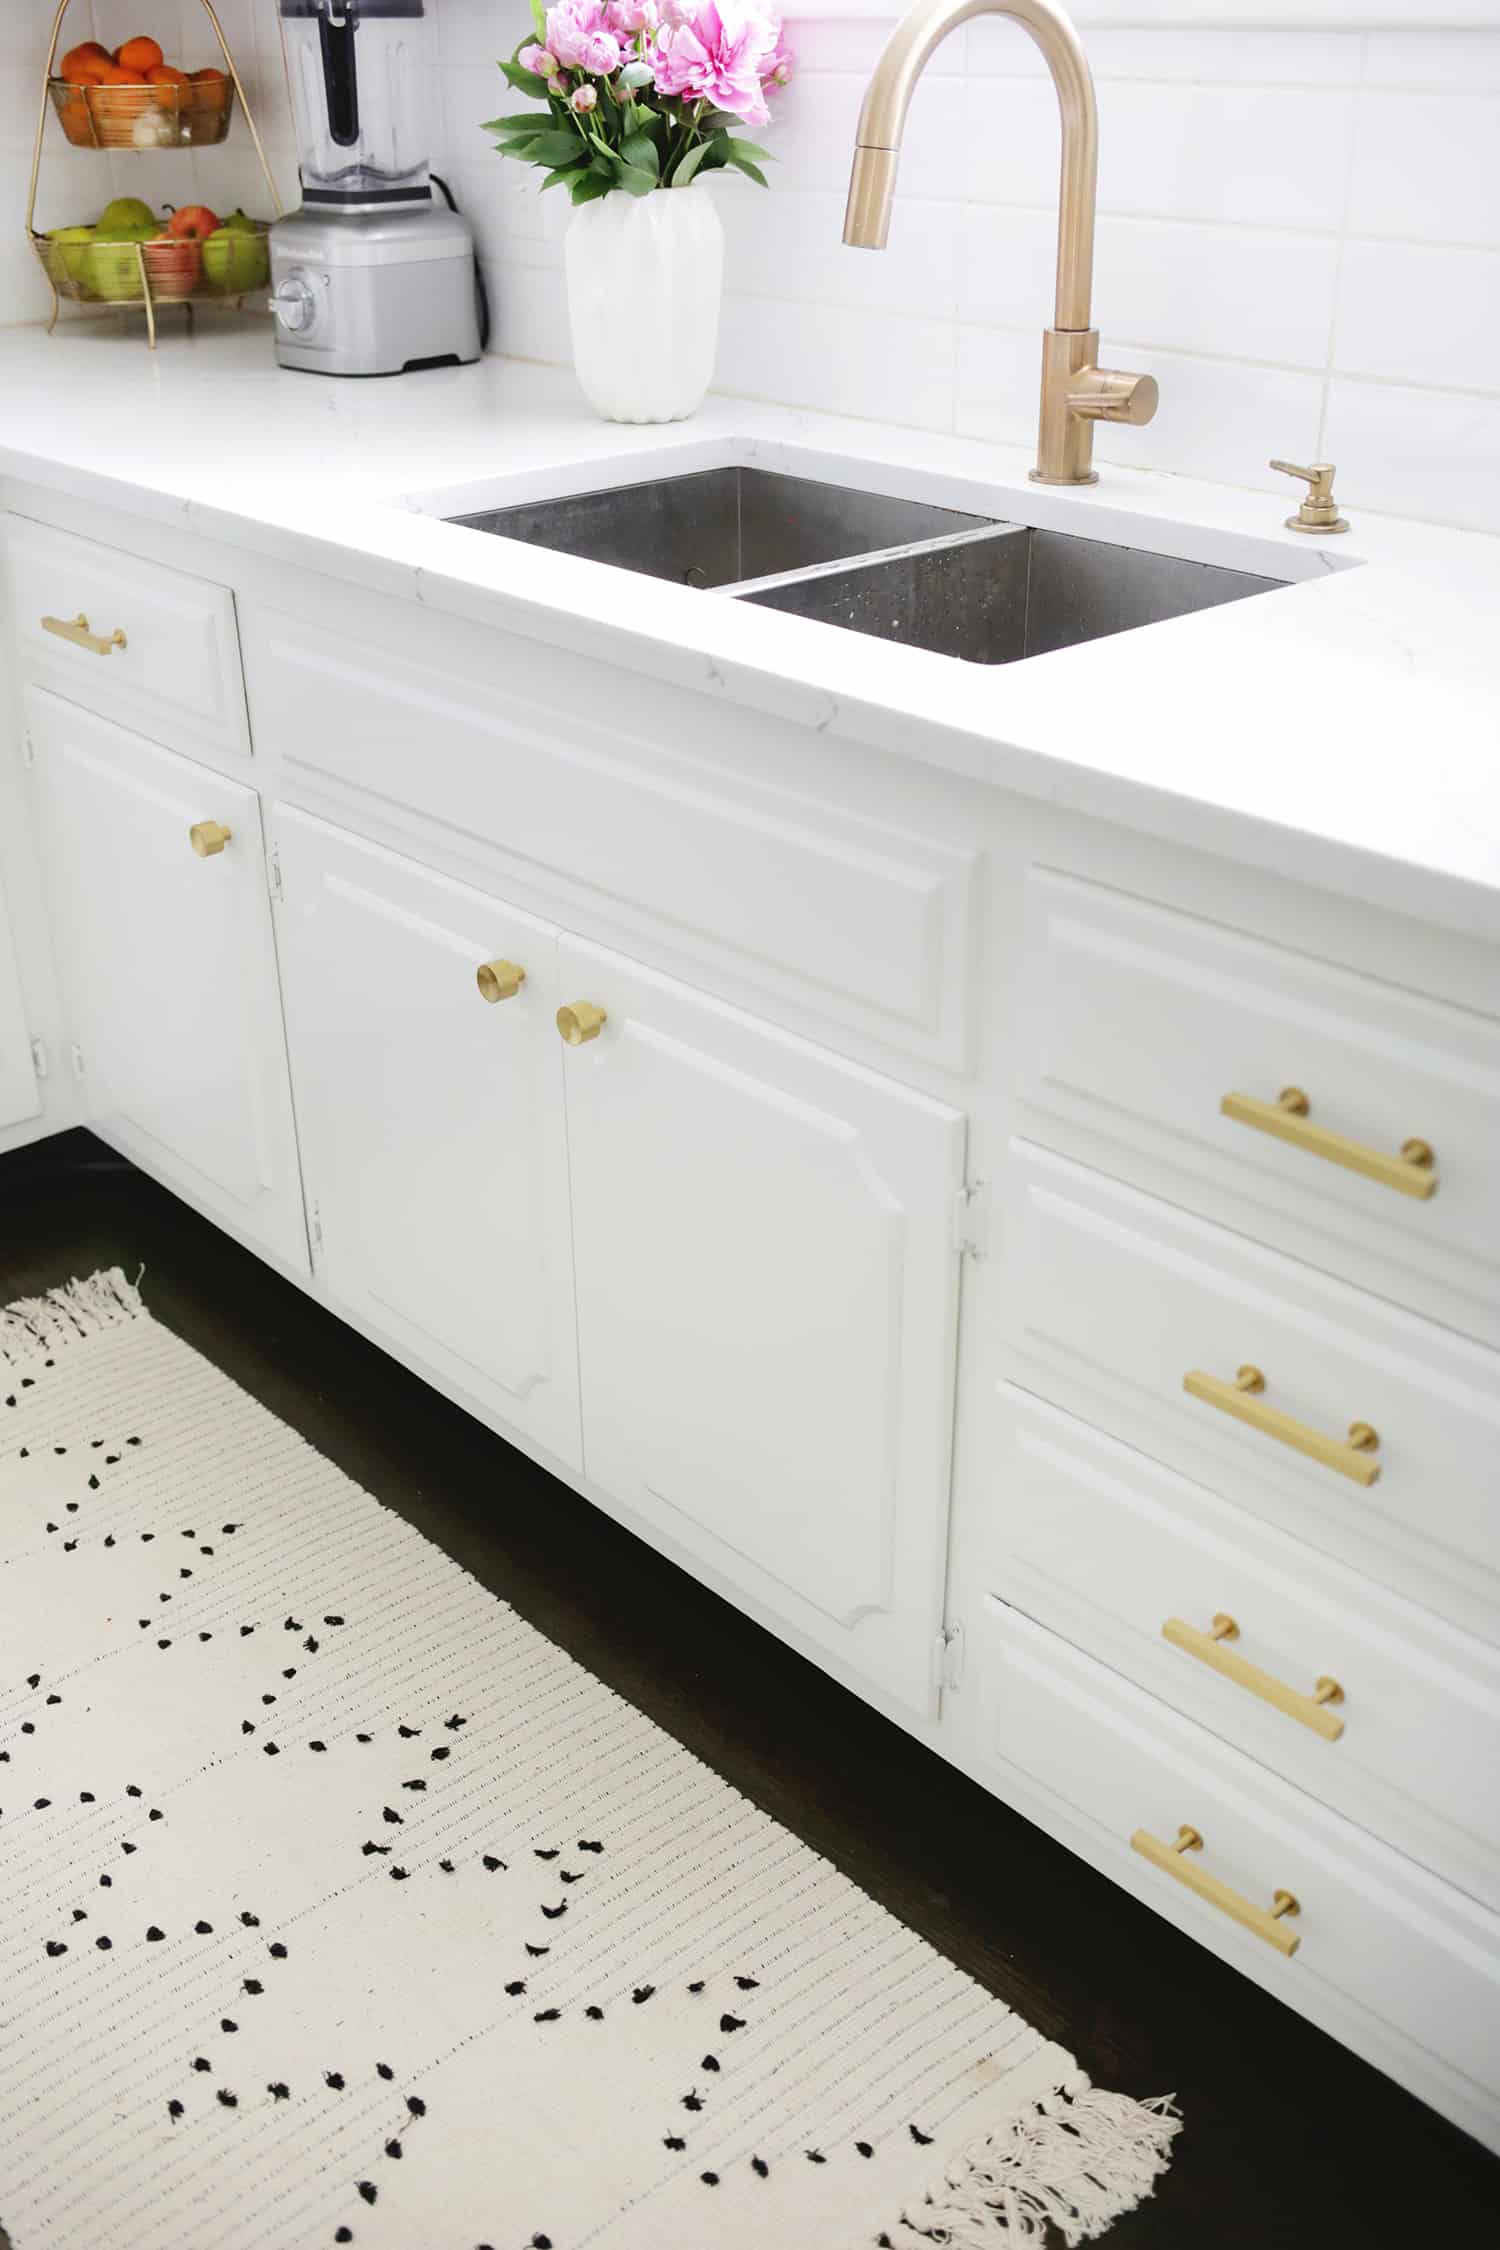
Here you are !! I’m honestly amazed how much newer the cabinets look after just an afternoon of work — totally worth it! You can also turn on a cute pan on the counter or new kitchen rug into space to renew it.
It feels like I spend most of the day in the kitchen, so it’s definitely worth the effort to make it look its best. I also organized My Refrigerator and storage in an afternoon, so take a few days and really hit your spot! Hope this project idea helps brighten up your kitchen too! so so. Laura
PS Looking for more kitchen content? Payment procedures …