With all the new advancements in technology, specifically with the emergence of AI, why would you still need to have a set of filters for landscape photography? How do you start and what should you start with?
Even before the emergence of AI, there have been many statements thrown around as to why certain filters might not be necessary anymore for landscape photography. However, time has proven that while alternative methods are available in post-processing, many photographers still prefer to achieve the intended effects in-camera. In addition, there are still some exposure effects that can not be replicated by manipulation techniques, or doing them in post might be more tedious than mounting a filter before taking the shot. More importantly, for most landscape photographers, it is the process of taking the image and transforming the scene into what they envision that matters most.
Starting Your Landscape Photography Journey
If you are someone who is just about to start exploring landscape photography, the best starter tip that might be applicable to you is to try to start with whatever you have right now. Yes, there is a multitude of gear and tools that can be very helpful for landscape photographers but starting without most of them is not a bad idea either. This applies greatly to filters as well.
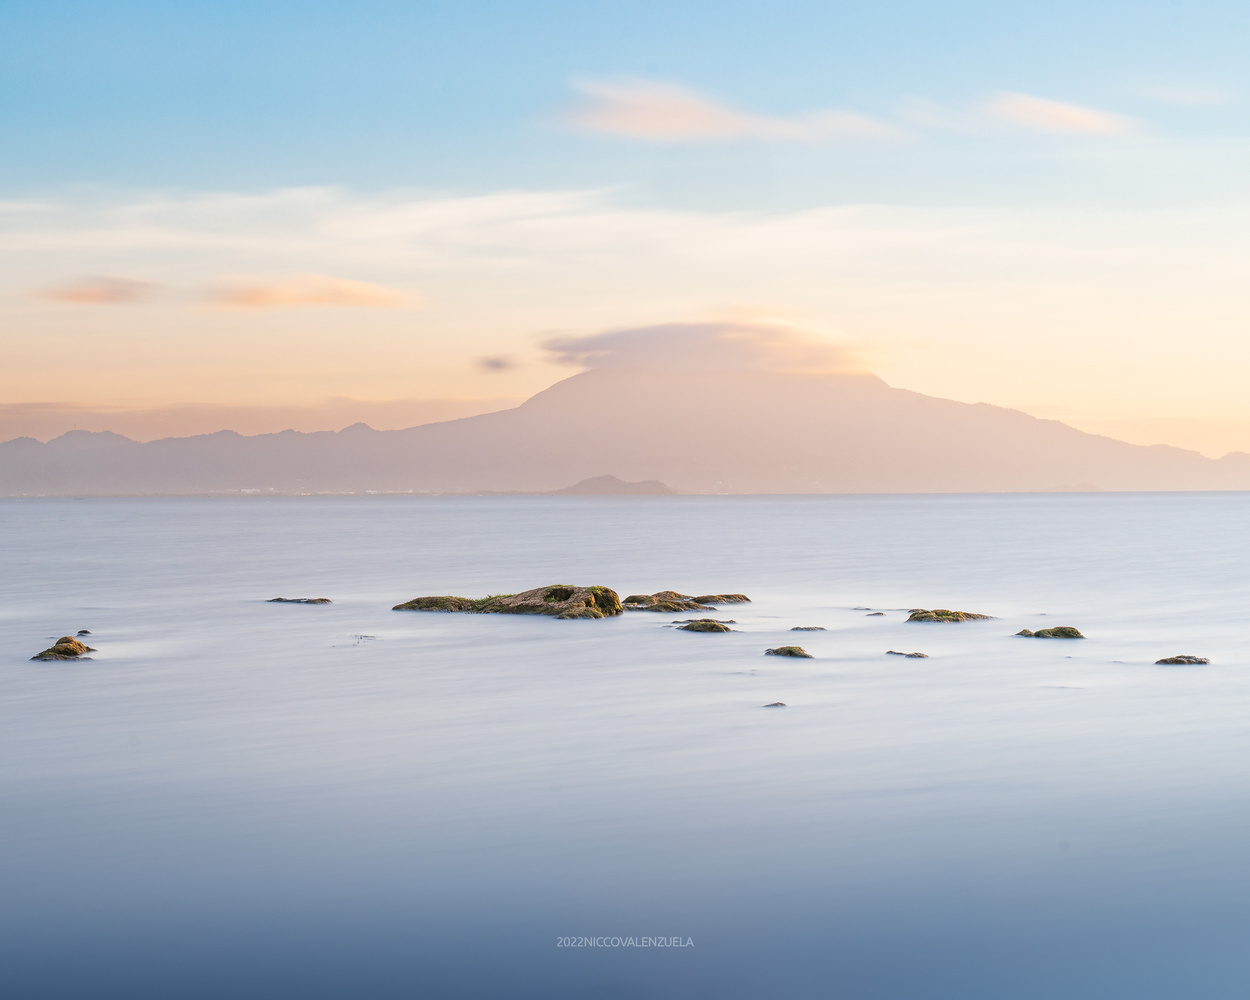
Starting to learn landscape photography without filters is entirely possible and may even help you understand how light changes with the different times of day and weather conditions. For anyone with a camera (or maybe even a smartphone with manual settings), planning and anticipating the transition hours can help you learn to adapt and make the most of whatever lighting conditions are present. Without ND filters, it would be during the blue hour and the golden hour when you can practice prolonging your exposures not just to get bright enough and clean enough images but also to explore what motion in some elements in the frame such as flowing water or moving clouds can contribute to the beauty of your shot.
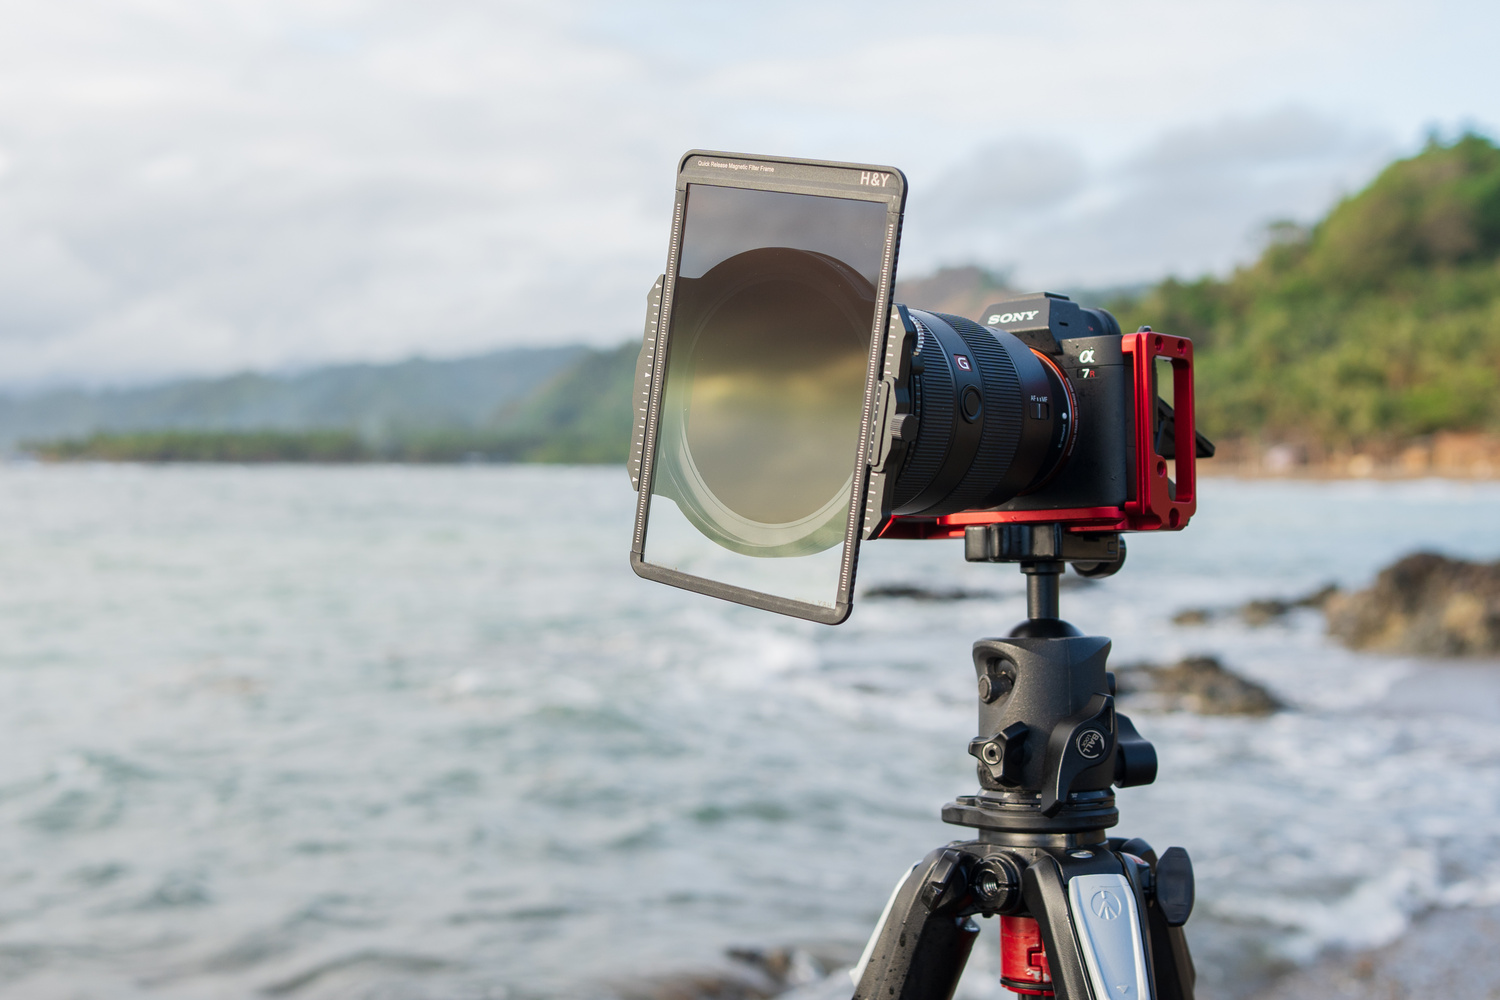
Filter #1: A 10-Stop Neutral Density (ND) Filter
Other landscape photographers may recommend different grades of ND filters but I particularly would recommend getting a 10-stop because it would have more applicable times than any other filter variant. In terms of ND filters, a stop is a reduction in the total amount of light by half which means that a 10-stop ND filter reduces light by half ten times with the resulting amount of light coming into the sensor being 1/1024th of the original brightness.
This means that even in situations where there is still a lot of light (mostly except around noon), this filter alone can allow you to shoot long exposures until it’s dim enough to shoot without any. 10-stop ND filters are usable before and during the golden hour which can be the longest amount of time for any ND filter to be used.
Filter #1.5: A Circular Polarizer (CPL)
A circular polarizer is definitely an essential part of a landscape photographer’s kit and in the past, I would have put this as #2 or even #1. However, many brands have incorporated circular polarizers with ND filters in recent years which now makes it easier (and possibly cheaper) to build a basic filter kit.
Circular polarizers control the entry of polarized light into the sensor. For the sake of a simple explanation, anything that is reflected onto a reflective or shiny surface is polarized light. This means that you can reduce or intensify reflection in bodies of water or wet surfaces, reduce unwanted glare, and increase the contrast of a blue sky. The fact that they now come in combination with various kinds of ND filters makes it logistically easier to achieve both long exposure effects and manage reflections in a scene. Since circular polarizers are simply rotated to reduce or increase reflections, the instances wherein they won’t be beneficial are also the instances when there is no actual use for them which are either when the light reflecting on the surface is in front of or behind the camera, or when it is too dark to be using filters. Simply put, having a CPL on your ND filter will most of the time not have any cons.
Filter #2: A Soft-Edged Graduated Neutral Density (GND)
A graduated neutral density filter is very helpful in situations where one part of the frame is too bright for the others. Typically this is when the sun is much brighter than the landscape. GND filters reduce the light on one part so that they would be closer in terms of brightness to the other and there would be relative balance in the frame. This also allows you to reveal more details in the parts that might have been too bright without the GND filter.
There are generally two types of GND filters, a soft-edged one where the gradient is subtle and hard-edged variants where the gradient is abrupt. Between the two kinds, soft-edged GNDs are generally more universal because the effect looks natural even if there are objects that cross the line where the edge of the gradient is. If you’re looking for simpler options, that is basically all you need.

As an alternative option, you might want to look at this modified soft GND variant. Soft GNDs generally come in 2, 3, or 4 stops. Different landscape photographers have different preferences but I particularly think that the 3-stop variant is most universal in terms of usability in different shooting scenarios. However, in recent years there is a sub-variant of soft GNDs that I’ve found to be very useful, possibly even in more instances than the 3-stop soft-edged kind. A Balancer (as the brand H&Y calls it) or Medium (for some other brands) GND filter is commonly a heavier 4-stop GND filter but with the edge of the gradient placed lower. With the darkest part on top being 4 stops, there’s basically a part with 3 and 2 stops respectively on the filter as you slide it up and down. This means that when the top part is visible in the frame the GND is generally a 4-stop GND and when the bottom part is part of the frame when the filter is adjusted upwards, it can be as light as 2 stops. When used and adjusted according to how much brighter the sky is compared to the foreground, a balancer GND can be more versatile to use.
Starting With This Filter Kit
The combination of filters listed above covers many but not all shooting scenarios. Starting with that particular set will allow you to shoot in more diverse situations. At the same time, knowing what you’d like to achieve with your exposure techniques will tell you what other kinds of filters would be good to add to your existing kit. With a 10-stop ND combined with a circular polarizer plus a soft-edged GND, you’d be able to do long exposure during the daytime, manipulate reflections and glare, and make high contrast (or high dynamic range) situations more balanced and detailed.