Breaking into the world of photography can be daunting enough. The world of video can be even more daunting! For someone who has been 100% photography-focused since day one, trying out video is a whole new world. Here’s what I learned from creating videos for my work as a photographer with no video experience.
Why Video?
It started in 2020, when I bought a drone And gimbaljust to sell the drone and let the gimbal collect dust. I considered a YouTube Channel and was afraid that if I had the skills to make videos and jumped into the fire with a larger audience than my local one. I was someone who thought about a project, researched it thoroughly, and then came back to it; I would do it. I had wanted to make a short video for a few years to introduce myself as a photographer. I kept emailing local videographers, but they wouldn’t respond to a single one. When my frustration reached its peak, I did it myself. I did it and started thinking about making my own videos.
Why lie to yourself? It’s 2024, and Instagram reels, YouTube shorts, and TikTok are all the rage. These days, we have to be both photographers and videographers, so adding video was a no-brainer for me at this point!
Plan your thinking process

When you think about creating a photograph, there are so many aspects: shutter speed, aperture, ISO, and more. We focus mostly on the exposure triangle and composition. When it comes to video, I have to think ahead. That is, take all of these ideas and cram them into a list. Then I take the list and create a flow for a video that is less than sixty seconds long. I want to make sure that I tell my story, but how? Ultimately, I decide to create a shot list and write it down in a document to help organize the video. This ensures that I have all the shots I need and makes editing the video faster in terms of flow. Having a rough draft of the video flow at the end makes it much easier to create a storyboard.
Film yourself
The second hardest part of this process is trying to film yourself a few times. It’s a lot easier when you have a second set of eyes and hands! You can visualize your shot, but having a second person to focus and press that magic red button can make a huge difference, but it’s not always possible. You might end up being a one-man band.
-
Be organized: Having your shots planned out in advance will make the process go faster and make things easier and less stressful. Make a shot list of more than you think you’ll need. I like to make sure I have a variety of shots so that if I change the orientation of the video, those shots can fit my new orientation.
-
Be flexible: Finally, being open to ideas right away has yielded a few hits that I hadn’t considered. If they don’t work, there’s no real loss other than time. Most of the time, the sudden hits work best.
-
Pre-focus: Finding a point in the frame will allow you to create more interesting clips. I created a shot where I focused on a gravel road; as I entered the frame, I was out of focus until I hit the point I had focused on. This allowed me to focus and create a more interesting clip.
-
Distant: It may seem obvious, but one handy device we all have is a wireless remote control! It’s easy to start and stop your video without having to run to the camera, record, and start again.

Camera settings
The easiest part of the process is setting up your camera. There are a few things to keep in mind when choosing settings for your video.
- Frame rate: This is where I start first. If you want your video to look more cinematic, choose 24 frames per second (FPS). A general rule of thumb is that if you want to double the frame rate, this will be your shutter speed. For example, 24 fps is 1/50. If you want to create some slow motion clips, you’ll want to use 60 fps and a shutter speed of 1/120.
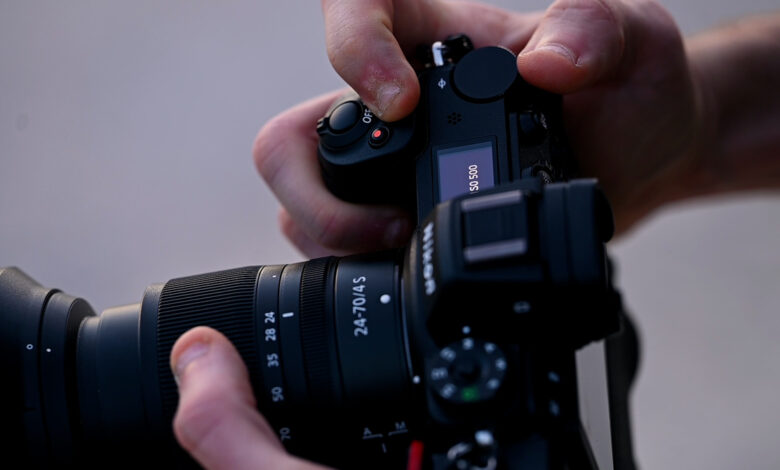
- Concentrate: I like to use manual focus for photos when I don’t have help. This goes back to pre-focusing to establish your focus and overall photo. Sometimes I choose to use autofocus with tracking on Nikon Z6 IIBecause I can focus on myself while walking, I can maintain concentration.
- Stable: I mainly use one tripod for the footage in my videos. This is because my clips will be static and there will be no movement other than me. If you plan on moving the camera while filming, a stabilizer like Zhiyun Crane 4 3-Axis Handheld Gimbal would be a great choice if you are seriously considering creating videos.

Edit
This is the most overwhelming part of the video creation process. You get a sense of where you’re starting from. I decided to upgrade and add Adobe Premiere Pro according to my plan. I had to learn a completely new software without any prior knowledge of it. Like any software, I familiarized myself with the basics through YouTube videos. With each hurdle, I had to do more research and learn new skills. Overall, it was a challenging and uncomfortable experience. If you don’t want to spend the extra money, the accessible version of Davinci solves Black Magic is easy to use, works wonders, and is packed with features if you’re just starting out! Once you’ve completed your video, it’s time to export; this is a challenge. There are a lot of settings that affect the quality and sound. I find that the basic export settings in Premiere Pro work well!

Sound and Music
Sound and music make up 51% of a great video. Have you ever seen a great video with poor sound quality? Think about what makes a great movie: the soundtrack! Take “Star Wars” for example. Without the soundtrack, it would be pretty dull! Music can also help set the mood of your video. You can get music and audio assets from a variety of websites.
I finally decided Artist List after looking at a lot of options. The number one reason I chose them was because of their new AI voiceover feature; more on that in a minute! Artlist provides you with the highest quality music, sound effects, voiceovers, and more. Music was a rabbit hole for me because it took me a while to find a track that helped set the mood and add to the story!
Come back voiceover feature. In the past, when I tried to do a podcast or two, I used Fiverr to hire a voice actor for the intro and outro of the podcast. When I started this video, that was my plan until I stumbled upon the new voiceover feature.
The downside to this new feature is that there is no monthly subscription. You will have to
spend about $479 for Max Artist Listgives you a full year and access to all sound effects, voiceovers, music and footage! The voiceover feature has around 40 voices, so finding one that fits your project won’t be a problem! Artlist Max Pro allows you to delete and monetize three channels on each social platform and unlimited YouTube videos. It also includes using them for websites, paid ads, podcasts, etc. All without worrying about copyright issues!

Sometimes you need footage that you can’t create. Maybe it’s due to time constraints, location constraints, or lack of equipment to shoot the scene you want to shoot. Artlist also has unlimited high quality footage to choose from! Why reinvent the wheel if you don’t have to?
Ultimately, what was supposed to be a very challenging project turned into a new and exciting skill set to use in the future. If you are considering getting into video or creating videos to promote your work, I highly recommend it; taking it one step at a time will make the experience less stressful. The best advice I can give is to just start. Your first videos will be difficult, but with time and practice, your videos will only improve!