Cameras are so customizable these days that sometimes you don’t even know where to start. So, after a lot of time and effort, here’s how I set up my camera for wedding photography.
While the most helpful way to learn these settings is to watch the video, I still wanted to explain some of the settings I set up that I couldn’t go into more depth in the video.
Focus back button
I mentioned this a little bit in the video, but I went over it because I always felt like this setting should be the default for most users. But I realize that not everyone knows why this is useful. By default, all cameras have focus tied to the shutter button, where you press the shutter button halfway to focus. The problem is that every time you release the shutter, you have to refocus. There are also times when you want focus to track and other times when you want focus to just set and hold. Traditionally, there are a bunch of settings that you need to adjust for the different ways you want focus to work, like tracking vs. non-tracking and continuous vs. single focus vs. focus lock. When the back button comes in, it ties all of these capabilities into a single button without any kind of menu change.

So the way this setup works is you remove the focus mode from the shutter and just attach the focus mode to the back button. For the focus mode, I always set it to continuous and tracking. Now the way this works is every time I press and hold the back button, it acts as continuous and tracking focus mode. When I just want to focus on a subject and then lock onto it, I press the back button and then release it. Since the focus mode is no longer attached to the shutter, I can shoot as I please and the focus mode will stay where it was until I press the back button again.
Flash Time
This is an important setting for me simply because I use Sony a9 III. And since I’m just talking about settings, I can’t really go into what this setting does and why it matters. So here’s a video explaining how it works in relation to traditional sync and high-speed sync. But again, if you don’t have a Sony a9 III, this setting isn’t relevant to you.
Boost and Pre-Capture Buttons
Both of these settings are capable of shooting up to 120fps. But it’s important to realize that this frame rate may be too high for most people. If that’s the case, you can definitely choose a lower frame rate. But for the boost button, you’ll obviously want to make sure you choose a higher frame rate than you’re used to. For the pre-capture mode, it’s important to know that your camera’s buffer size has a built-in limit. So if you set the pre-capture mode to a full second at 120fps, this will take up a large chunk of your buffer, meaning you won’t be able to capture anything after you press the shutter button. So if you want the ability to continue shooting after you press the shutter button as well as take photos before you press the shutter button, experiment with the settings to find the sweet spot. In my use, at 60fps and a quarter second, I had enough pre-capture shots as well as still having the ability to take a photo afterwards. 
Customization vs. Usability
As you watch the video, you’ll notice that I have a few buttons that don’t have any functions at all. While it would be nice to assign functions to these buttons, my ability to use the camera is more important than ease of use. Because of these buttons, when I use them, I find that I tend to bump them or accidentally hit them. So while using these buttons to access functions is helpful, it actually hinders my ability to use the camera and slows me down because I end up shooting with the wrong settings because I bumped them. Or, I have to constantly keep an eye on those settings to make sure they haven’t been accidentally hit. So when setting up your camera, it’s important to keep in mind what you think looks good in terms of settings, but also to keep in mind how those settings actually translate to real-world use.

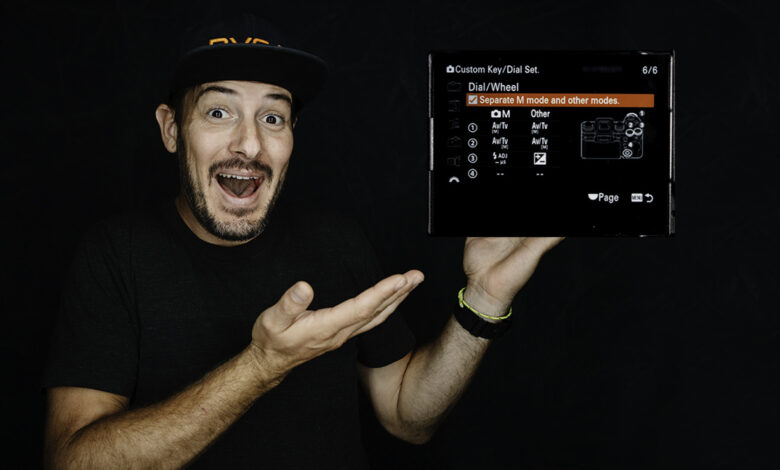
1, 2, 3 Custom Dial and Hold Buttons
I feel like these are some of the least used customization tools out there. While I use mine for the easy access to switch between aperture priority, manual, and various focus modes, the options here are pretty substantial. And I would really like to see a few more options in these customizations, but even so, there’s still a lot that can be done. So take a look at the options available and keep them in mind as you work. From here, whenever you find yourself going into the menus to make a change, ask yourself if this is something that would be useful to assign to a button or dial setting. At the end of the day, with all the customization options, the goal is to never have to jump into the menus. 
Conclusion
There is no one size fits all for setting up your camera. This setup is what I have found to work for me through a lot of real-world use. But I’m not saying it will work exactly for you and how you work. Hopefully, this at least gives you an idea of some of the options and sheds some light on some options that may not be so obvious when you first explore the menu. If you have any special setups or customizations that you find useful, I’d love to hear about them in the comments.