Learning workflows from experienced photographers can help you understand and effectively apply a variety of techniques. Here’s a seasoned photographer’s landscape photo editing process.
Coming to you from Anthony MorgantiThis detailed video is part of a series of videos showing his current editing workflow in Lightroom Classic. Morganti focuses on a particular image that needed more post-processing than his previous examples. This selection allows him to show you more advanced editing and adjustment techniques.
The process starts with noise reduction. Morganti typically uses the denoising function in Lightroom’s details panel for most images, unless the noise level is too high. For this particular image, taken at low ISO, noise reduction was not immediately necessary. However, low-light images often have more noise when brightened, so Morganti remembers this step for later.
Next, he tackled the alignment of the image. The image was slightly crooked, so he used the crop tool to straighten it. This step was essential to ensuring that the final image looked professional and well-composed. After straightening, Morganti moved on to basic tonal adjustments. He opened up the shadows to reveal more detail and adjusted the highlights to balance the exposure. This brought the image closer to the correct exposure.
Morganti then focuses on fine-tuning the image’s tone using white and black sliders. By holding down the Option (or Alt on PC) key while adjusting these sliders, he can see where the image is cropped and make precise adjustments to ensure balanced contrast. After these adjustments, Morganti noticed some noise in the image. He decided to use AI noise reduction, opting for the built-in Lightroom feature. This step creates a new DNG file with reduced noise and applies the previous edits to this new file, maintaining workflow continuity.
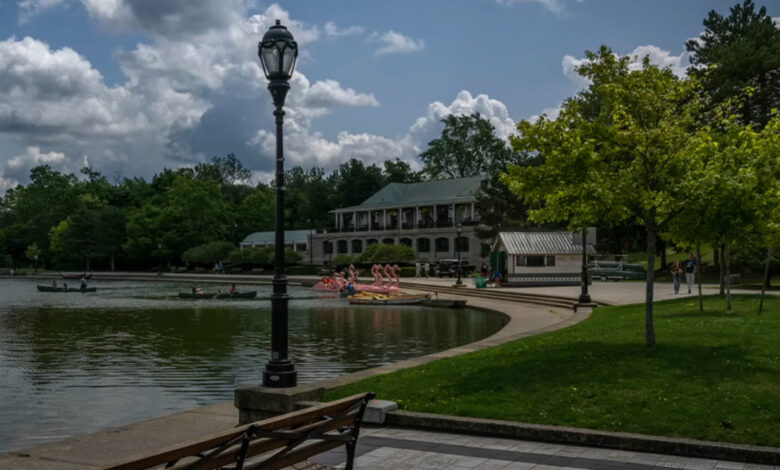
After completing the denoising process, Morganti enhances the colors with the color mixer. He likes the mixer because of how effective it is. By adjusting the brightness and saturation of yellows and greens, he introduces tonal variation into the evenly spaced green areas, adding depth and interest to the image. This step is especially useful for landscapes and travel photos with large areas of green. That’s just the beginning, so watch the video above for Morganti’s full rundown.
And if you really want to dig deeper into landscape photography, check out our latest guide, “Photographing the World: Japan with Elia Locardi!”