If long exposures are a priority, there is a limit to how far you can go unless you wait for darkness. The best alternative is a neutral density filter, which allows exposures as long as desired at any time of day. Whatever you do, don’t use a variable neutral density filter to take photos.
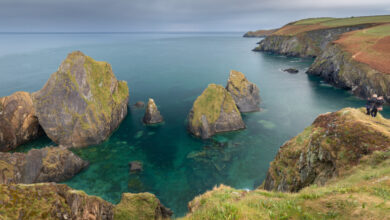
Landscape photography with long exposures is common. It can lead to great results when done correctly. The appropriate exposure time depends on the situation and desired results.
Sometimes extremely long exposures are needed to remove all traces of movement from the water. It is often used for fine arts or something similar. Exposure of several minutes is not uncommon.
However, if the intensity of the water must be clearly seen, an exposure between 1/4 second and 2 seconds is usually recommended. For mountain streams and waterfalls, the exposure should also be different. Again, it depends on the speed of the water, the focal length, and the desired effect.
One filter is not enough
For long exposure photography, it’s not about the filter you’re using but the exposure you need to get the desired effect. You can’t just buy a 10 stop neutral density filter and use it. There will be situations where that filter is not strong enough. In other situations, the filter is too strong.
It’s not just the desired exposure that determines which neutral density filter is needed. Weather conditions and time of day also influence. That’s why it’s important to have neutral density filters on hand.
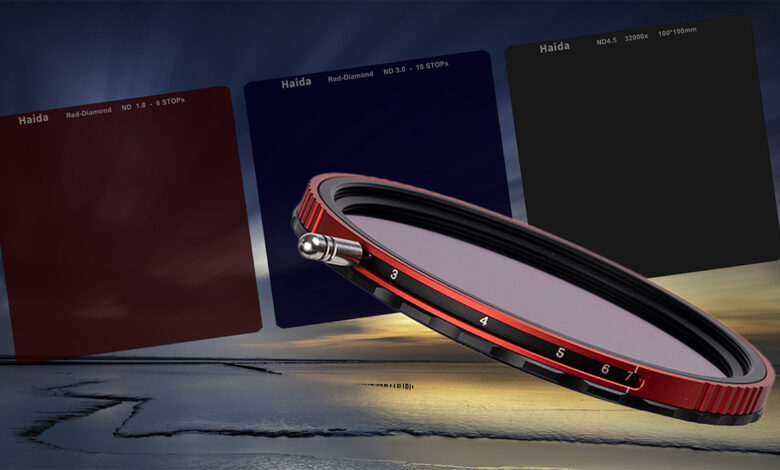
If you like long exposure photography, it’s best to carry three or even four neutral density filters with you. You need 3 stops, 6 stops, 10 stops and 15 stops to prepare for every situation and achieve the desired effect. It also allows you to combine multiple neutral density filters, expanding the number of possible densities.
This amount of filters can be expensive, especially if you choose good quality. To avoid the need to use a filter for every lens diameter you have, it’s best to use a square filter and filter holder. I use Haida Red Diamond 100mm Filter with excellent results, even when combining two filters. But this isn’t about branding; it’s about cost and the need for relatively large racks and filters. You also need more space inside the bag to carry this.
One filter to rule them all
Wouldn’t it be great if you could just buy one filter and be done with it? It saves a lot of money and is much easier to carry with you. Just buy a large filter, like 82mm or 86mm. Use ascending rings to mount the filter to smaller diameter lenses.
This is a variable neutral density filter. A filter allows you to change the neutral density simply by turning a dial. There are many different variations available. Some allow neutral density to fluctuate by up to 10 stops or even more.
A lot of these filters produce terrible results, especially the cheaper ones. If a filter promises a huge range, you can be sure that it won’t live up to its expectations. But even the expensive ones, with their limited neutral density range, should be avoided, at least for photography.
Limited neutral density range
The first problem you encounter is the limited neutral density range. While there are incredibly large ranges available, most variable filters don’t get dark enough for really long exposures. If you want more than 30 seconds during the day, you’re in luck achieving that exposure with a variable neutral density filter.
A lot of filters are limited to 6 stops or 7 stops. Some offer 10 stops, which extends normal exposure times by 1,000 times. But there’s a bigger problem with these filters.
Cross effect
Variable neutral density filters use two polarizing filters to increase the density of the filter. By rotating one polarizing filter in front of another, less and less light is allowed to pass through the filters.
Because light passing through a polarizing filter is directional, the two lights will form a dark cross in the frame. The more you rotate the filters relative to each other, the stronger the effect will be.
This effect slowly creeps into the frame. It will be easily seen against bright skies or flat surfaces, but if there is a lot of contrast, it will not be noticeable when taking photos. But it will show up in post-processing. In the worst case, a variable neutral density filter will render the photo unusable.
A variable neutral density filter has its uses
Looking at the effects that a variable neutral density filter can have, it seems like these filters are unusable for photography. However, the variable neutral density filter is perfect for video.
If you are familiar with video, you know how important shutter speed or shutter angle is. If you also want to control depth of field, there is only one way to get the right exposure: the ISO value. However, the ISO value also has limitations if you shoot in log format.
This leads to limitations when filming in well-lit conditions. That’s where a variable neutral density filter comes in. It provides a way to control exposure without losing control over shutter speed and depth of field.
The crosshair effect seen in photography is less of a problem than in video. In most cases, an aspect ratio of 16:9 or 16:10 is used. Since the darkening of the frame due to the crosshair effect starts at the corners of the frame, it will not be visible unless the neutral density is turned to an extreme level.
I use Haida NanoPro CPL-VN filter with a neutral density range from 3 stops to 7 stops. It’s perfect for most situations. The benefit of this filter is its built-in polarization effect. While the beginnings of a darkening crosshair effect can be seen in photography when dialed in to 7 stops, it’s almost imperceptible for video.
Do not use the Variable Neutral Density Filter for photography
While there’s no rule against using a variable neutral density filter for photography, I advise caution. Always pay attention to the dark crosshair effect. It’s difficult to detect in the viewfinder or on the LCD screen, but it will eventually be noticed.
The best way is to invest in a true neutral density filter. Start with 3 stops and 10 stops. Depending on your needs, you can expand to 6 stops or even 15 stops.
Do you use a variable neutral density filter? If so, please share your experience in the comments section below.