Orton lighting effects give landscape photos a soft, ethereal quality that attracts viewers. This helpful video tutorial will show you how to create this effect in Lightroom.
Coming to you from Christian Möhrle of The Phlog Photography, this detailed video tutorial will walk you through the steps to create an Orton lighting effect in Lightroom. Möhrle begins by emphasizing the importance of working with HDR files for high-contrast scenes. Combining multiple exposures helps retain details in both highlight and shadow areas. After merging the HDR photos, the next step is to crop and straighten the photos to ensure a balanced composition.
Achieving the effect depends heavily on controlling contrast and brightness, Möhrle explains. He started by increasing the overall exposure to brighten the image, then reducing the highlights to restore details in the sky. By increasing shadows and blacks, he softens the contrast, giving the image a soft, vibrant look. Adding a little warmth to the white balance will enhance the feel, while increasing the vibrance will increase the saturation of the colors, making them pop.
To further enhance luminosity, Möhrle used Lightroom’s texture, clarity, and dehazing sliders. Increasing texture makes details such as grass and tree leaves sharper, while decreasing transparency adds softness, contributing to a dreamy effect. The use of negative dehazing adds a hazy, diffused look to the light, enhancing its ethereal quality. Möhrle advises applying these adjustments delicately to avoid an over-processed look.
Möhrle also demonstrates the use of a target mask to refine the effect. Using radial gradients, he applies additional light to specific areas, such as where the light source is strongest. This targeted approach ensures that the lighting looks natural and enhances the overall composition of the photo. He created multiple radial gradient layers of varying sizes and intensities to create more realistic depth and lighting effects.
Additionally, Möhrle mentioned the importance of balancing the image by adding light to both sides. He used another radial gradient to create a subtle glow from the left side, balancing the light and enhancing the harmony of the scene. By carefully adjusting exposure, blacks, and opacity in these masks, he achieves cohesive and visually appealing lighting effects.
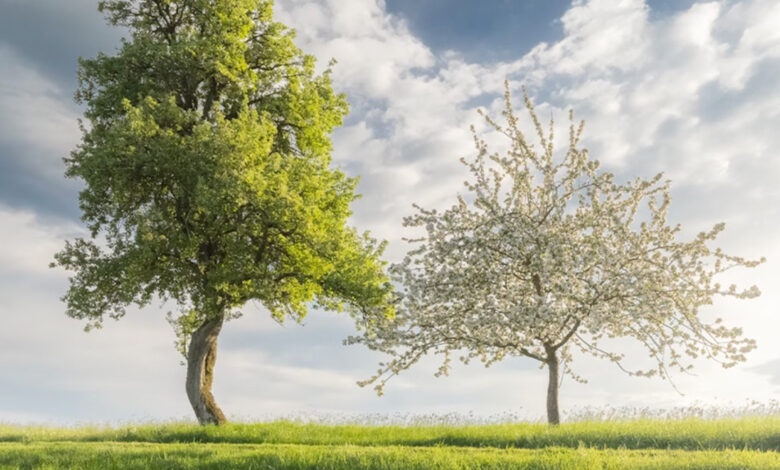
For final highlights, Möhrle suggests using a gradient mask to enhance specific colors, such as the green of a tree, and applying a slight split tone to add warmth to the highlights. . These adjustments further refine the photo, enhancing its overall aesthetic. Watch the video above for the full rundown of Möhrle.