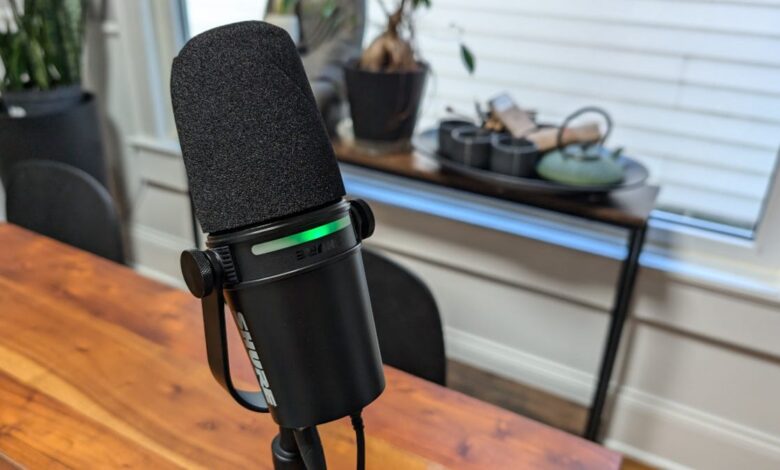

This is a well designed mic.
Jack Wallen/ZDNET
ZDNET Key Points
- The Shure MV7+ Podcast Kit (Gen 2) currently priced around $299 on Amazon.
- The Shure MV7+ microphone delivers broadcast-quality sound with the right features to enhance your podcast.
- The MOTIV Mix app needs a bit of improvement but works pretty well for now.
As someone who has worked with microphones for decades, Shure has always been a solid choice. The company has developed and released so many outstanding microphones over the years that whenever I see the name, I feel confident in the product I am about to test or use.
That was the case when I unboxed the MV7+ Podcast Kit. Before I plugged the mic into my MacBook Pro, I was confident I knew how well it would perform — and it didn’t disappoint.
Also: Everything you need to start a podcast
This mic will not be taken from me CAD E100S Microphone because it sets a high bar to surpass. However, at this price point and for its target market, you’ll be hard-pressed to find a better podcasting microphone.
Let’s find us.
Technical parameters
- Heart shape sample
- 48kHz/24-bit audio
- Physical and digital pop filters
- Custom color LED touch panel
- Dynamic mic capsule
- USB-C and XLR output
- 3.5mm jack for direct monitoring
- DSP for automatic equalization and noise reduction
- Price – $299 on Amazon for Gen 2
- Includes gator stand and USB-C cable
This mic is sure to upgrade your podcast recordings with great (and adjustable) sound.
My experience
Instead of just plugging the mic into my laptop and diving in, I decided to go ahead and download Shure MOTIV Mix App (in beta). The app allows you to configure your mic and record audio. The app is quite simple yet effective in configuring various settings like gain, reverb, timbre, Real-time Noise Canceller, Popper Blocker, High Pass Filter and customizable LEDs.
You get two output options (XLR and USB-C) and a 3.5mm headphone jack for real-time monitoring.
Jack Wallen/ZDNET
Once installed, I plugged the mic — via the included USB-C cable — into my MacBook Pro, plugged in a pair of headphones, and opened the app. When I put on the headphones, I was immediately overwhelmed with sound. A quick check in the app showed that the mic defaulted to Auto-Equalization for boosted sound.
My immediate reaction was, “This mic is hot.” My voice sounded authoritative and solid from six to 12 inches away. If I got too close, it was too strong. I found that if you turn off the automatic level control feature, you can adjust the level manually, but I found the Auto Level feature to be pretty good, so I left it on.
Also: How to Record Calls on Your iPhone (and Check If It’s Legal in Your State)
I felt the default tone was a bit bright so I turned it down to 40% which was ideal for my voice. Every voice will sound different so I recommend using the Tone setting (that’s why you have the app).
I did some test logs and here’s what I found:
- Real-time monitoring through headphones plugged into the mic is not 100% representative of what the recording will sound like. I find the recording sounds significantly better than real-time monitoring. I think this is because real-time monitoring doesn’t take advantage of the audio processing from within the app. So when you’re first starting out with a mic, don’t judge the sound by real-time monitoring.
- Real-Time Denoiser works very well. I tested it with it on and off, and the on test produced clearer audio without any ambient noise. This is important when recording in a room with higher noise levels.
- The high-pass filter works well to remove other noises (like HVAC noise) and has three options: Off, 75Hz, and 150Hz. You’ll want to try all three settings to get the right fit for your environment. I used the 75Hz setting, which eliminated most of the AC noise in my room.
- Popper Stopper is surprisingly effective at eliminating mouth noises, such as popping.
- Recordings are saved in WAV format, so they will be larger than MP3s.
- The mic has a rich and deep sound, especially after adjusting the tone to suit your voice.
- The LED touch interface makes it easy to mute the microphone with a single tap, a welcome addition for podcasters.
The question is, would I use this mic as my podcasting mic of choice? The answer is a resounding “yes,” but only if I didn’t have a CAD mic. Since the Shure MV7+ can connect via USB-C and XLR, it’s much more versatile than my XLR-only CAD. That versatility means the Shure MV7+ would probably be my first choice for on-the-go recording. I can’t think of a better option for a mobile podcasting setup. This mic sounds great, has a rich sound, and is easy to set up with just plug and play.
Also: The best podcast apps
I recommend using the MOTIV Mix app (although it’s still in beta) as you can have better control over the mic sound than when using the audio controller on MacOS or Windows.
ZDNET Buying Advice
If you’re into podcasting or looking to improve the quality of your recordings, you’ll be hard-pressed to find a more effective and easy-to-use mic. At this price point, Shure MV7+ Podcast Kit is a bargain. Not only do you get a great mic, you also get a stand and a USB-C cable. The stand has a short extension range (maybe 3″) but it’s sturdy, so it keeps the mic steady. If you buy this for your next podcasting mic purchase, you won’t regret it.