Drones let you take photography to the next level. There is only one downside to most drones that I know of. The camera cannot be tilted for vertical photography. That doesn’t mean you can’t take vertical photos. The solution is a big picture.
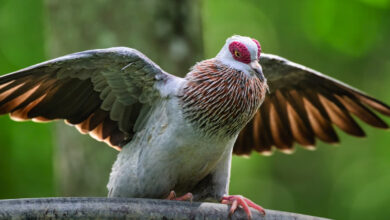
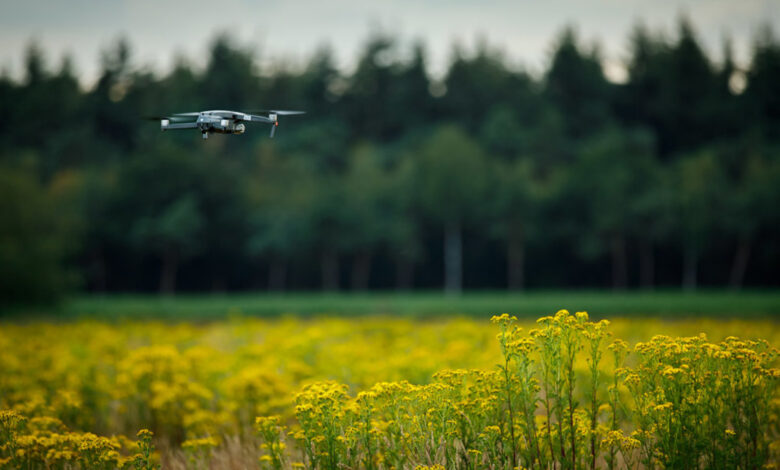
While not everyone likes drones, these tiny devices can take you to unreachable places. Or it can take you high into the sky to see a bird. But only if you are allowed to fly, that is. These drones are not allowed to be used everywhere. But if you’re in a location where drones can be used, it can take your photography to the next level.
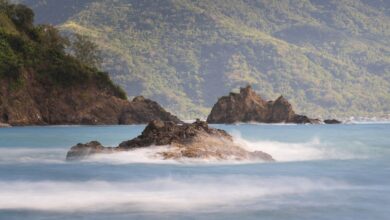
Taking pictures with a drone doesn’t require flying high in the sky. Even a few meters can provide a completely different view. You can see how a road winds through the landscape or you can see the flow of a stream or river.
Besides, the drone can take your camera beyond that one bush to get a clear view of the landscape. In other words, the drone does not need to fly to the maximum allowed altitude for best results. But I must confess that, at times, seeing and photographing the world from above can be quite amazing.
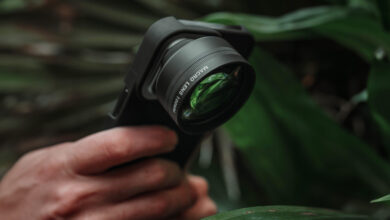
The reason for a photo with vertical orientation
If you take a high vantage point to see the landscape, it will fill a large part of the frame. Chances are, you’ll run out of space at the top or bottom if the photo is taken horizontally. The lower vantage point will prevent the landscape down to a smaller portion of the frame, making it easier to adjust things between the contours of the image.
You can try this for yourself by photographing the road from a very low angle, then from a high angle by holding the camera overhead. In the first photo, it is not possible to see where the road leads. The second picture should show that, but it will take up a lot of space so there won’t be room for much else. Take a look at the before-after example below to see the difference. You will have to choose between showing the forest canopy or showing the road.
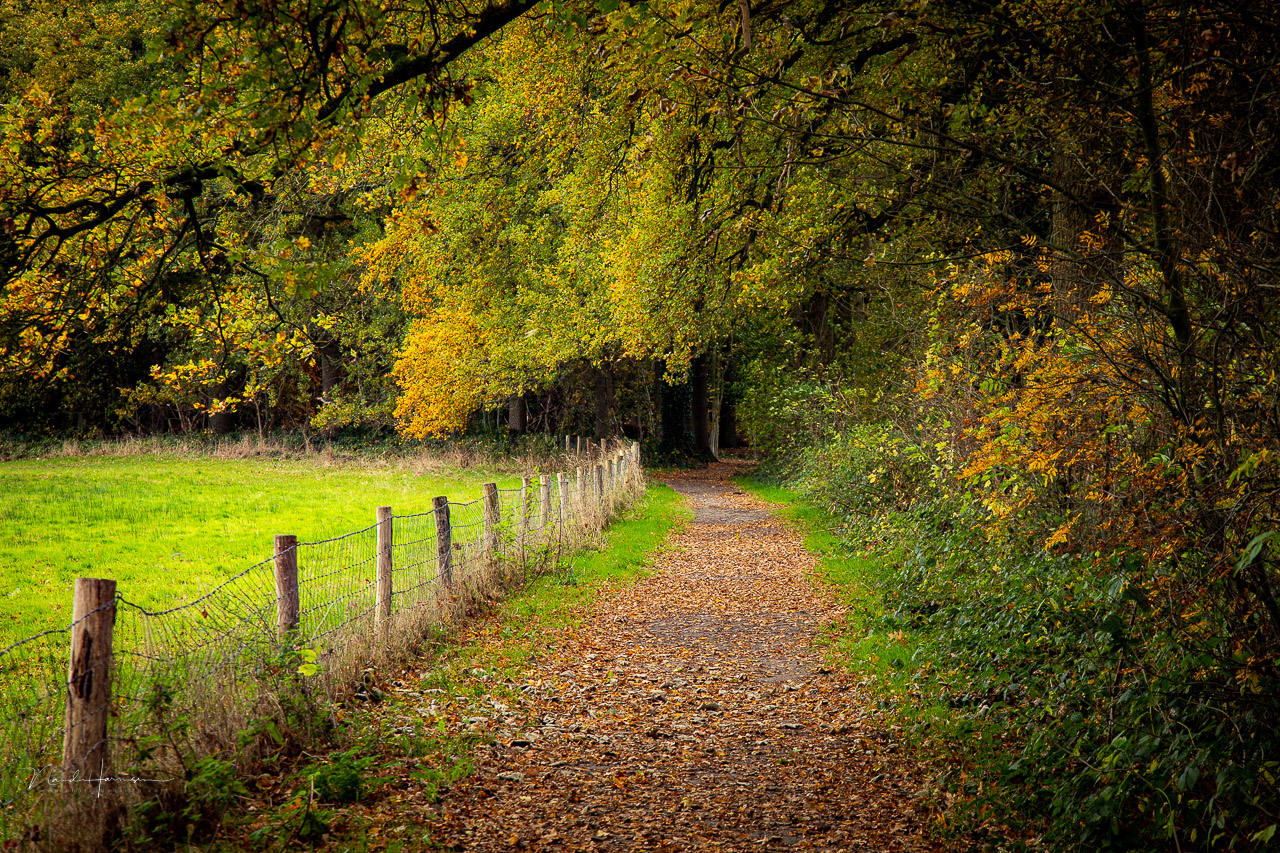

Now let’s take the same photo in portrait orientation. You may lose a bit on the sides of the frame, but it will allow you to show the path along with the forest canopy. If you’re using a regular camera, that’s very easy to do. Just turn the camera. With a drone, that becomes much more difficult.
Vertical shot by drone
With drone photography, the camera is taller, making it even more difficult to fit everything into the landscape frame. In this situation, a vertically oriented photo may be a better choice. You’ll have more space to show off that winding road or stream through the landscape. The only problem with many drones is the inability to rotate the camera.
Some modern drones offer the ability to rotate the gimbal to allow vertical photography. However, with most drones, you are limited to the horizontal orientation. But there is a solution, of course. If you haven’t guessed it by now, it’s a vertical panorama.
While it may seem obvious, not every drone photographer is aware of this possibility. They know about horizontal panoramas, but often forget about vertical panoramas. If you rely on software that automatically controls the drone, you’ll find a setting for panoramic photography, but only in landscape orientation. So you have to do it yourself.
How to Take Vertical Panoramas with a Drone
It is quite easy to create a vertical panorama using a drone. Just fly to the position you want and keep the hovering drone as stable as possible. If the drone has a tripod mode, enable it, although that’s not always necessary if there’s not a lot of wind. Tweak the position and height until you achieve the best possible composition. You may have to look up and down a few times to see what will be in the frame. Take your time.
Next, rotate the gimbal downward, looking towards the ground. Always rotate a little further than necessary to potentially cut later. Take a shot. For each successive image, rotate the gimbal a few degrees upwards. Try to keep about 30 percent overlap between the images. This way, you can capture everything you want in four or five images.
Stitch pictures
Obviously you need to stitch the images together in the post. This is doable in specialized panorama software like PTgui, but if you’re a user of Adobe Lightroom Classic or Adobe Photoshop, it will also do. Simply load the images into the software’s pairing section and you’re almost done.
I always do post-processing for each image before stitching them together. I feel like I have more control this way, but I might as well try another way. Use the method that works best for you.
After grafting, there may be some projection errors or the horizon is tilted. You have to choose the projection that gives the best possible results. This may depend on how many images you want to stitch together. For me, in Lightroom Classic, the Perspective projection gives the best results in most cases. If it leaves you with a lot of free space on the sides, try Boundary Wrap.
Boundary encapsulation can ruin a straight horizon. If so, you can transfer the image to Photoshop and transform the perspective until you’re satisfied.
Final result
All of this seems like a lot of work, but it’s not too bad. Most of the time, it goes smoothly, unless the drone has trouble hovering in a place due to high winds or if you forgot to activate the tripod mode for example. Let me end this article with a bunch of vertical drone shots I’ve taken over the past few years to get an idea of the possibilities.
If you have any additions that could help with vertical panoramic drone photography, feel free to share these in the comments section below.