Professional photo editing doesn’t have to take a lot of time. If you have the right resources, all it takes is a few minutes and the right combination of tools to add that extra bit that makes your photos shine.
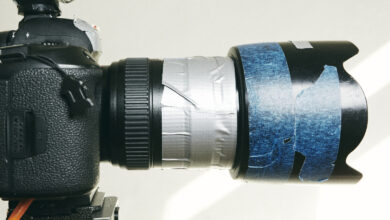
In the featured video, I demonstrate my complete workflow using Photoshop and Luminar NEO for challenging backlit image editing. To capture this photo, I used exposure bracketing and focus stacking on the scene to capture all the details. In Lightroom, I applied some basic settings to the complete image sequence and used the HDR merge tool for the background image. I have done focus stacking in Helicon Focus.
The two resulting photos were the starting point of the creative process I share in the tutorial. Editing my photos doesn’t involve major changes with just a single filter or setting. I like to build effects through a combination of subtle enhancements. Each brought me closer to the final result while maintaining image quality that can be subject to drastic adjustments.
Perhaps the most important part of professional photo editing is automation. In Lightroom, I used a set of custom presets that reflect my typical editing style. In Photoshop, you can use actions. But what I’ve been wanting to do lately is use Luminar NEO. Similar to Lightroom, it allows creating presets. With just one click and some tweaking, I can quickly apply creative edits to my images. With some of the finishing touches above, complete editing of the sample photo takes no more than 15 minutes.