I had never considered the possibility of using an external monitor with my camera, but when Neewer gave me the chance to try out their touchscreen, I wondered if it would meet my specific needs. Now that I’ve tried it, it’s something I’ll be adding to my gear bag. Here’s why.
I’m happy with the live view on the back of my camera. It holds its own against any competitor. However, and this is true of all cameras, it’s relatively small compared to my computer screen, and this causes problems. It’s not always easy to frame the shot.
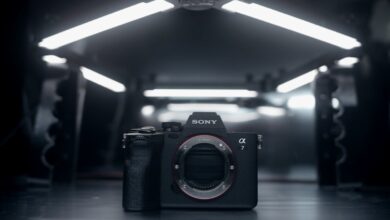
The purpose of a scene display like this F500 aircraft helps solve that small size issue. Although it’s designed for video use, I also find it useful for landscape composition, especially at night when it’s hard to even see what I’m shooting. A larger screen is definitely a plus.

What’s in the box?
Thankfully, the monitor comes in a neat, recyclable cardboard box. There was more single-use plastic in the box than I would have liked. This is a problem for many photography companies, even those with a good environmental reputation.
The monitor comes with three HDMI cables: Standard HDMI to Standard HDMI, Standard HDMI to Mini HDMI, and Standard HDMI to Micro HDMI. There’s also a battery and charger. The charger is powered by a USB cable that you can plug into any charger.
The 5.5” monitor itself strikes the right balance between lightness and robustness. I had no hesitation in attaching it to my camera. Three of its four sides have standard ¼-20 tripod sockets that can accommodate the included metal L-bracket. That mount has a cold shoe.
The top of the monitor houses the power button and menu dial. Meanwhile, on the left, viewed from the front, are the 12V DC power jack and the HDMI input and output. On the bottom are the SD card slot, headphone jack, 8.4V DC output jack, and USB-C port. The monitor comes with a Velcro-attached shield via a removable, clip-on loop.
Widely available and available NP-F550 Battery can be charged using the USB-C port on the monitor or via a separate charger. Oddly enough, the charger has a Micro-USB port rather than USB-C. The camera will also take Canon LP-E6 Batteryare also widely available.

F500 is in use
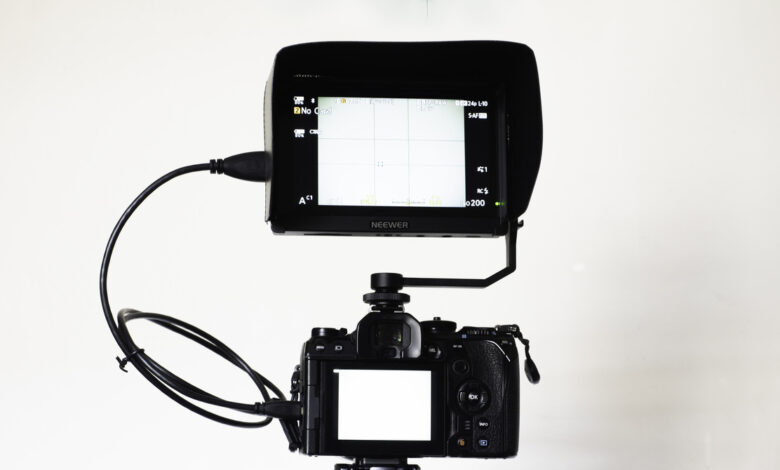
Setting up the monitor is pretty simple; plug in the battery, attach the L-shaped bracket to the camera and monitor, plug in the appropriate HDMI cable, press the power button, and you’re ready to go.
Oddly enough, when the screen is off, there is a red LED that stays on all the time. While this should use very little power, it still drains the battery.
Before it arrived, I was initially a little concerned about the weight of the monitor on the camera’s hot shoe, but at 0.56 lbs (256 g), it’s lighter than my flash. However, the L-bracket also has a hot shoe, and I think I’ll be more inclined to start using the cage to better distribute the weight rather than attaching a video light to it.

The L-shaped metal stand has a thumbscrew to secure it to the hotshoe base. The thumbscrews on the stand then hold the monitor in place. Although the monitor can tilt when in use, the latch position is only secure when the monitor is in the upright position.
The screen has a number of display options that can be accessed via the touchscreen. To start, I turned all of these off as some of them didn’t make much of a difference to me, and some of the other options, like histogram, focus peaking, and zebras, are available on my camera.
Display menu functions include Full Waveform, Oscilloscope, Vectorscope, Sound Bar, Single Color (monochrome display), False Color, Nine Rectangle Grid, Safety Mark, Center Mark, Clip Mask, Clip Transparency, Marker Color, Scan Mode, Aspect Ratio, Video Width, Video Height, Anamorphic Mode, Auto Mirror, Magnification, Still Image, Point to Point, HDR, LUT Conversion, LUT Settings, LUT Import, 3D LUT Color, Color Temperature, Red, Green, and Blue Intensity, Backlight Brightness, Brightness, Contrast Balance, Saturation, Hue, Sharpness, Jog Wheel Function, Language, OSD (Menu) Transparency, OSD Duration, Volume, Factory Reset, and Firmware Update.

The first few of these are graphs that provide a representation of what is being displayed or heard. Histograms and audio level bars are probably familiar to most readers. Meanwhile, others like oscillograms, which show the exact brightness of the display, and vectorscopes, which show the distribution of colors, may be less familiar.

So there is a lot to learn about the equipment and your technical requirements will determine which type you need.
The 3D LUT function converts S-LOG-1, V-LOG-1, DJI-LOG-1, RED-LOG-1 and others to REC-709 standards. This function will ensure monitoring without color cast. It also includes pre-loaded HLG 2020, HLG 709 and HLG P3 HDR LUTs for ease of use and supports up to 25 custom 3D LUTs. Can be uploaded using an SD card.
I don’t rely on the screen to help with exposure – I use the histogram – but a brighter screen would help in daylight. However, when using the default settings for photography, I found the screen to be a little underexposed and blueish when first used, and I could easily adjust these in the menu to match the screen on my camera, which I set to be closer to what I see in real life.

Even before the adjustment, however, I could still see the screen in daylight, and the addition of the hood made it much easier to use than the live view screen on my camera, better than other screens I’ve tried.
A nice feature is that the monitor can power your camera if it has USB charging, using the 8.4V 1.3mm jack output; however, check compatibility with your camera. The monitor can also be powered by a power bank.

What I like and what could be improved
What I like
- Easy to assemble.
- The touch screen is very responsive.
- Greatly improved live view when shooting videos and landscape photos.
- Well designed.
- Solid build quality.
- Uses common, easy to find batteries.
- Good quality accessories, such as cables.
- 5.5 inch display with Full HD resolution (1920 x 1080).
- Price. At £179, this product is much more affordable than some of the big brands and is of better quality than cheaper options.

What could be improved next time?
- The large number of disposable plastic bags can be reduced or replaced
- A complete power off option without the LED glowing would be helpful
- The battery charger must have a USB-C outlet
In short
As I mentioned in previous posts, Neewer has upped the ante. They seem to be targeting the consumer with affordable gear that closely resembles professional equipment in design and build. In a camera store, I looked at much more expensive 5.5-inch studio monitors from other brands and the Neewer model still managed to hold up in terms of durability, weight, functionality, and thinness.
For videographers, the Neewer F500 studio monitor will make a huge difference. However, it is also useful for night and low-light landscape photography.
Neewer F500 is now available on Amazon at a reduced price of £145.99. B&H offers a lower resolution 7″ Neewer F100 for $99.99.