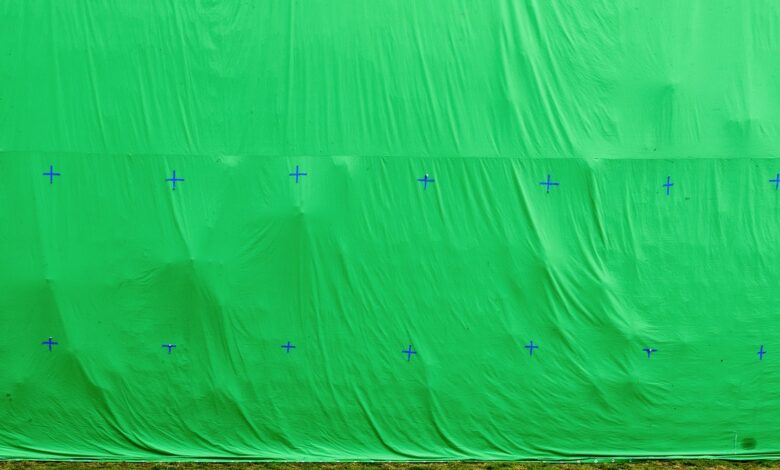
Material type. Most green glasses are made with some kind of fabric, but that shouldn’t be your only option. Foam or spandex options are more wrinkle-resistant than some fabrics. With a little work, you can also paint rigid backgrounds like cardboard or wood. You may also want a thick material to prevent light from flowing in from behind if you plan to shoot in a position or anywhere where the screen is not leaning against a wall.
Non-reflective material. It’s paramount to evenly illuminate your screen, but that can be difficult if your blue screen is too reflective. This can be especially noticeable on glossy materials like a painted wall, but any bright spots on your screen will be a problem later on. Make your lighting job easier by purchasing materials with a matte finish.
You can build your own display from materials from craft or hardware stores. You can also find relatively inexpensive kits that come with everything you need, including brackets, fabric backdrops, and clips. I’ve used this one from Emart ($80) for quite some time, and it did the job perfectly.
There are several handy stands
It’s almost impossible to have too many stands. Whether you need them to hang drapes or to install lights, they always come in handy. There are also quite a few types of stands you can keep around. Choosing the right ones will depend on the weight of the device you’re using, the amount of space you have, and your budget.
Some of the most popular (and cheapest) are photography stand. They have 1/4-inch screw heads that you can use to attach lights, clip, or hold backdrops. However, for your camera, you should pay a little more for a sturdier camera tripod like this ($76). It’s still light and can tip over, so don’t put anything too expensive or heavy on it.
For larger screens, the background stands like this one ($46) could be more helpful. (Here The package we linked earlier includes standing background and blue screen.) They are very similar to photo stands but come in pairs, have longer screw heads, and have a telescopic crossbar on which you can hang the curtain. They’re still not super stable, but as long as you don’t throw your object at the screen, they should work fine.
A heavier option is the C-stand. These Are Expensive ($165) (and I haven’t tried this yet). If you’re trying to save a budget, you might just want one for your heaviest gear. They have three independent legs, each of which can rotate up to 120 degrees, helping to stabilize the stand. It’s also sturdy enough to support a telescopic arm. These can be really helpful to assist with the heavy lighting you need to clear up a blue screen that doesn’t show up in the camera.
Illuminate your green screen the right way
There are countless ways to light both your subject and your screen, and there are very few wrong answers when it comes to choosing the equipment you’ll use. Regardless of the type of light you use, your goal should be the same: to illuminate the screen evenly, avoid shadows, and separate as much of the light from the subject as possible.
This can be a challenge, but more often than not, you’ll at least need a few large, bright light sources. Smaller lights, especially when placed close to the screen, create hot spots where parts of the screen near the lights are much brighter than parts farther away. To solve this problem, you have two options: Get some large lights or diffuse the smaller ones.