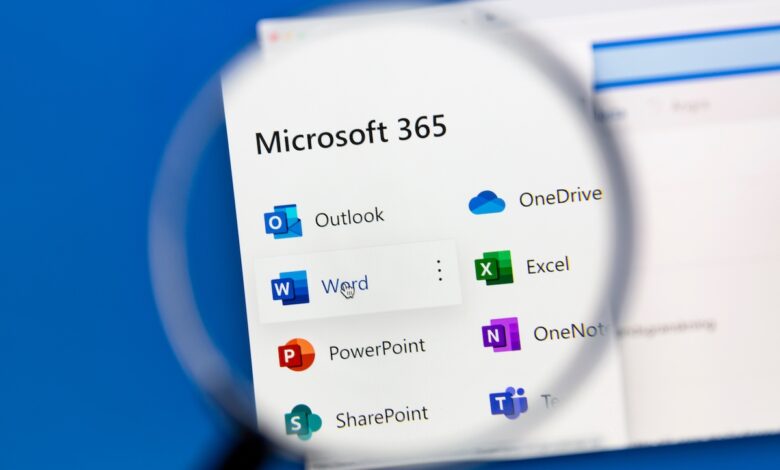
Microsoft 365 has several features to protect and restore Office documents. Learn how to use them to protect your work.

Microsoft 365 users have file backup and restore features ready to go. The others must be enabled, so you should familiarize yourself with what’s available.
By default, Office applications save files to the default folder. However, you can save files almost anywhere: To a folder on your local system, a network location, the cloud, and even an external source, such as a flash drive or DVD.
Microsoft 365 also saves a copy of your files to OneDrive by default. Although some users choose to disable OneDrive, I encourage you to enable it, as doing so will enable AutoSave and Version History. In this article, we will look at some of the built-in features that will help you protect and recover files.
SEE: Google Workspace vs Microsoft 365: Side-by-side Analysis with Checklist (TechRepublic Premium)
I am using Microsoft 365 on a Windows 10 64-bit system, but you can use an older version. No demo files; You won’t need one. These features interact with the web and OneDrive versions.
How to use AutoSave for Microsoft 365
Microsoft 365 subscribers have a built-in save protection feature called AutoSave. This feature automatically saves Excel, Word, and PowerPoint files, every few seconds, as you work. AutoSave is enabled by default in Microsoft 365 when files are stored on OneDrive, OneDrive for Business, or SharePoint Online. If Save As is replaced by Save a Copy on the File tab, you know the file is being saved to OneDrive.
To find this feature, look in the upper left corner of the title bar or on the Quick Access Toolbar, as shown in Picture A. It’s a toggle, so you have the power to turn it on and off. If you don’t see a toggle, chances are you’re not using the latest versions of Office apps. If you believe you are and cannot find it, contact your administrator.
Picture A

If you click the toggle to enable AutoSave and your app can’t process the request, it will display a message explaining why. Follow the instructions provided if you want to use AutoSave with this file. Otherwise, you cannot use AutoSave.
If AutoSave doesn’t work, you may have a conflict between your existing personal OneDrive and the new OneDrive Business. You can turn off personal OneDrive, but unless you turn off the backup folder option, your system will still be able to sync with your personal OneDrive instead of the new OneDrive for business. To fix this, do the following:
- Click the personal OneDrive icon on the taskbar. It should have a red icon to indicate that it is not enabled.
- In the window that appears, click Settings and then click Settings again in the drop-down menu.
- Click the Backups tab and click Manage Backups.
- Figure BUT displays the settings you want to see, but you’re most likely seeing blue links that say Stop Backup. Click on all Stop Backup links. By default, Microsoft 365 runs a backup on these three folders (You can add more folders).
- Click OK twice.
Figure BUT

With Autosave and Sync properly enabled, switch to Version History.
How to use Microsoft 365 Version History
Version history is another built-in feature for Microsoft 365 subscribers that is enabled by default. This feature allows you to view and restore previous versions of files stored in OneDrive or SharePoint.
To test, open any Office file and click the File tab. Then click Info and click Version History option shown in SIZE. If this feature is enabled, Office will open a list of available revisions – up to 25!
SIZE

How to use Microsoft 365 backup to OneDrive
Earlier, we went through OneDrive’s backup settings while troubleshooting syncing issues. This feature, when used, allows you to back up your Desktop, Pictures, and Documents folders by default. This way, you can protect your documents while making them accessible to your other devices.
If the feature is not already enabled, do the following to enable it:
- Click the blue or white OneDrive icon on the taskbar.
- In the window that appears, click Settings and then click Settings again in the drop-down menu.
- Click the Backups tab and click Manage Backups.
- Visualization shows a folder not syncing – I purposely turned it off. Just click on it and then click Start Backup. This will take a few seconds and will prompt you when it’s done.
- Click OK twice.
Visualization

You have 5 GB of free OneDrive storage. Microsoft 365 subscribers get up to 1 TB. If the worst happens and you lose everything on OneDrive, you’re still protected.
How to use Microsoft 365 to restore OneDrive feature
I hope this never happens, but if you lose a file on OneDrive, you can recover it, if you have a Microsoft 365 subscription.
First, go to your OneDrive website and make sure you’re signed in to the correct Microsoft account. Click the Settings gear, select Settings from the drop-down menu, and click Restore your OneDrive link, shown in Figure E. From the Select date drop-down menu, select a restore point.
Figure E

Some things worth noting
Despite all these protections, you need to be aware of some limitations.
- You cannot recover deleted files after deleting them from the Recycle Bin.
- This feature will not restore photo albums.
It is important to enable these features if you want full coverage and the ability to recover or recover files. If this isn’t enough for your organization, consider third-party protection.