

Sewing buttons is one of those jobs that most people will need to do at some point in their lives. If you are not a “drainer” and the task of attaching anything with a needle and thread seems daunting, fear not!
Whether you’re trying to sew a regular buttonhole with holes or a shirt button, here are easy steps to sewing your own buttons. Even if one pops out right before you walk out the door, you’ll have the skills to get it back in no time.
Learn to sew? Try these easy sewing projects!
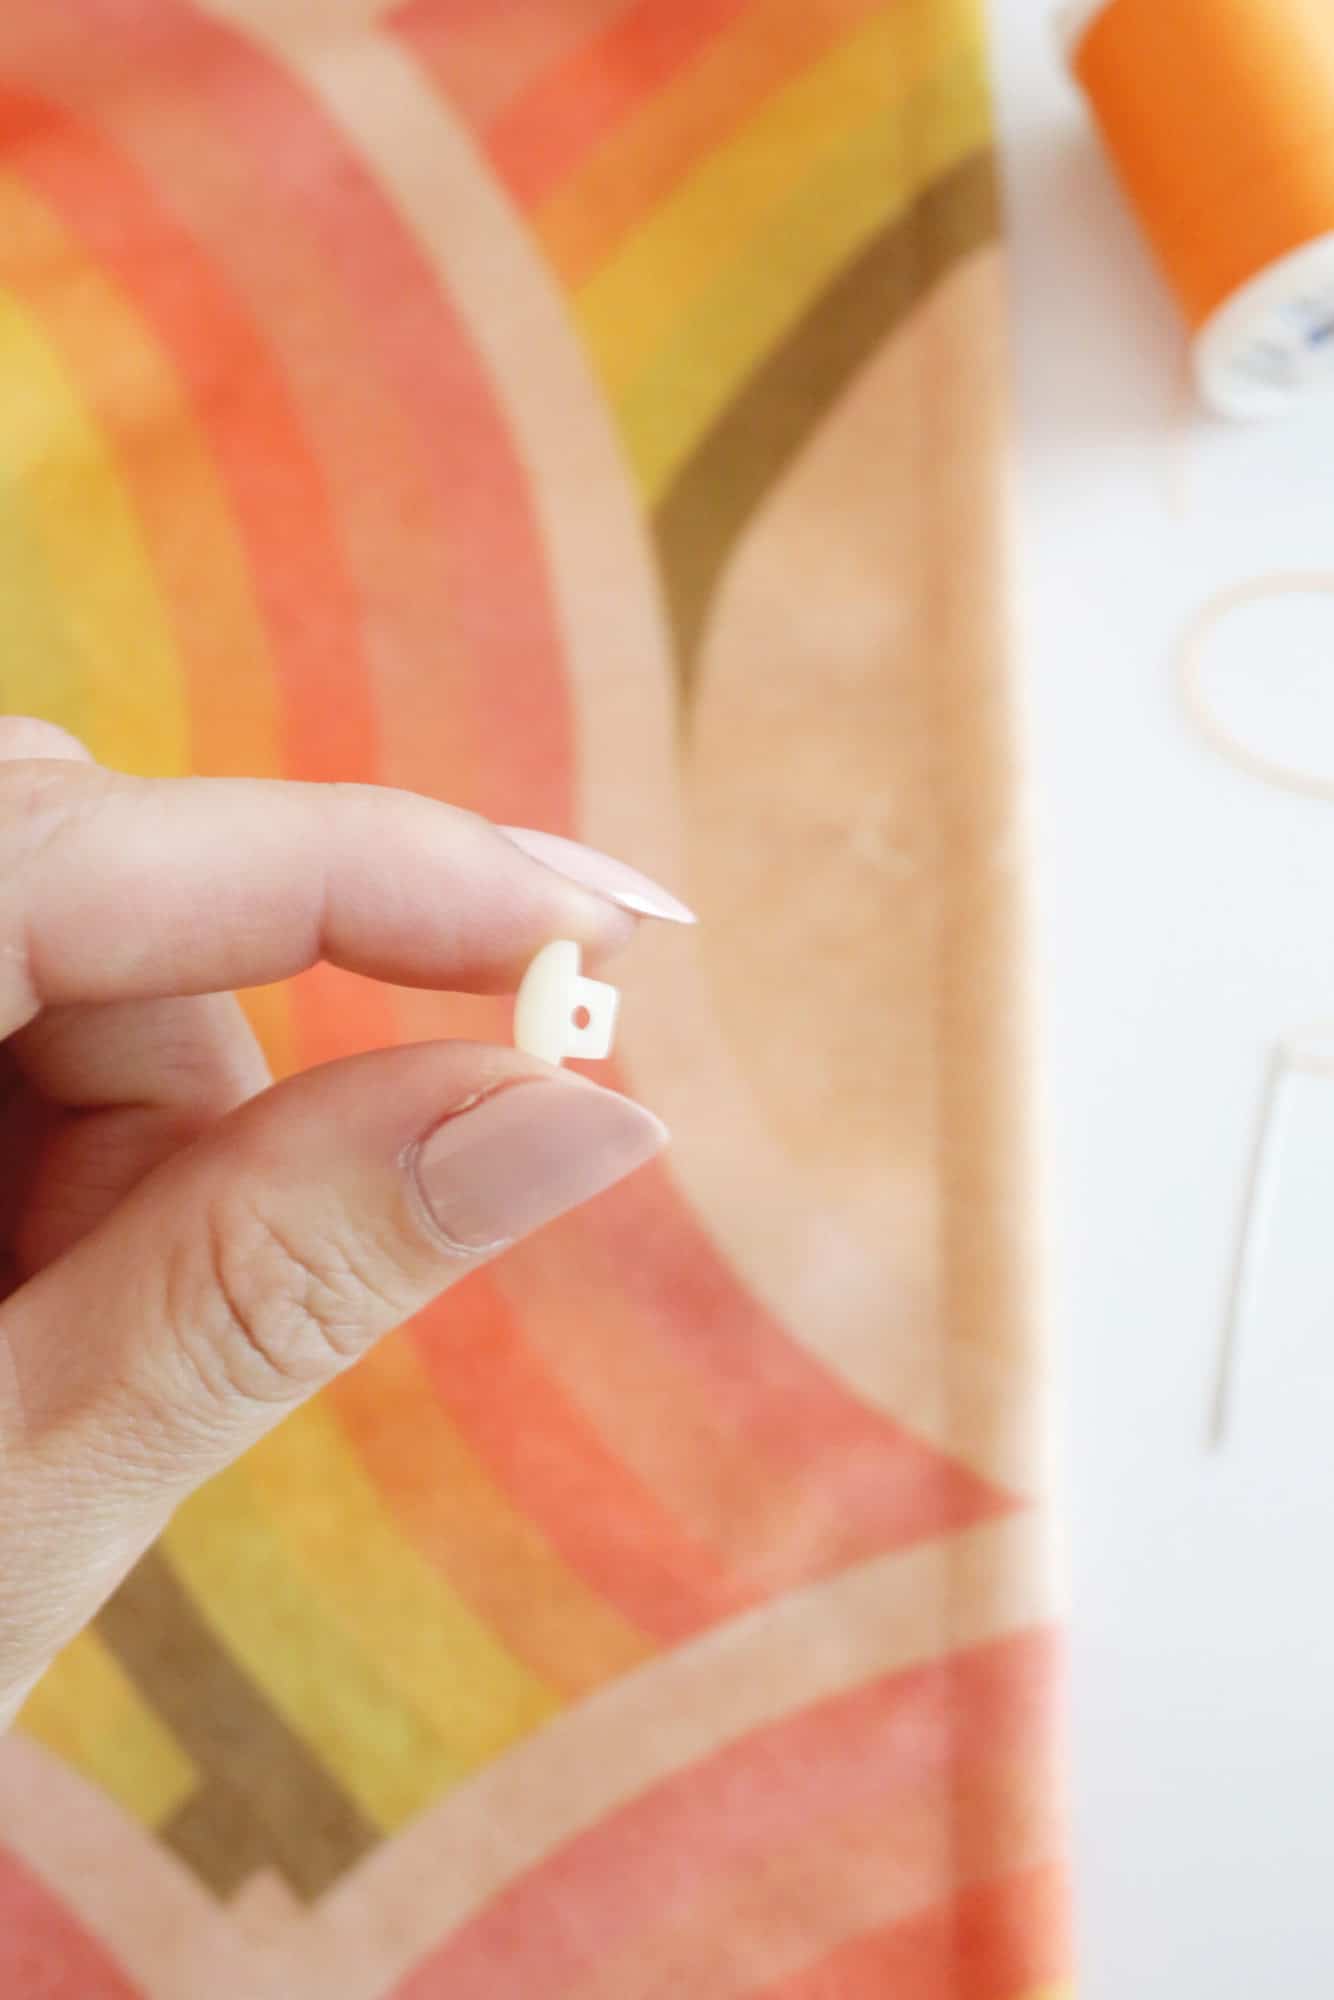
Regular flat buttons typically have two or four holes and lie flat with the stitching visible from the top, while shank buttons have a loop on the underside so all the stitching is hidden underneath the button. Buttons are also better when you have a thick buttonhole that needs some space under the buttons, like on a thick wool coat.
No special needles are needed to sew buttons. If you’re using heavy thread, you’ll want to use a larger needle with a larger eyelet so you can get the thread into the eye of the needle, but a regular hand stitch will work for almost all buttons.
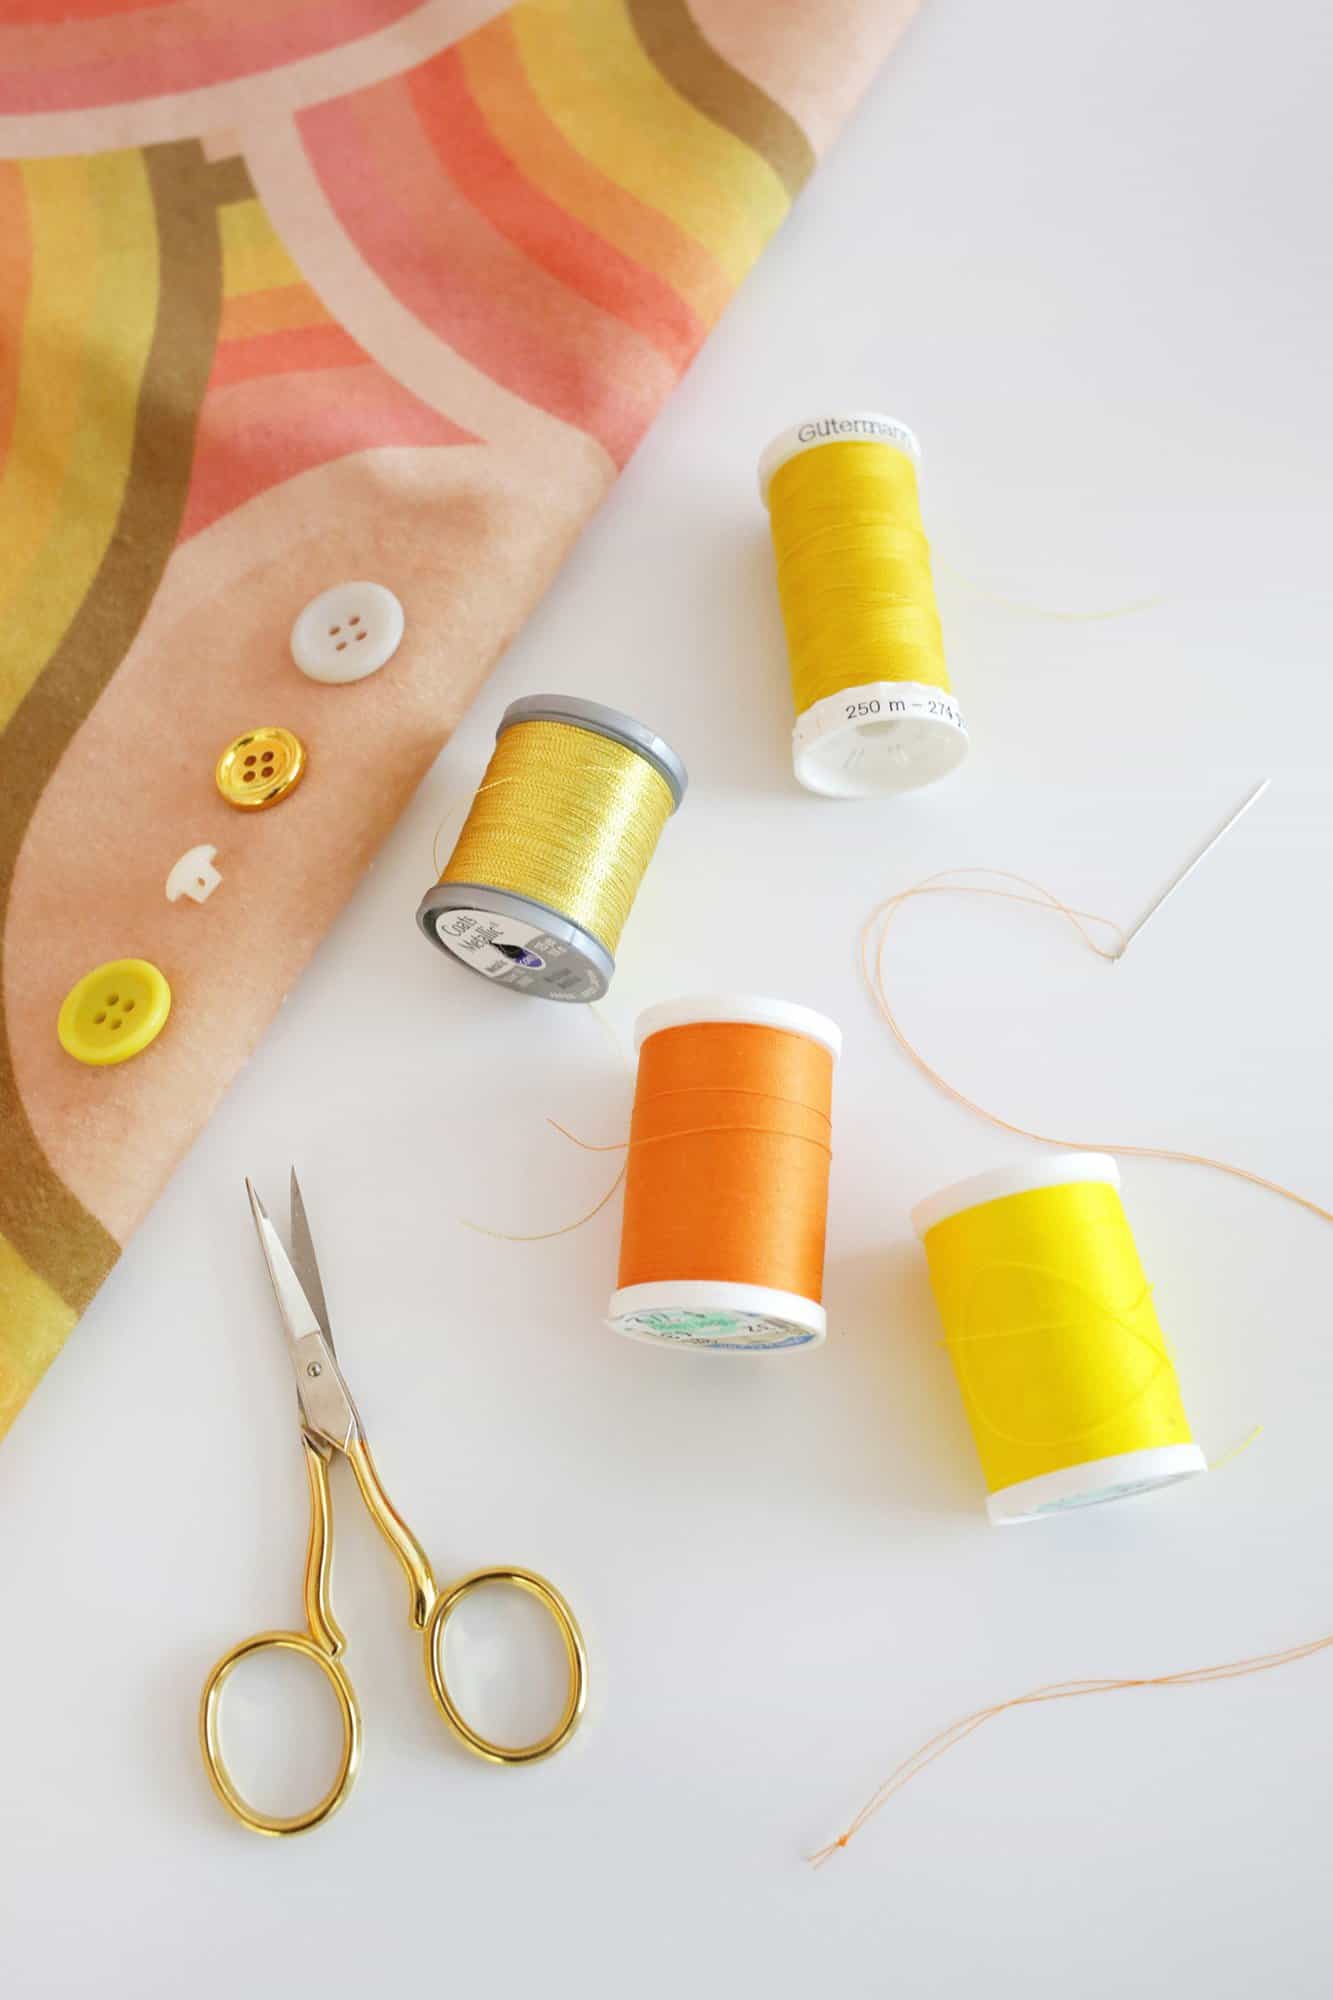
For most sewing buttons, multi-threading will work well, although you may want a heavy-duty thread for heavy jacket buttons that are used a lot to button and unbutton a jacket. If your other buttons have a specific color or trim that you want to incorporate, take your piece to a tailor and stitch only what is used on the rest of the garment.
STEPS FOR SEWING FLAT BUTTON (TWO OR FOUR TIMES):
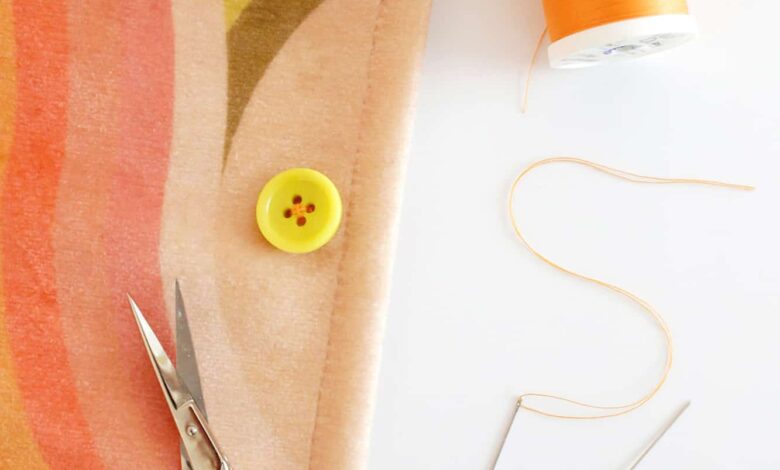
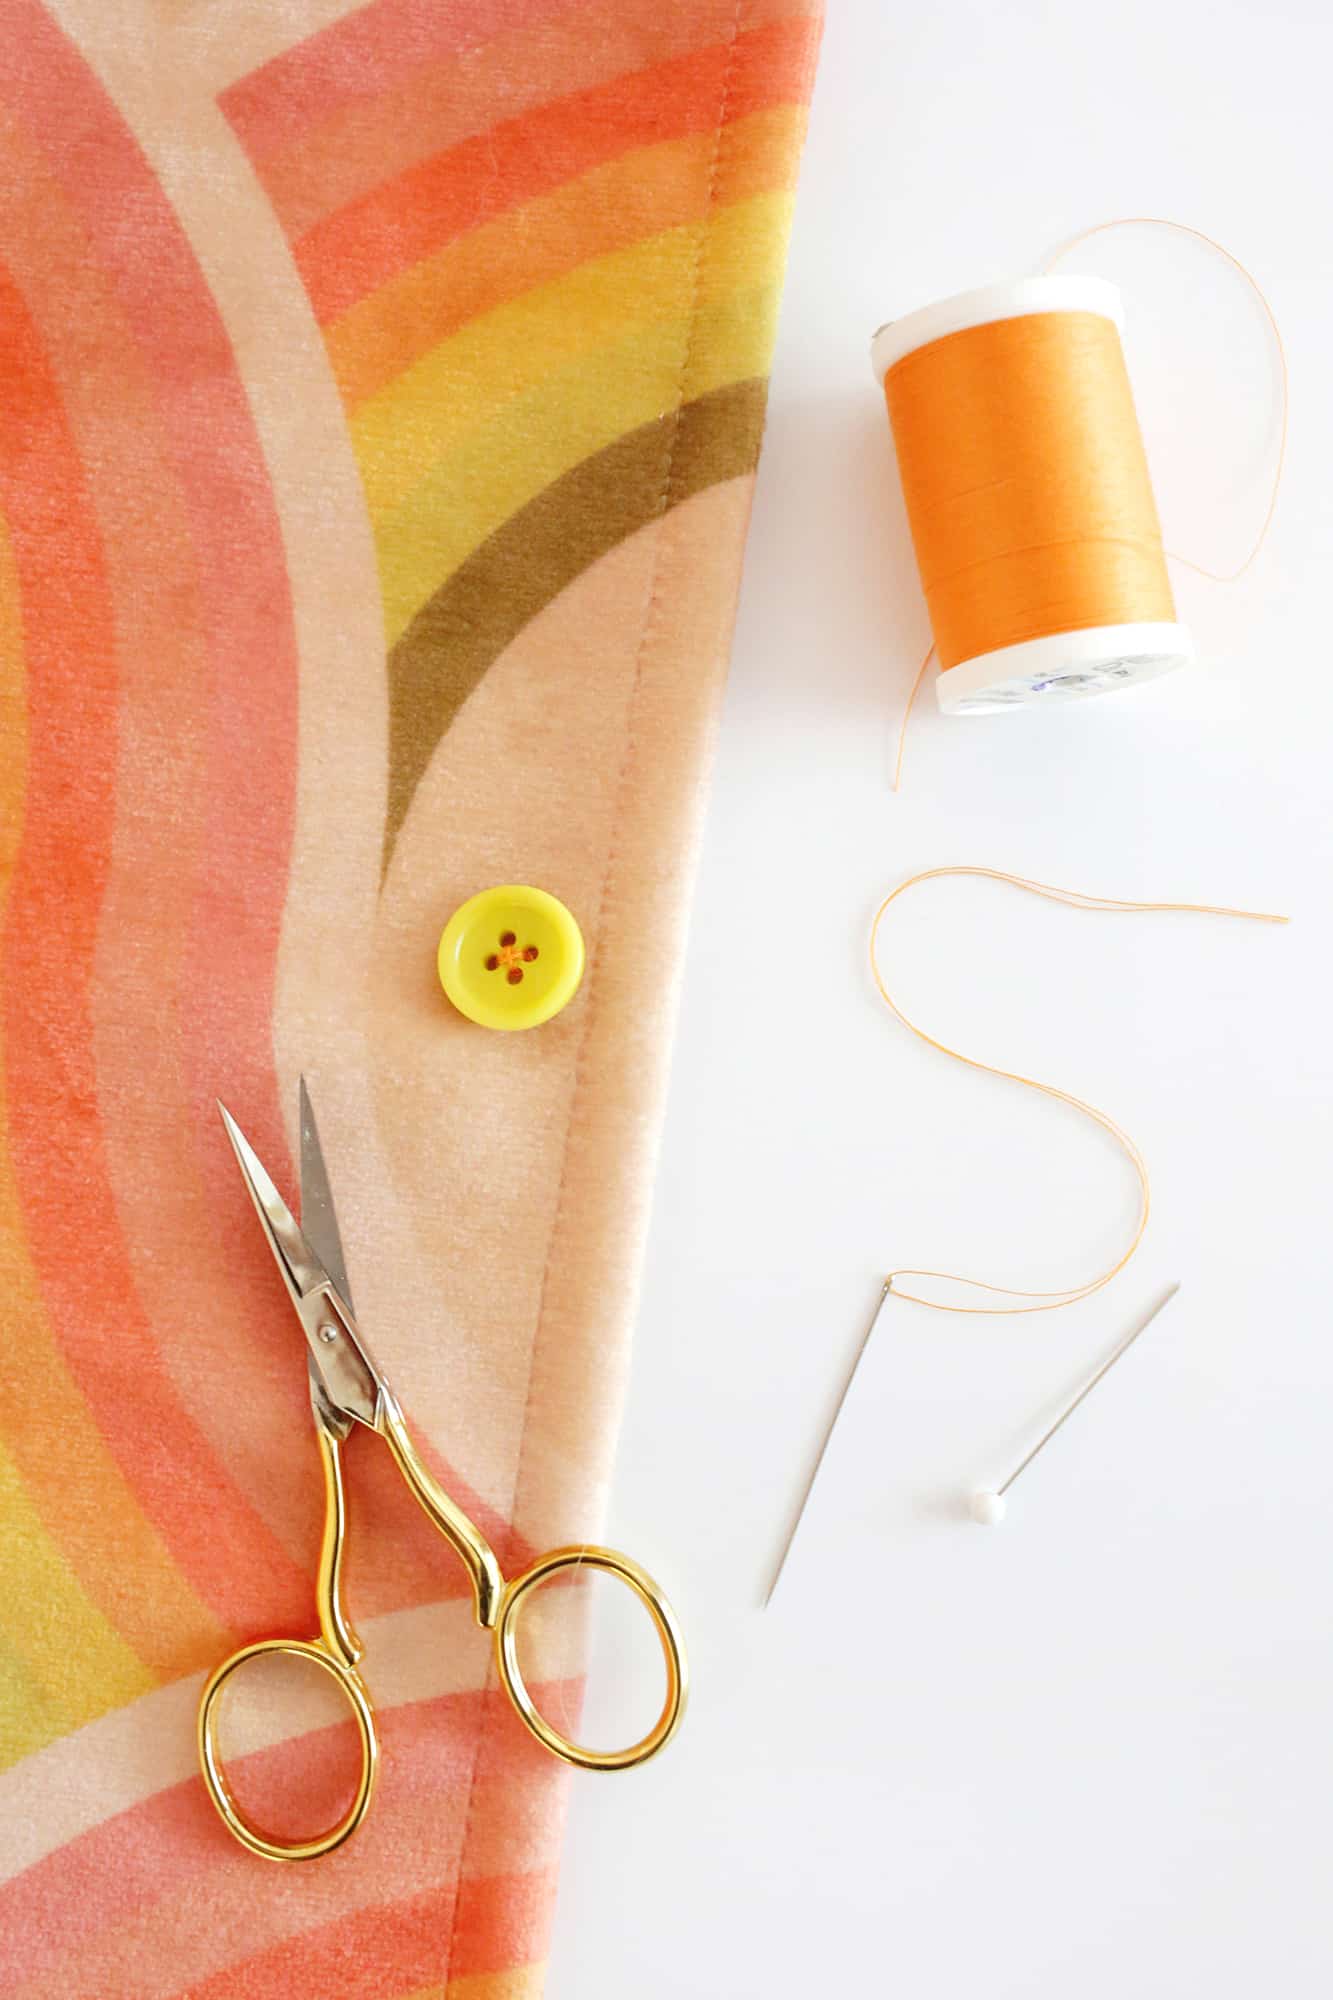
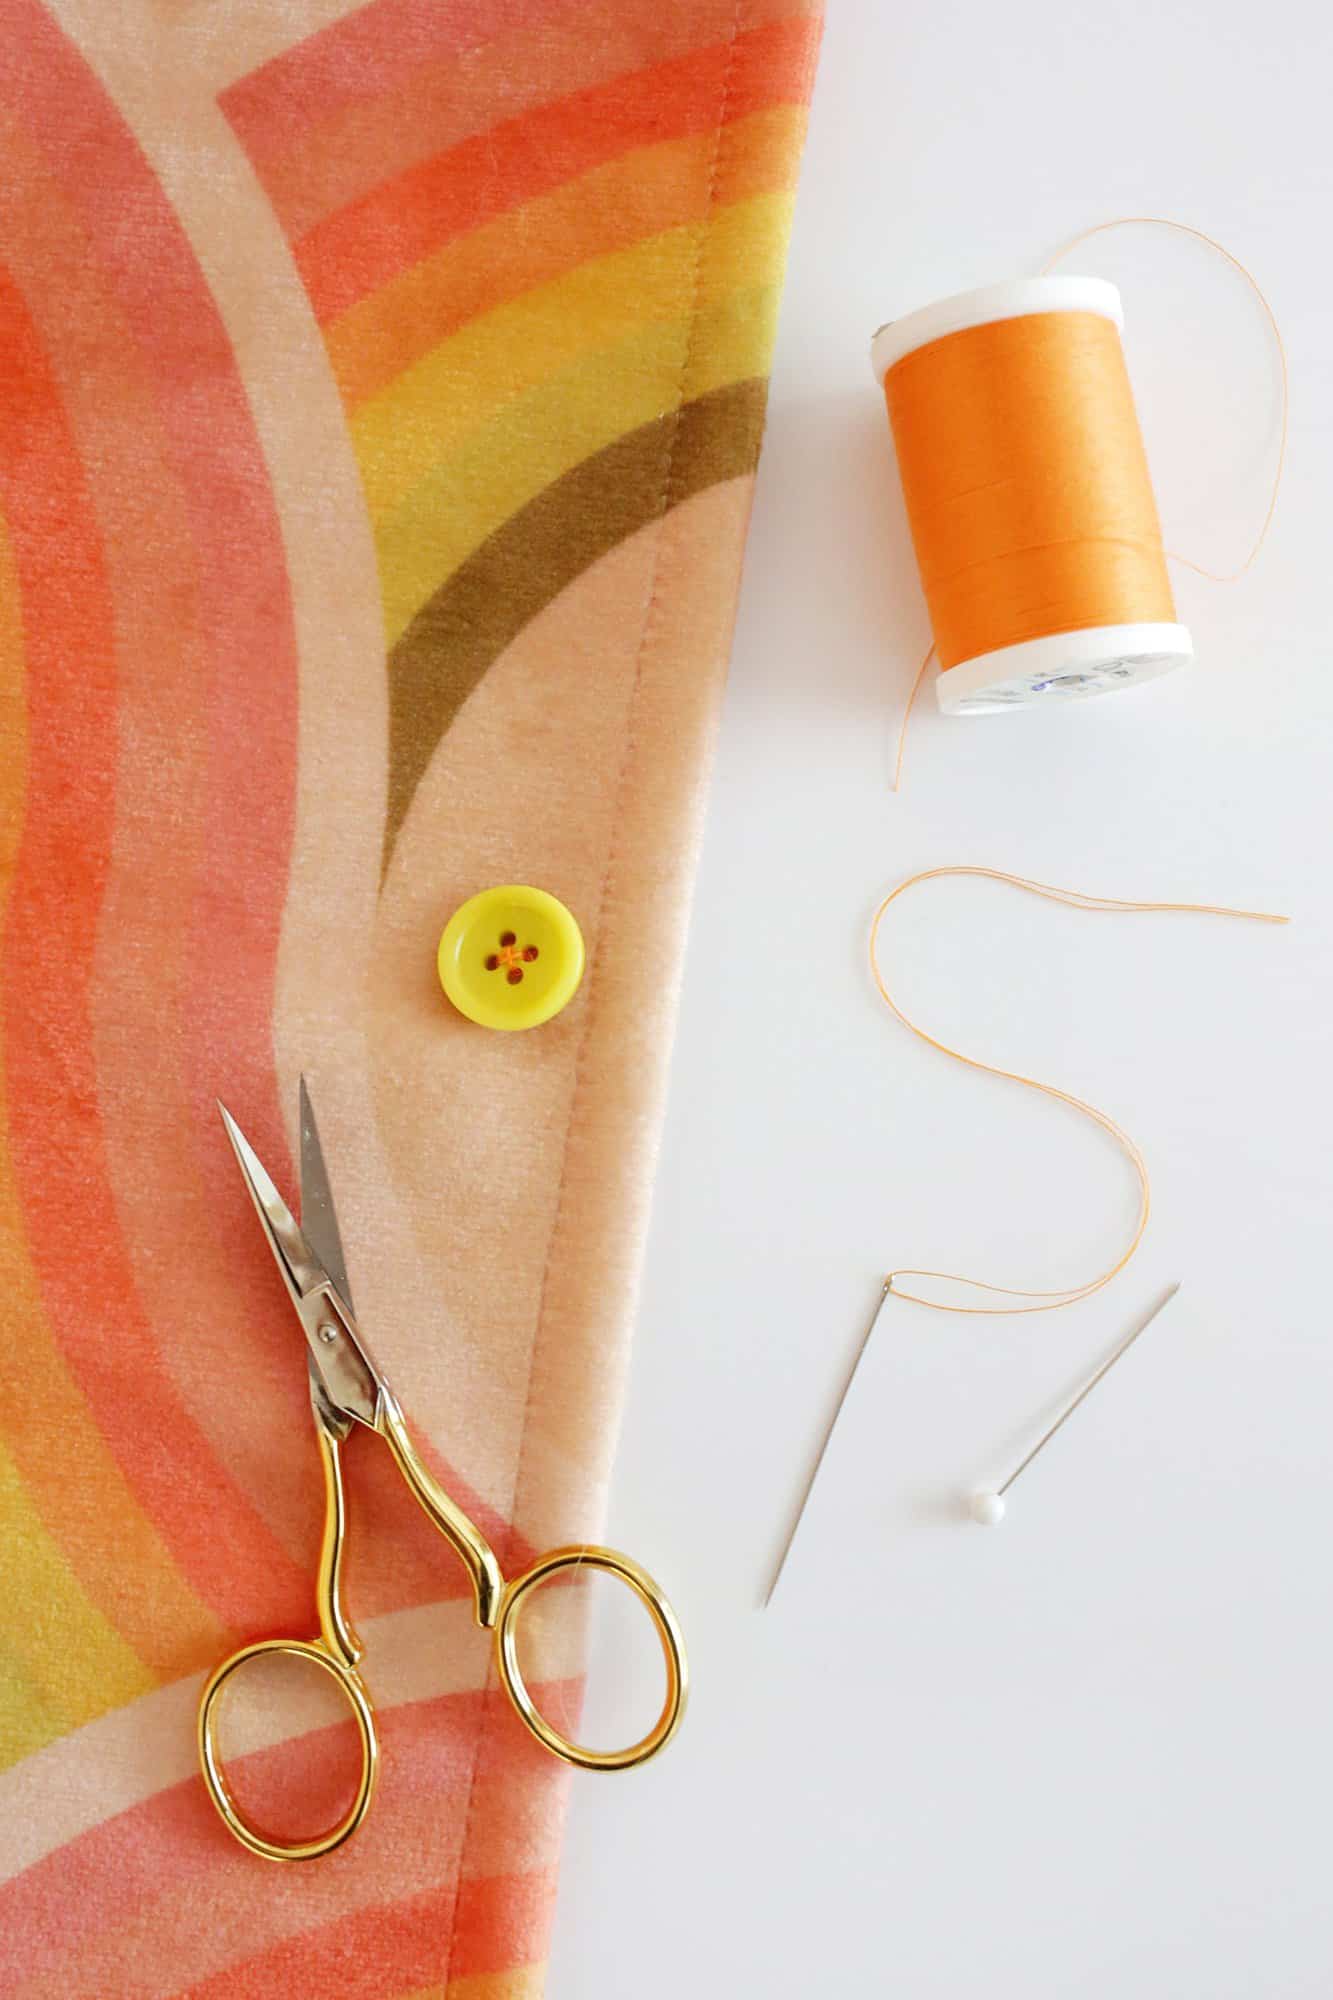
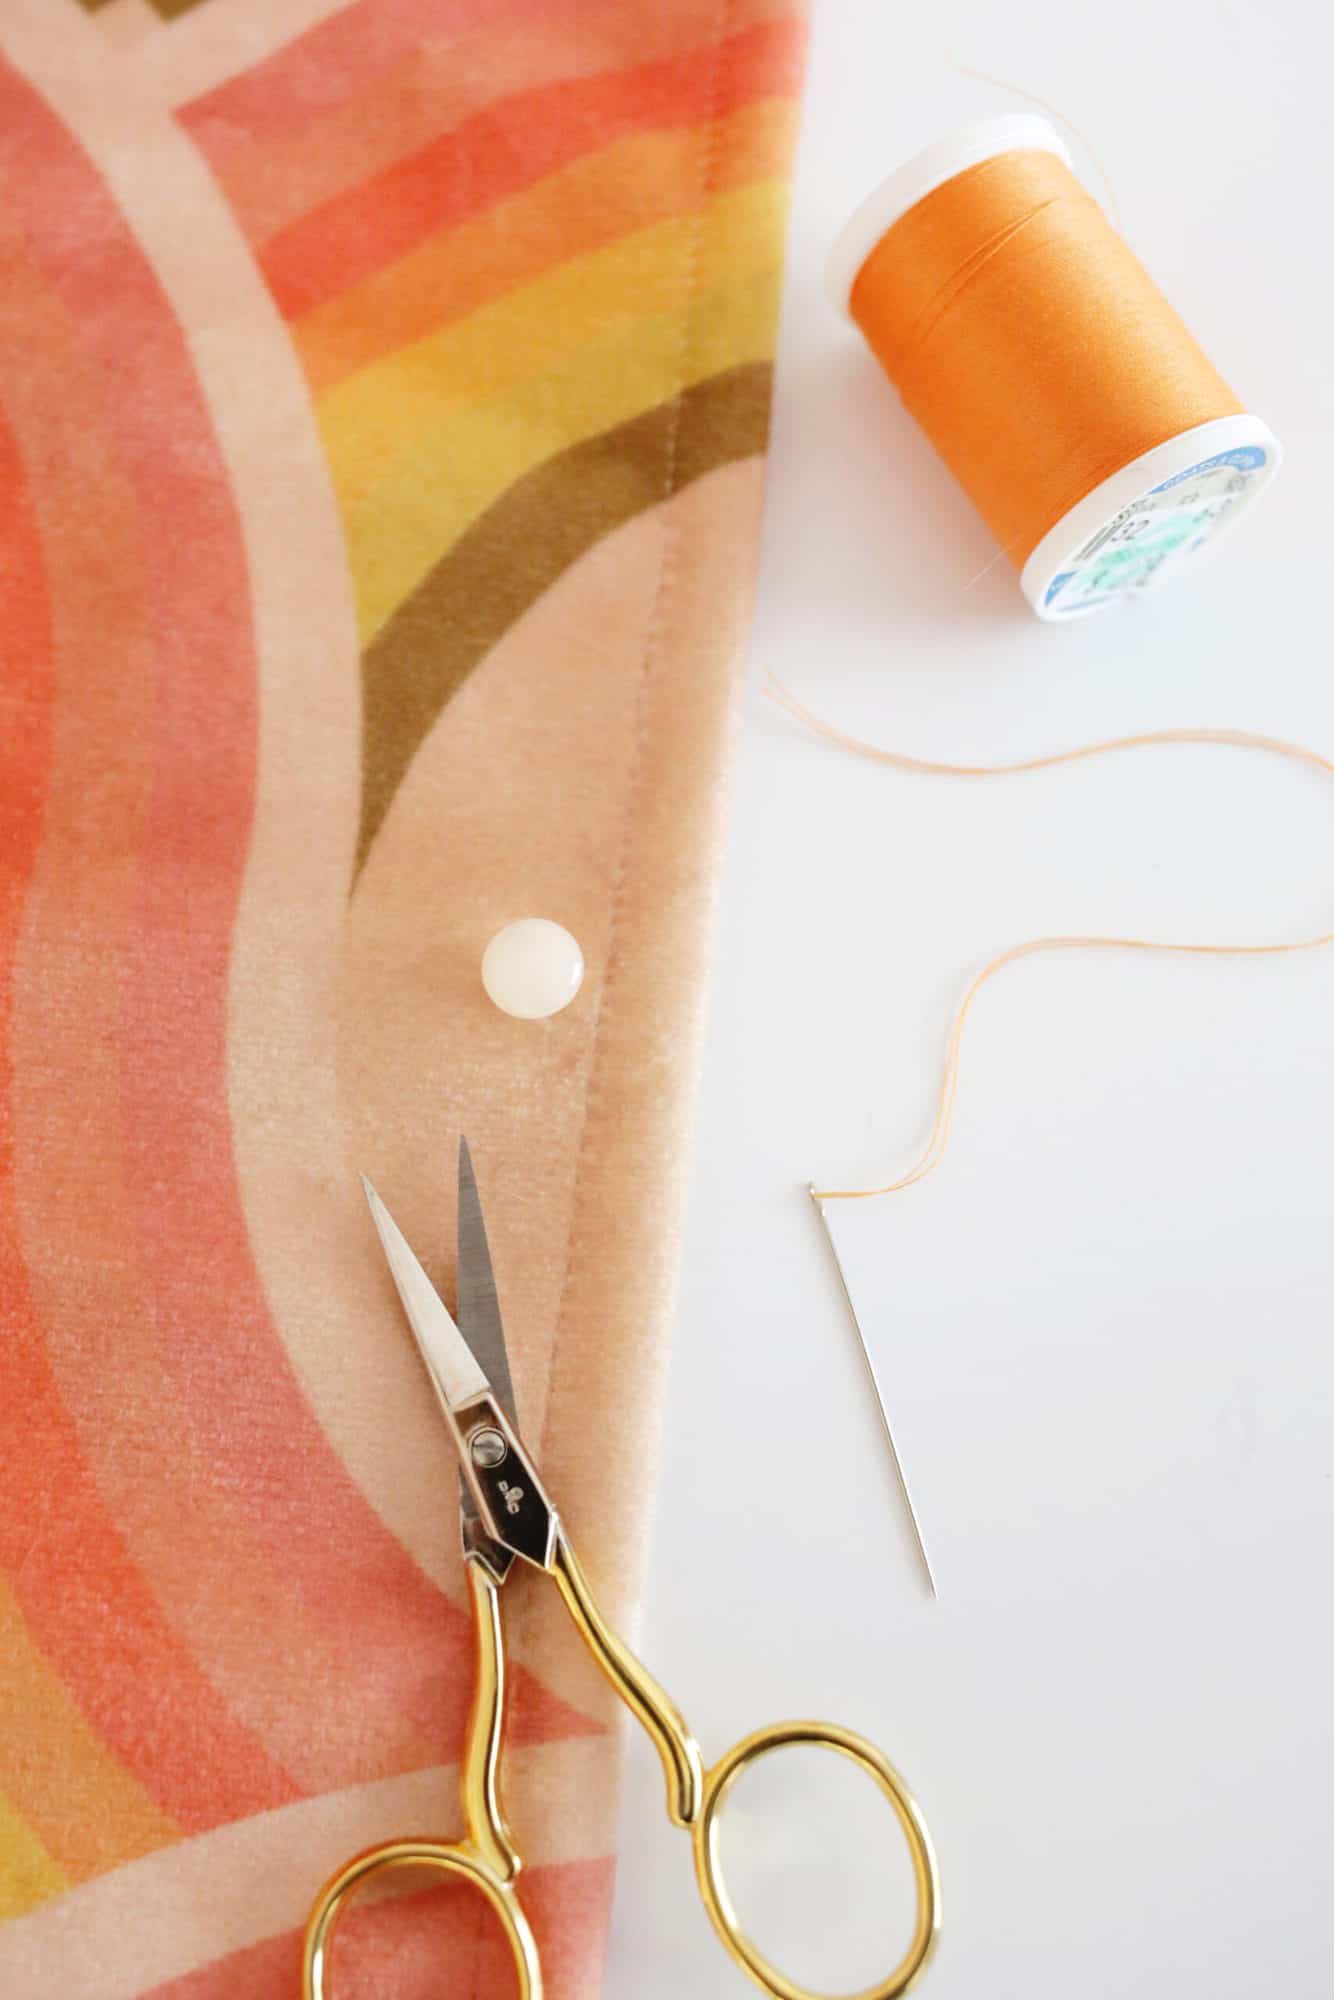
Supplies:
– button (two or four hole button)
-theme (normal weight works for most things, but you can a heavy weight for larger coats, etc.)
-needle (a many packages like this several options for different yarn weights)
–straight pins
-scissors
–Marker disappears (optional)
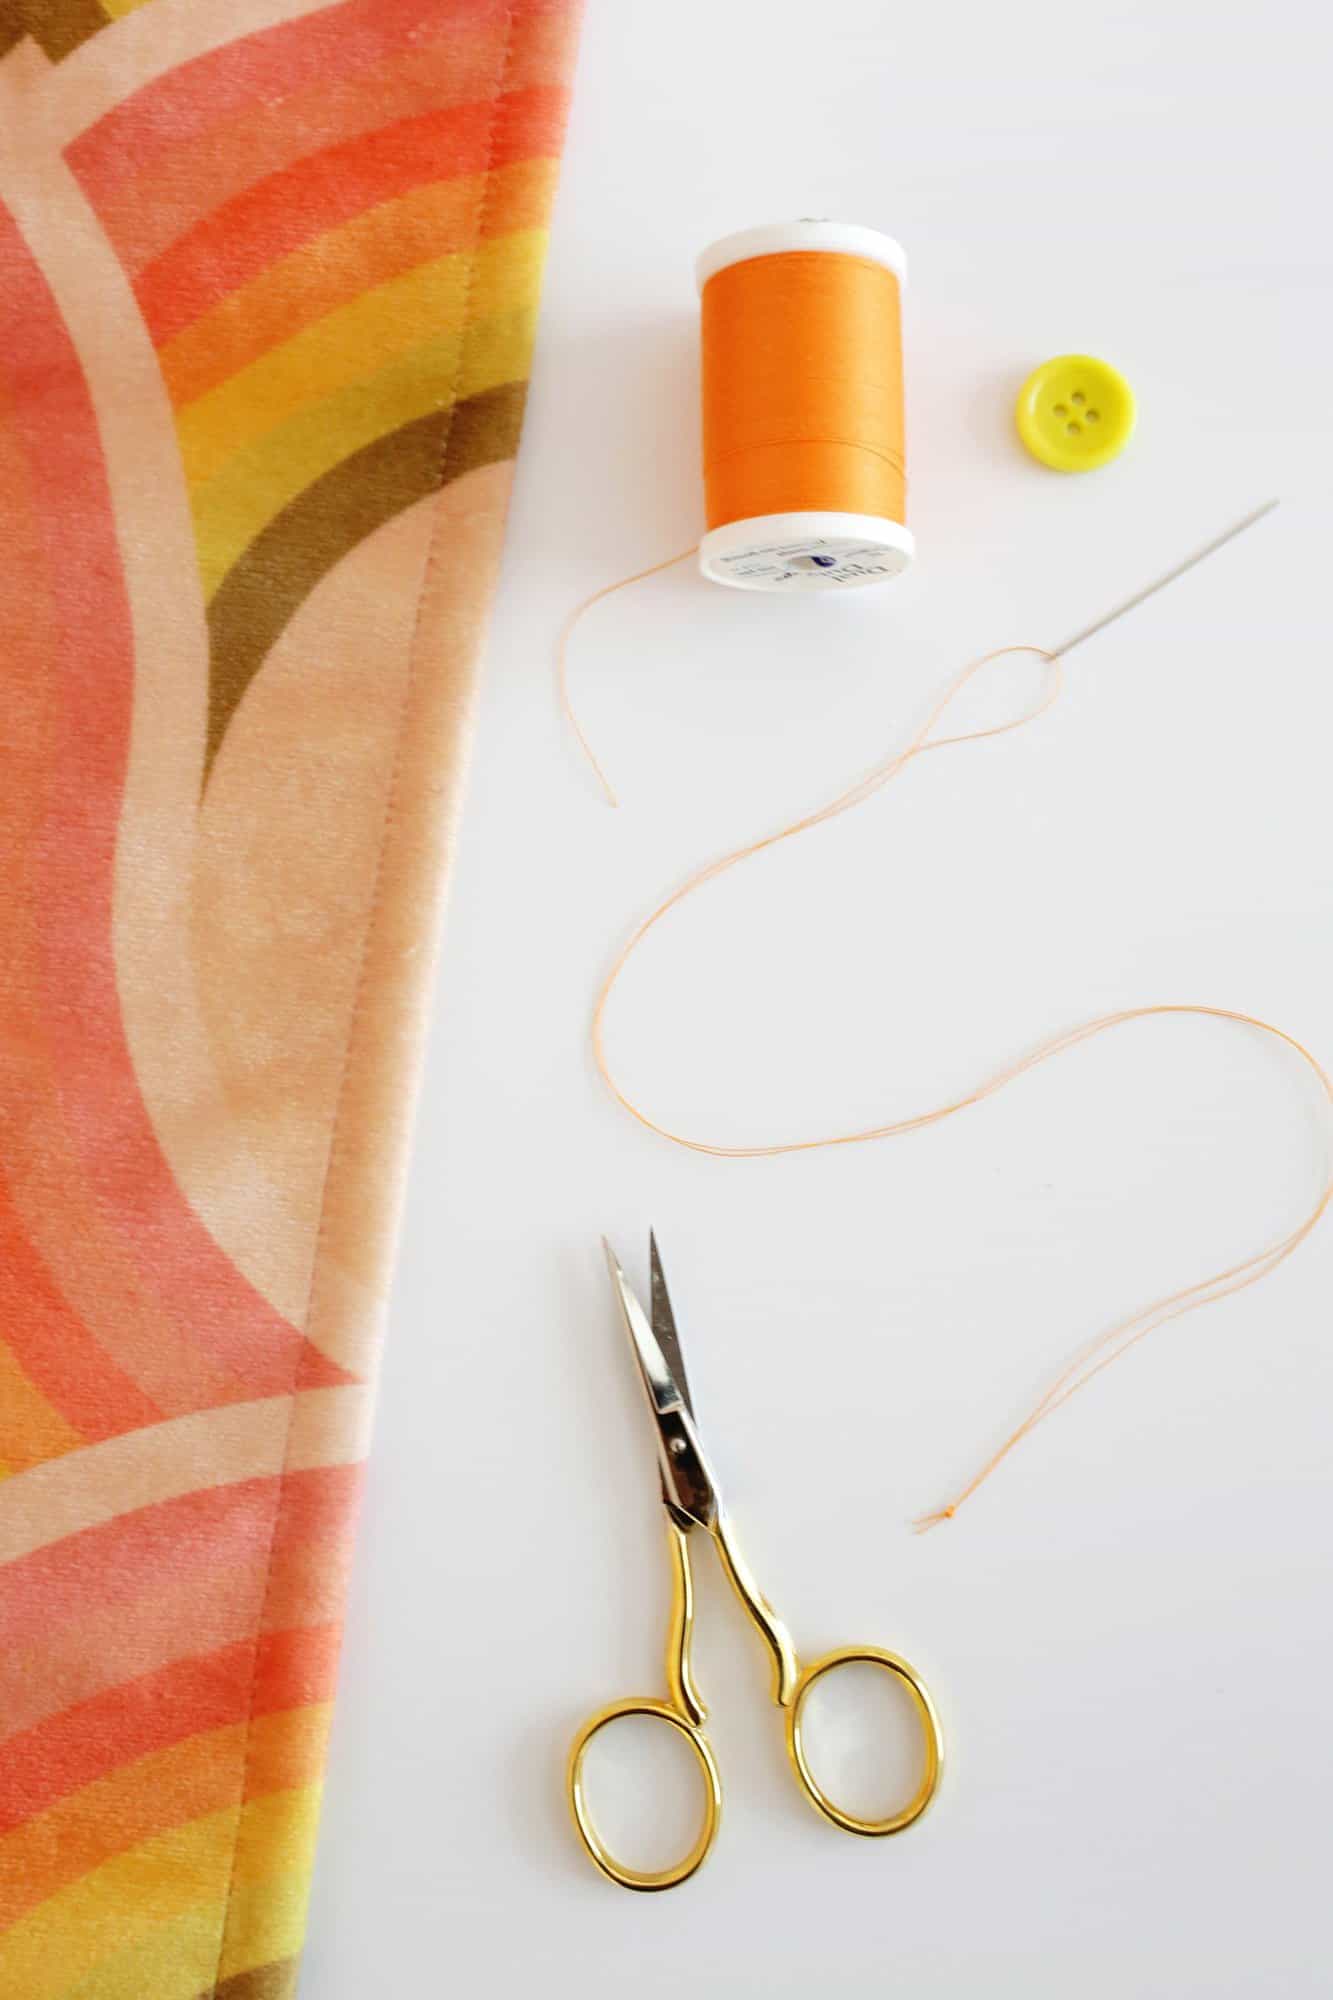
Needle thread: Cut a piece of thread about 24″ long and thread it halfway through the needle so that both ends are equal (you can use a pointer like this for threading). Holding your strands together, tie a knot at the end to tie them together.
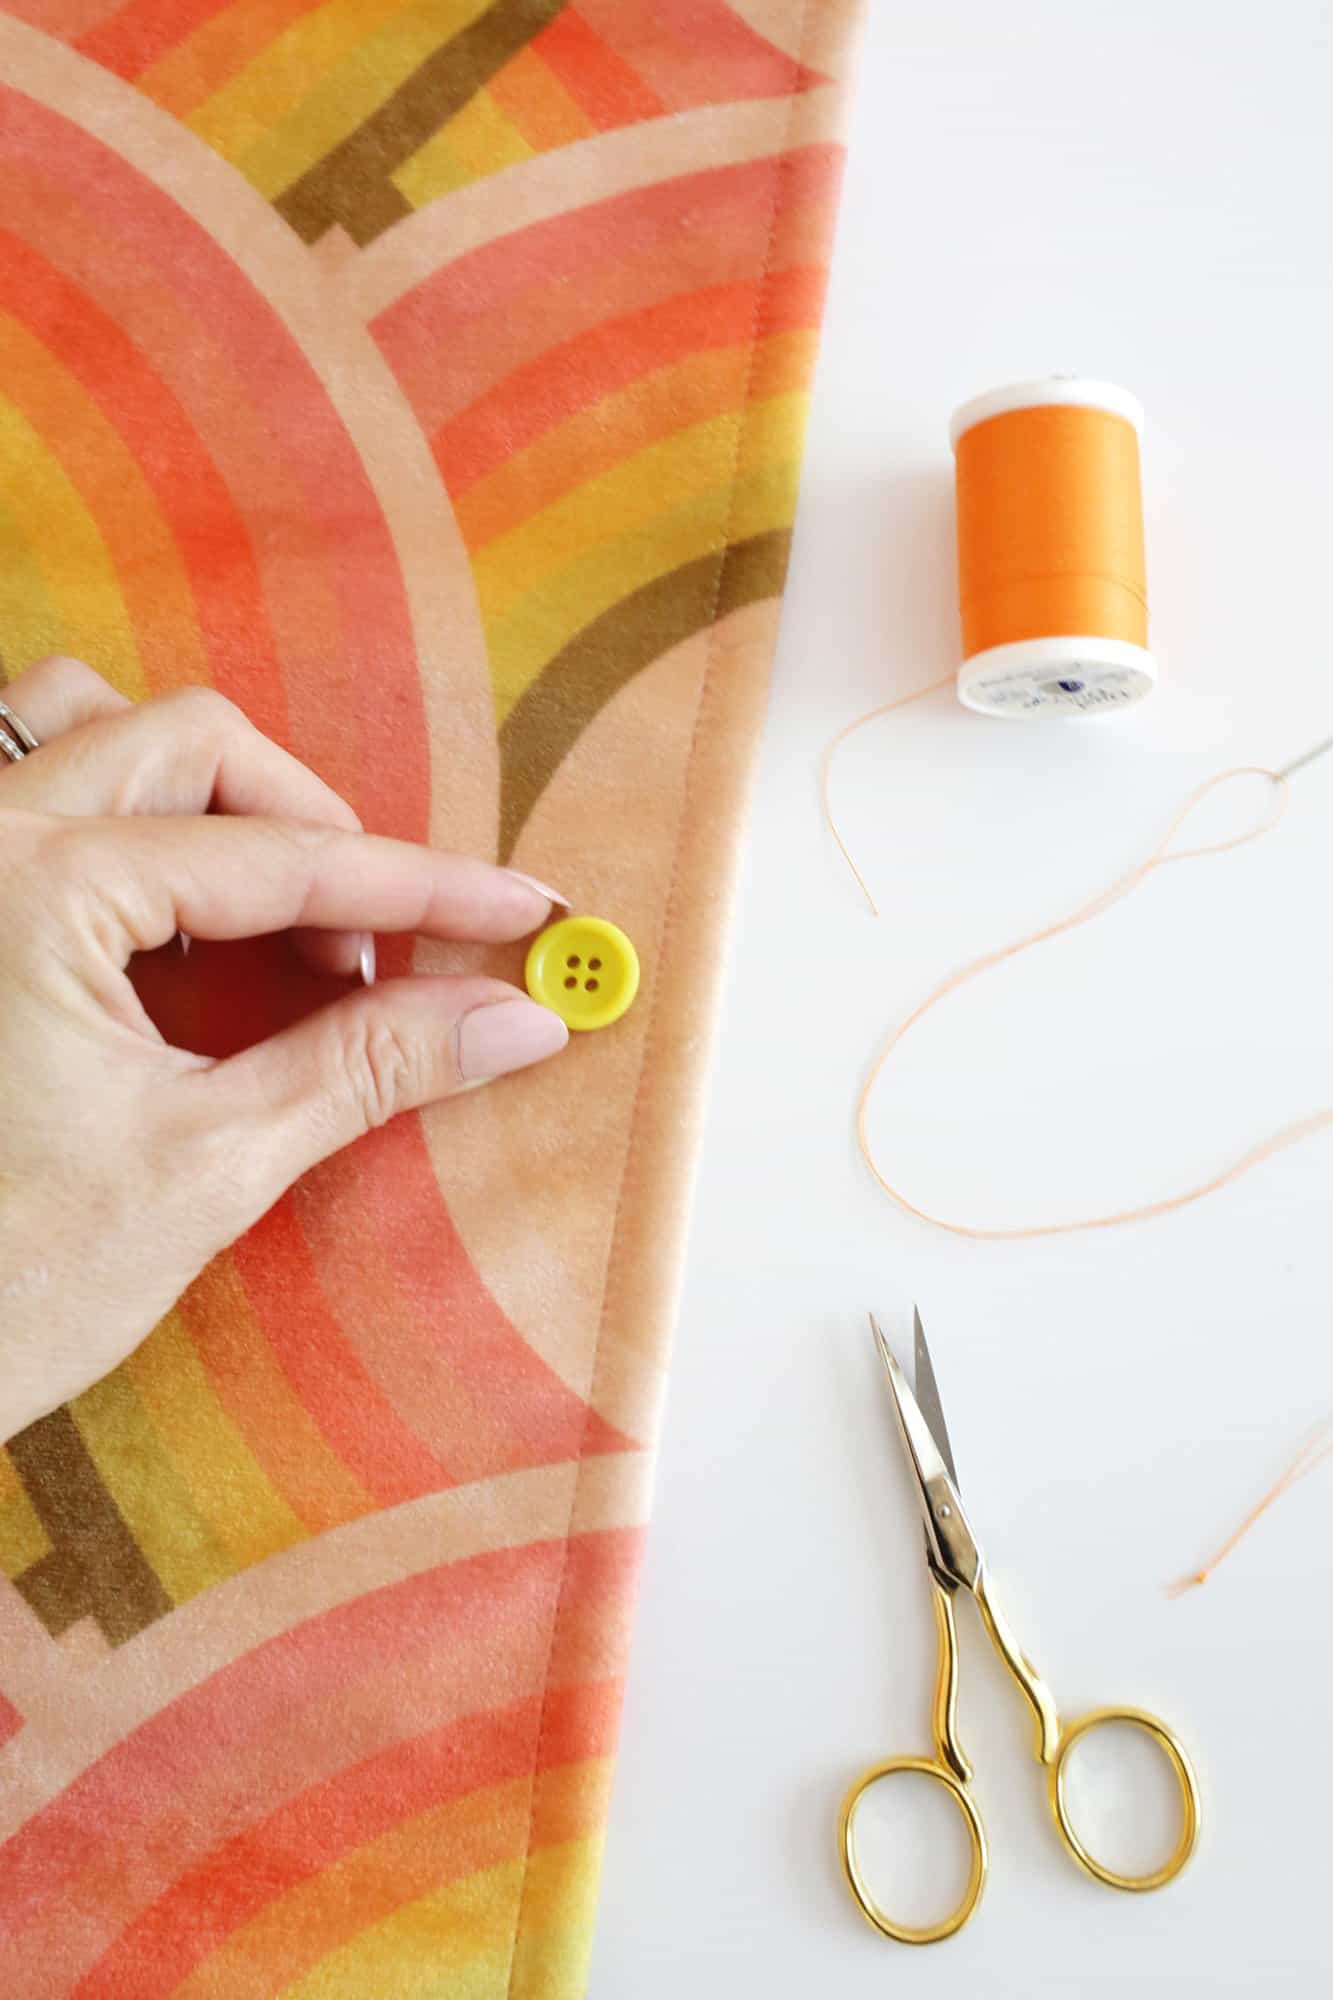
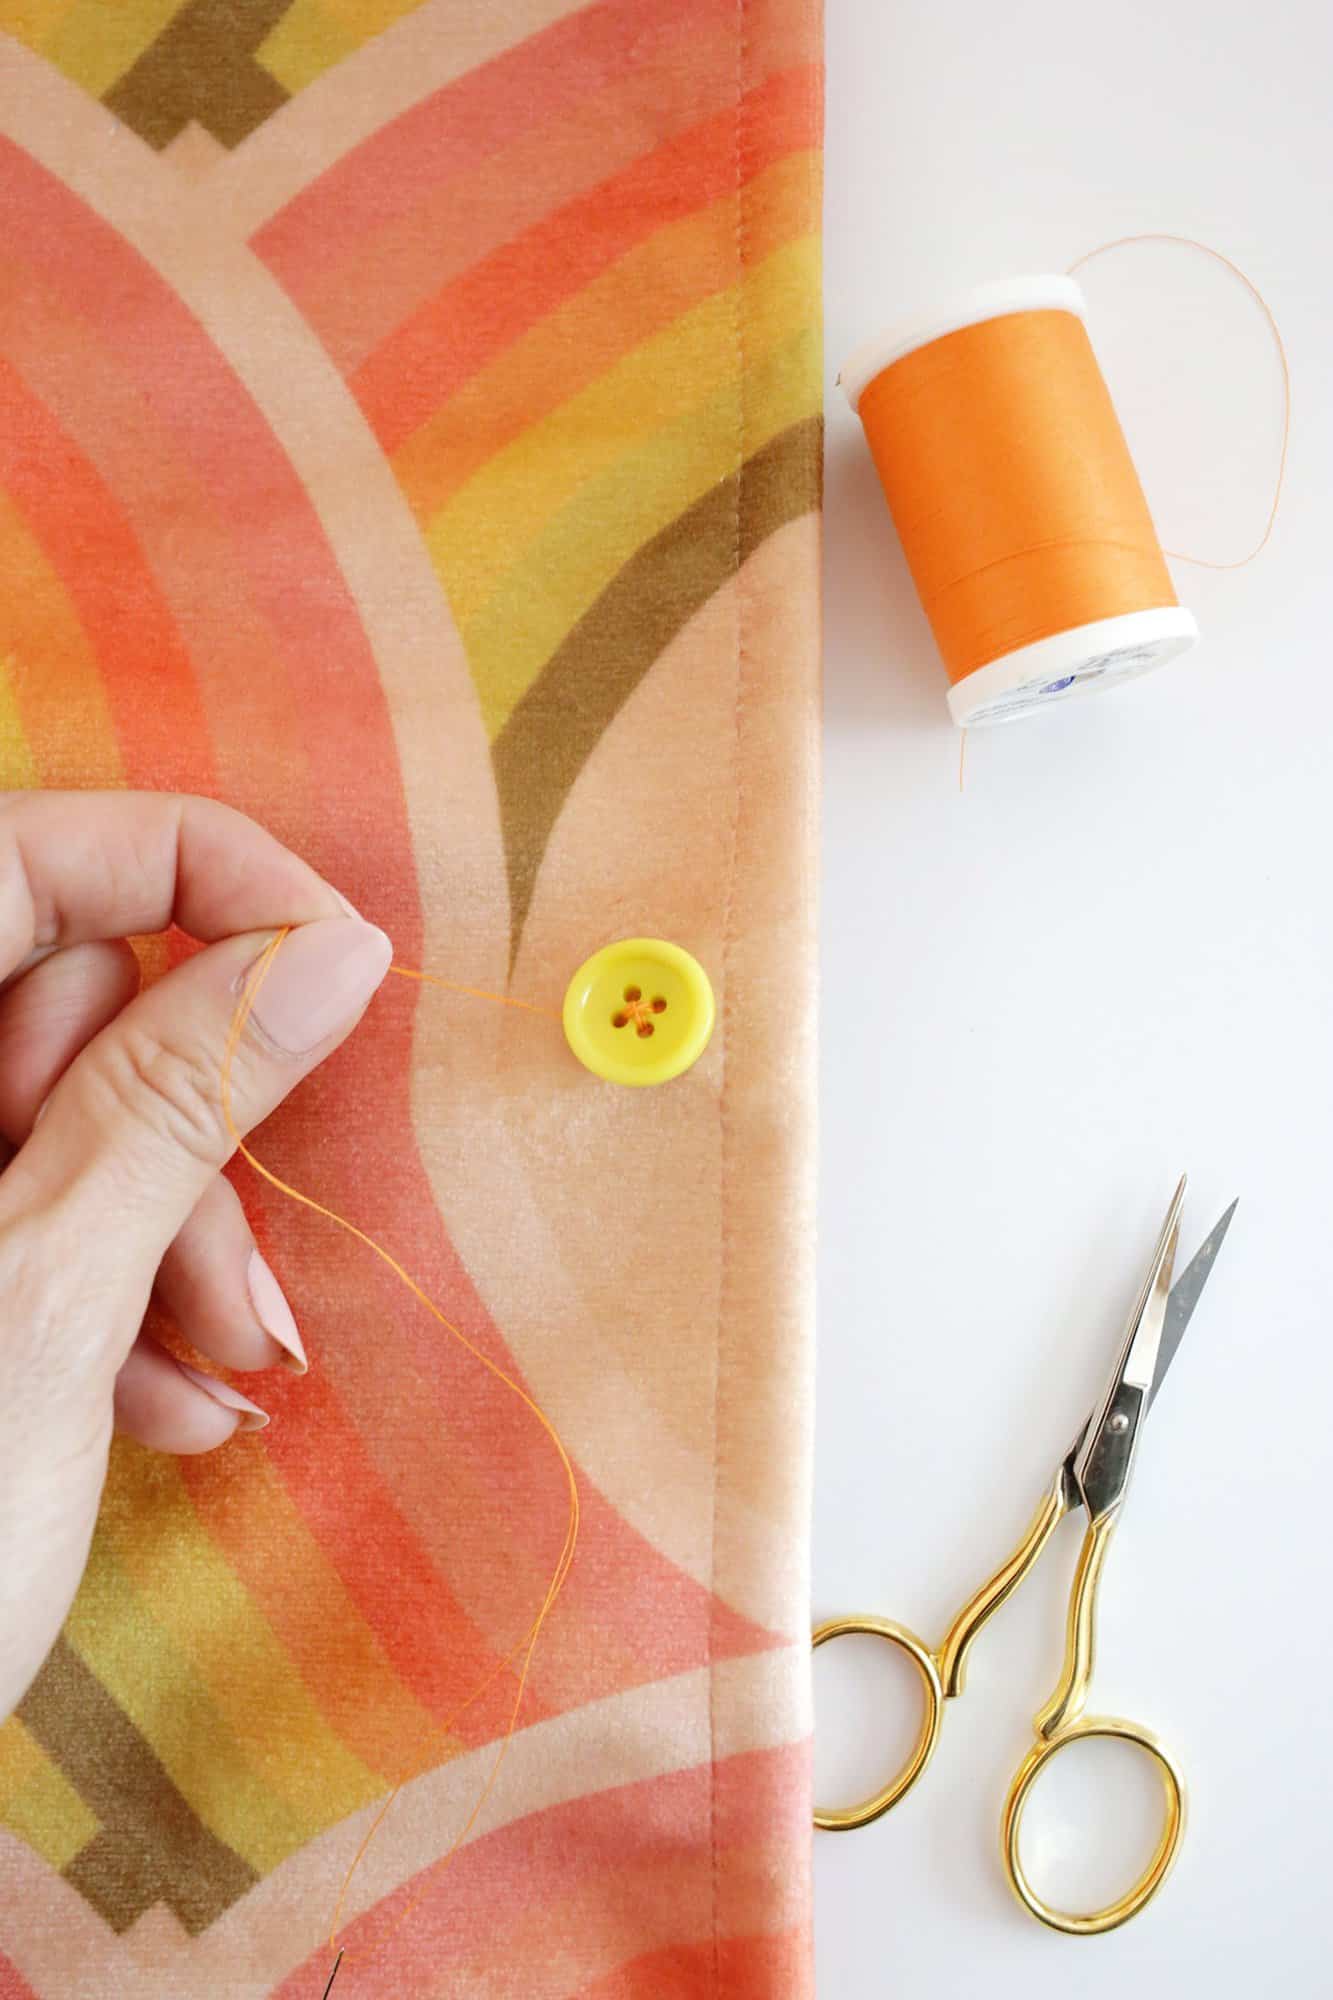
Button positioning: Position the button where you want it on your garment (make sure the holes face the same direction as the other buttons nearby).
Check that it’s the right spot for the eyelet if it’s on a jacket, shirt, or jacket. You can also use Marker disappears to mark the location if you want.
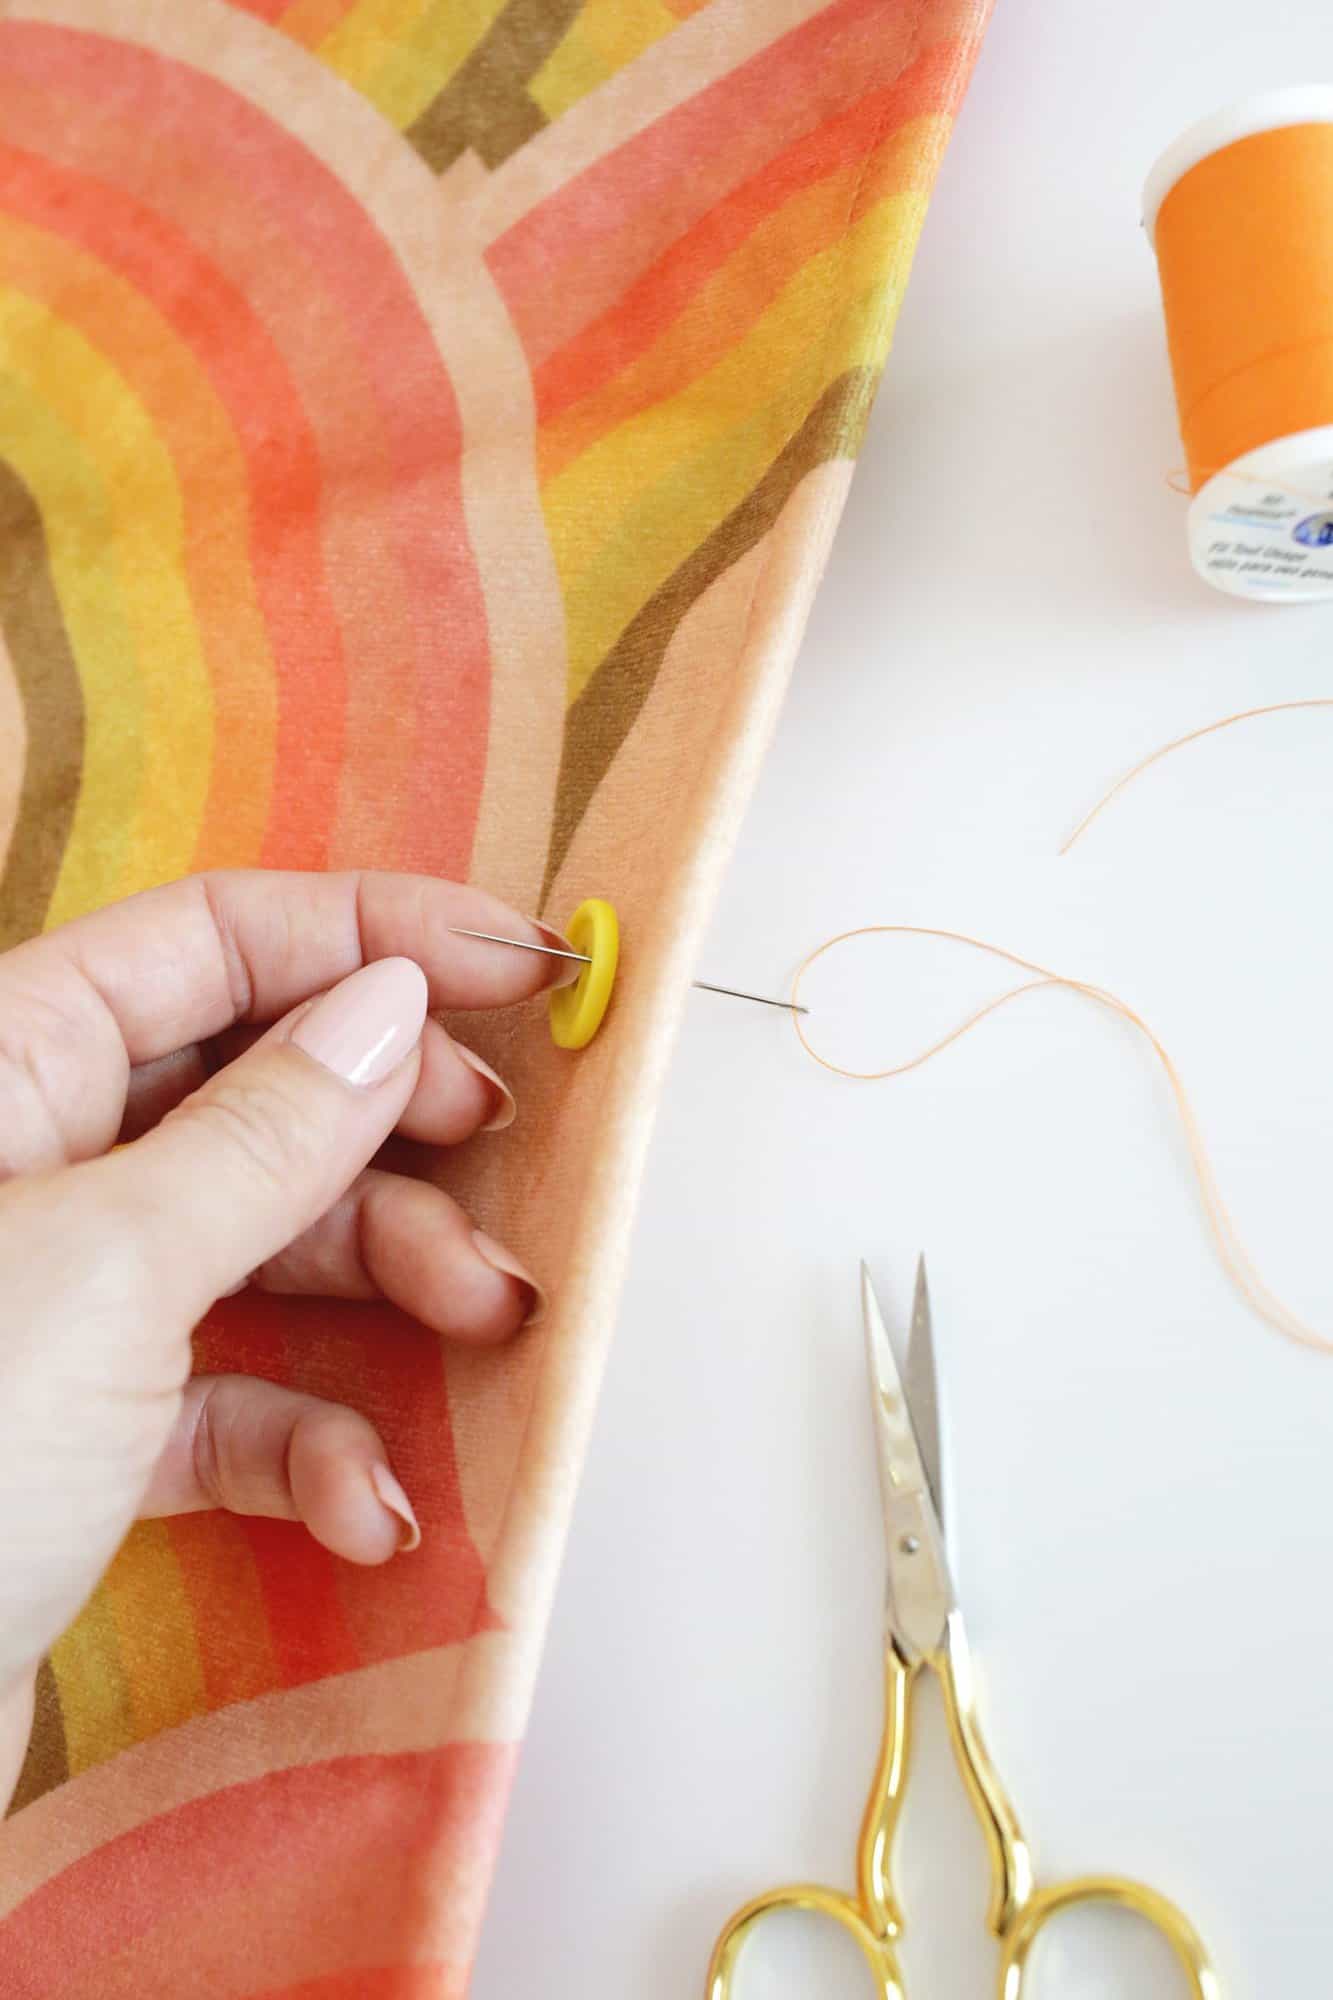
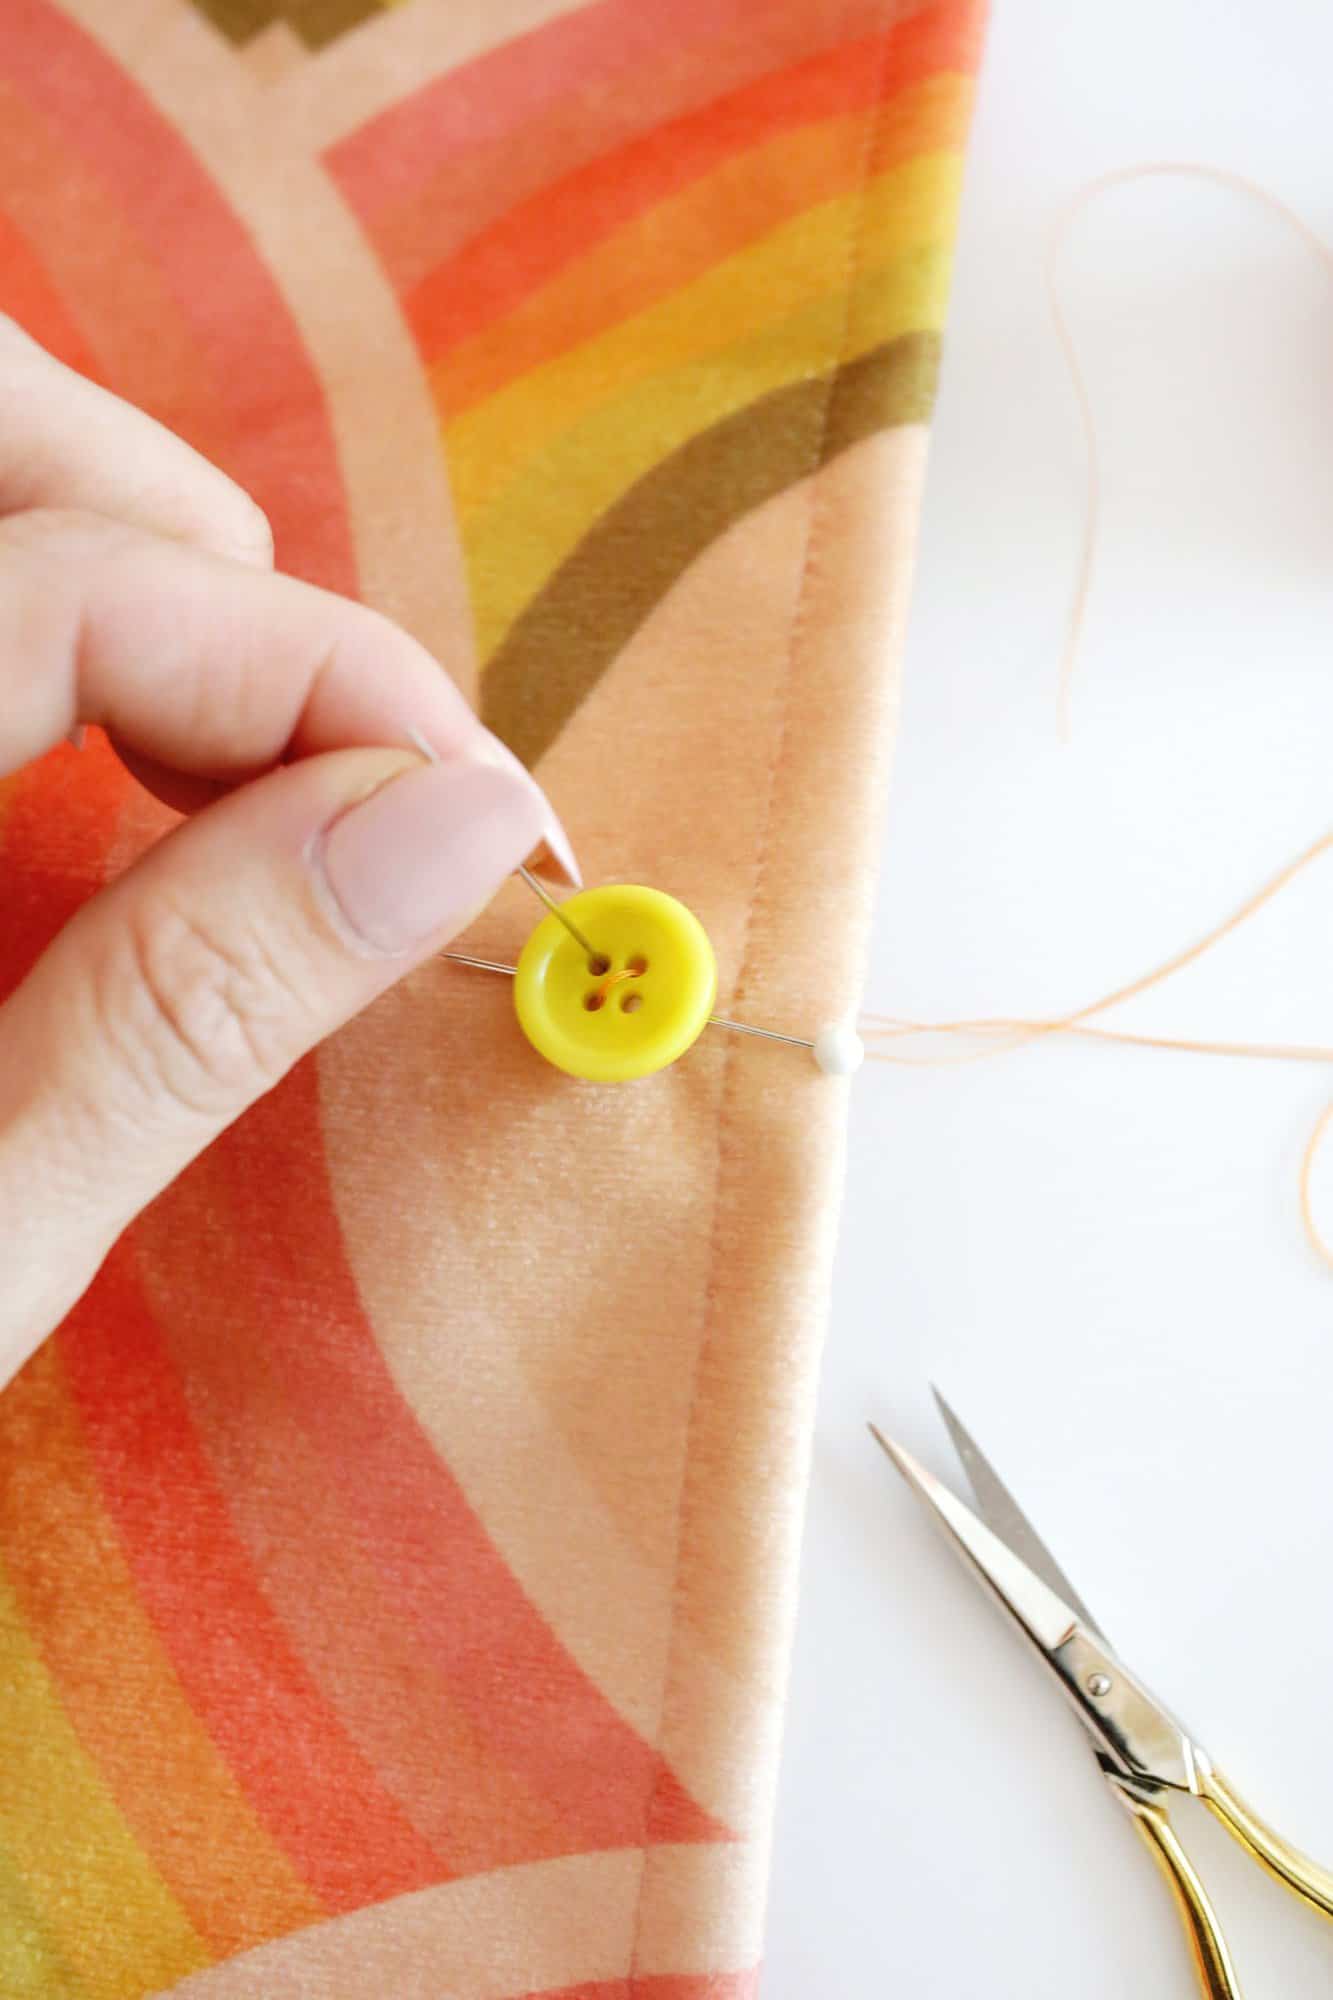
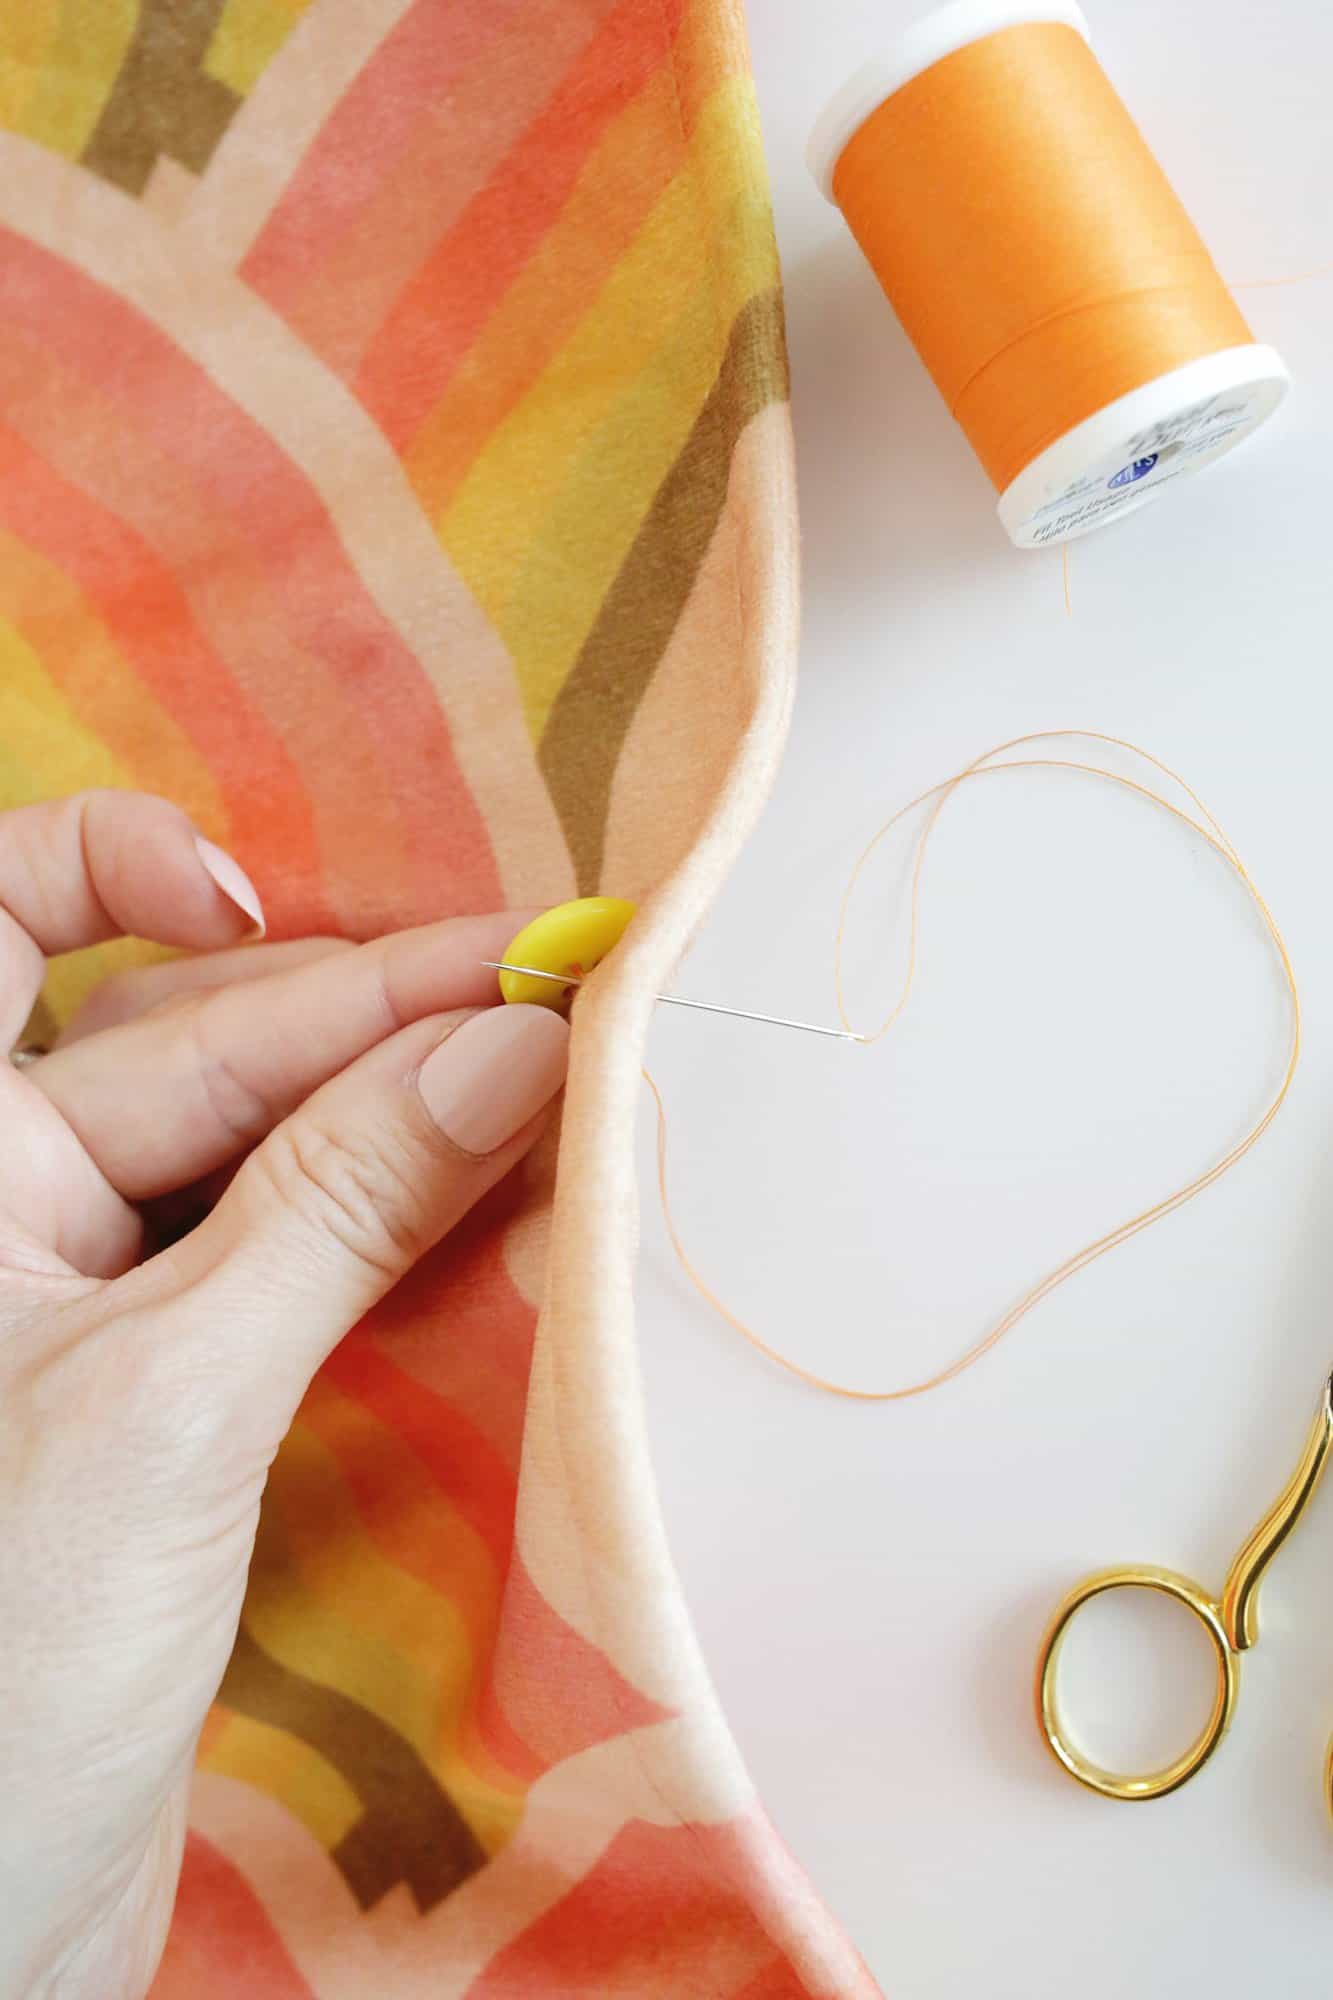
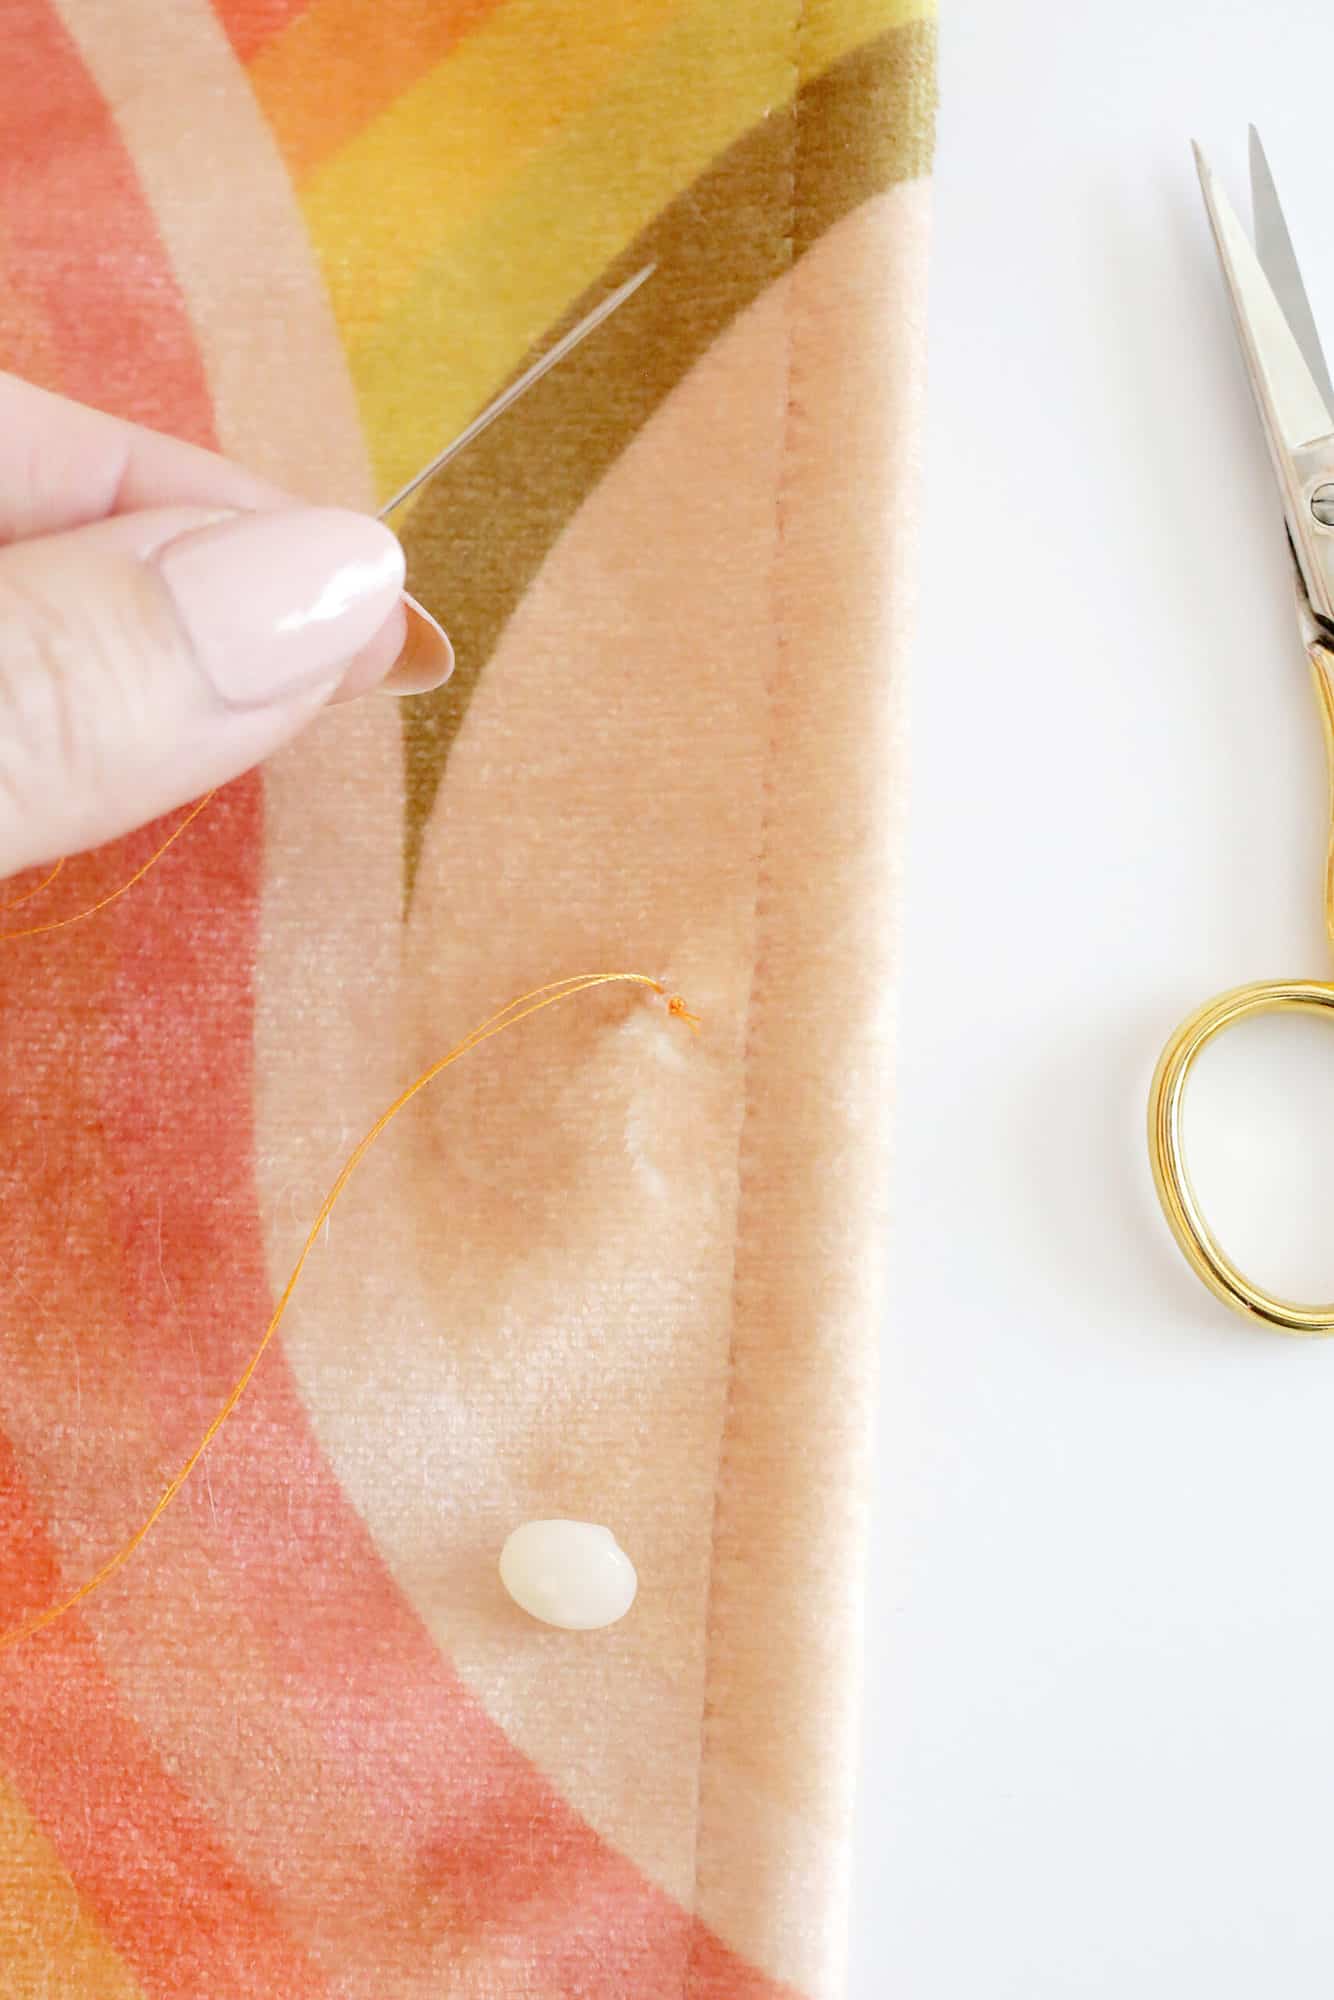
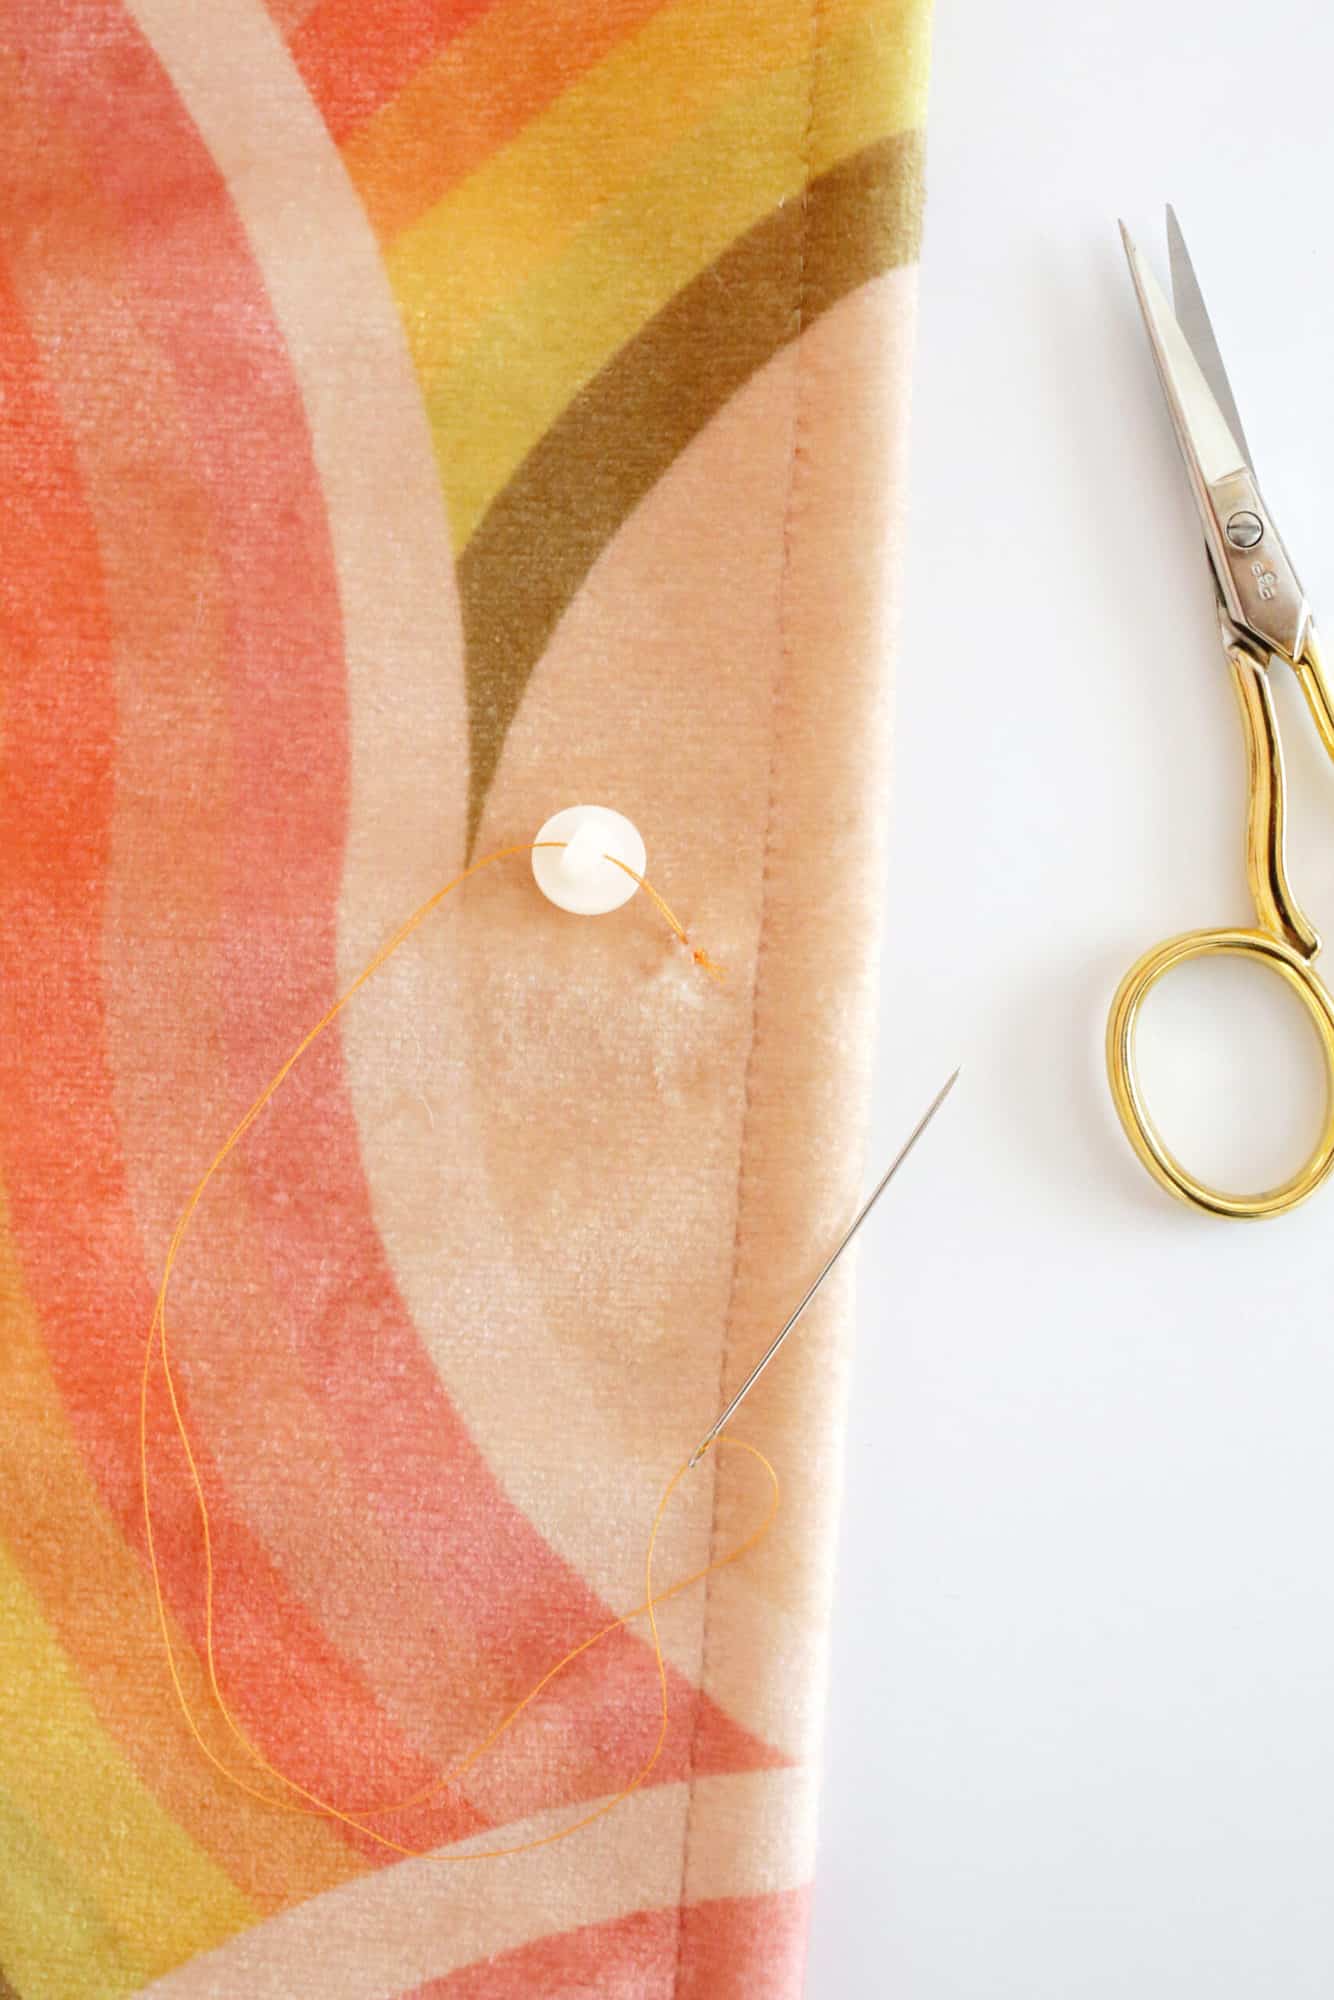
Start your first stitch: Pull your needle up through one of the holes from the underside of the fabric, pulling all the way up until the button stops. Push the needle back down through the second hole and pull the needle through again.
If you have a buttonhole that has 4 holes instead of just 2, you will be going through one hole and across the buttonhole diagonally from that hole rather than straight down to create an “X” as you sew. .
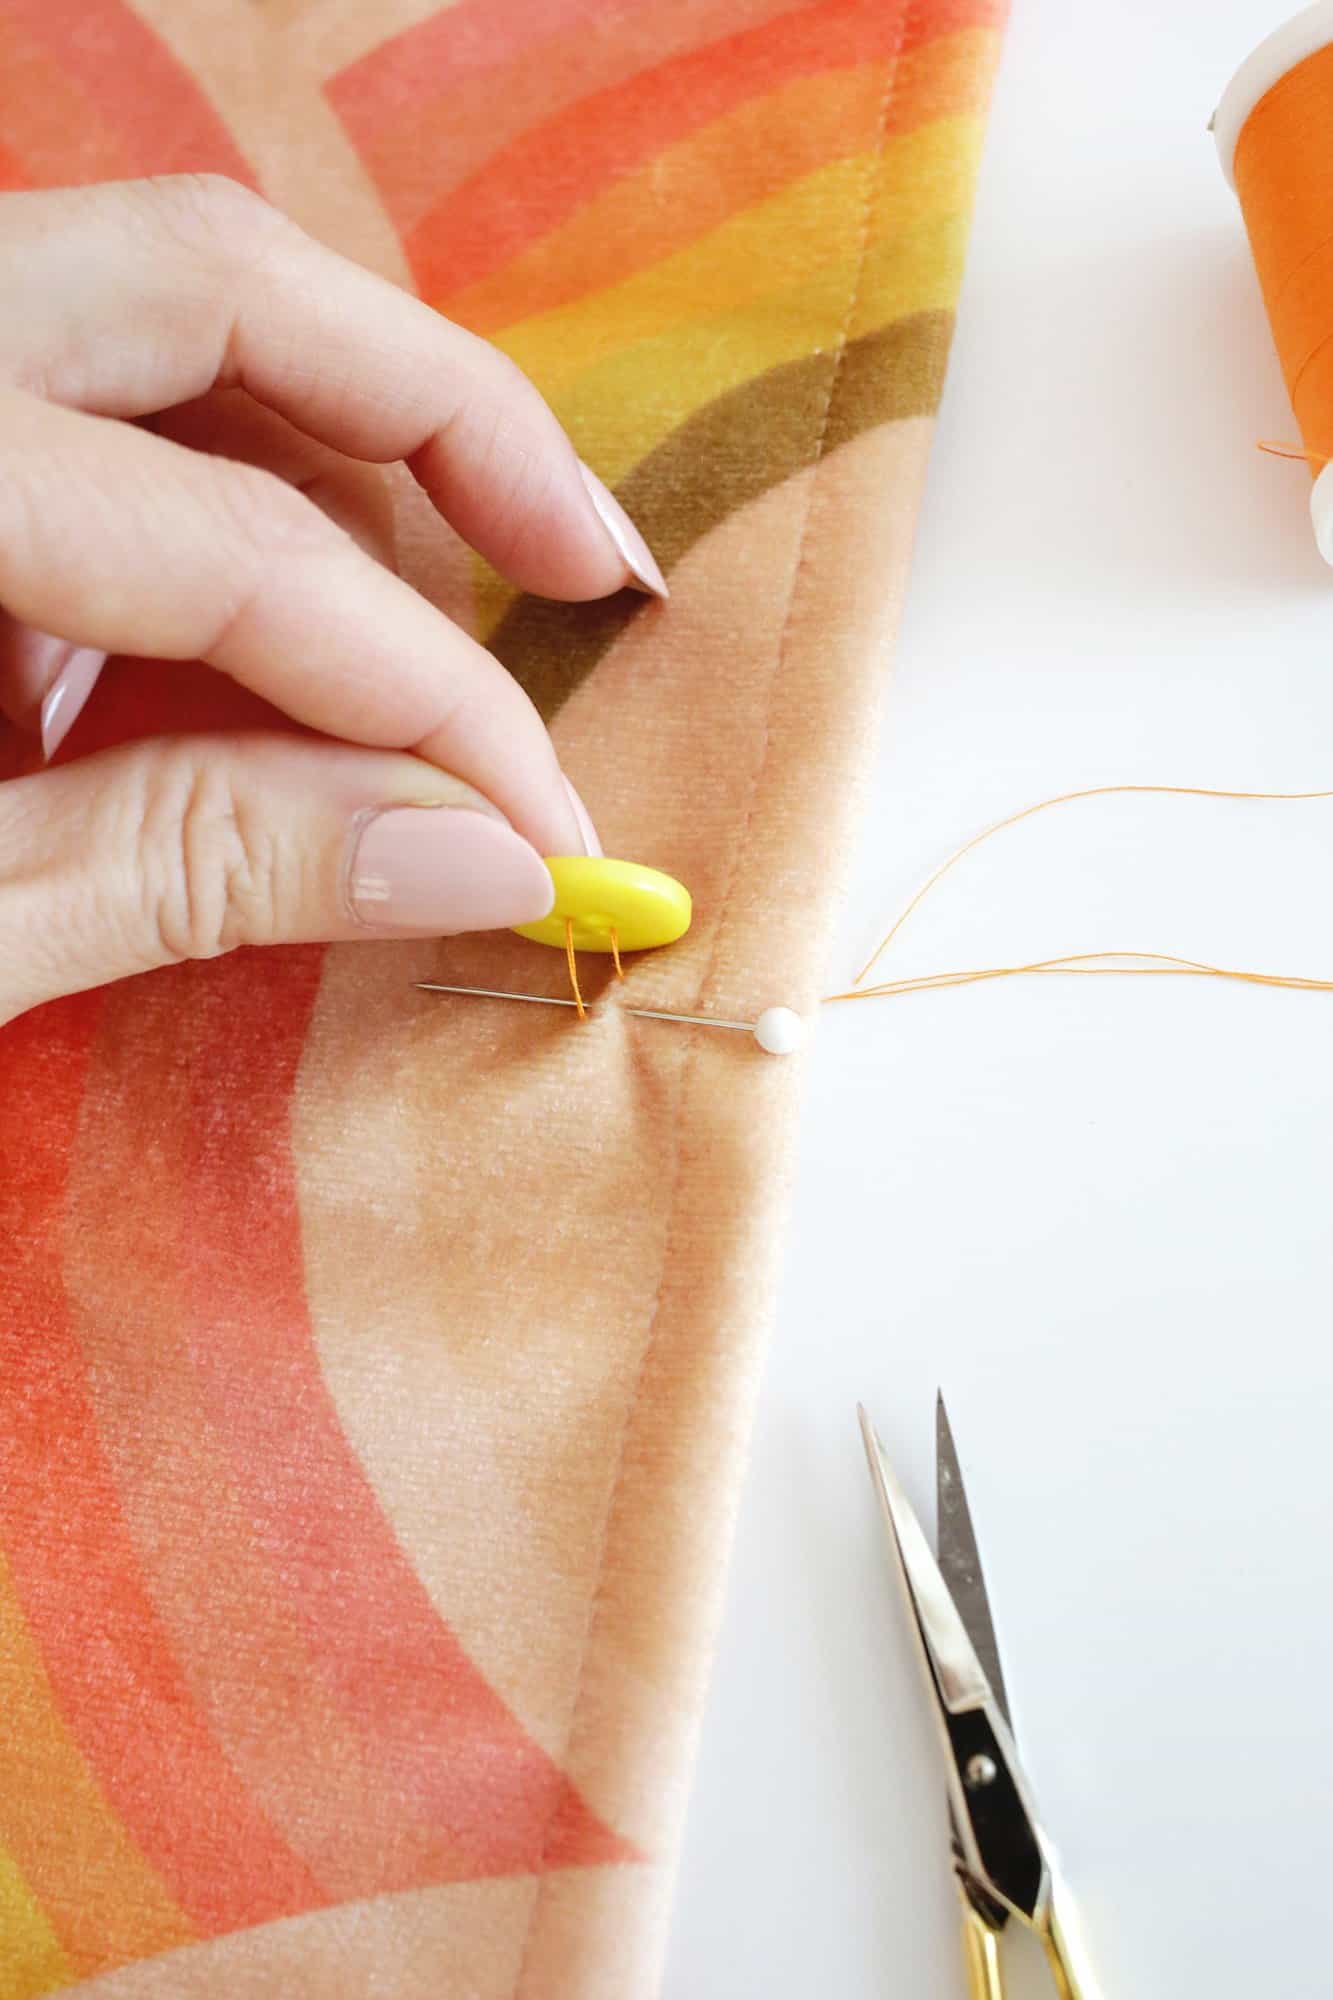
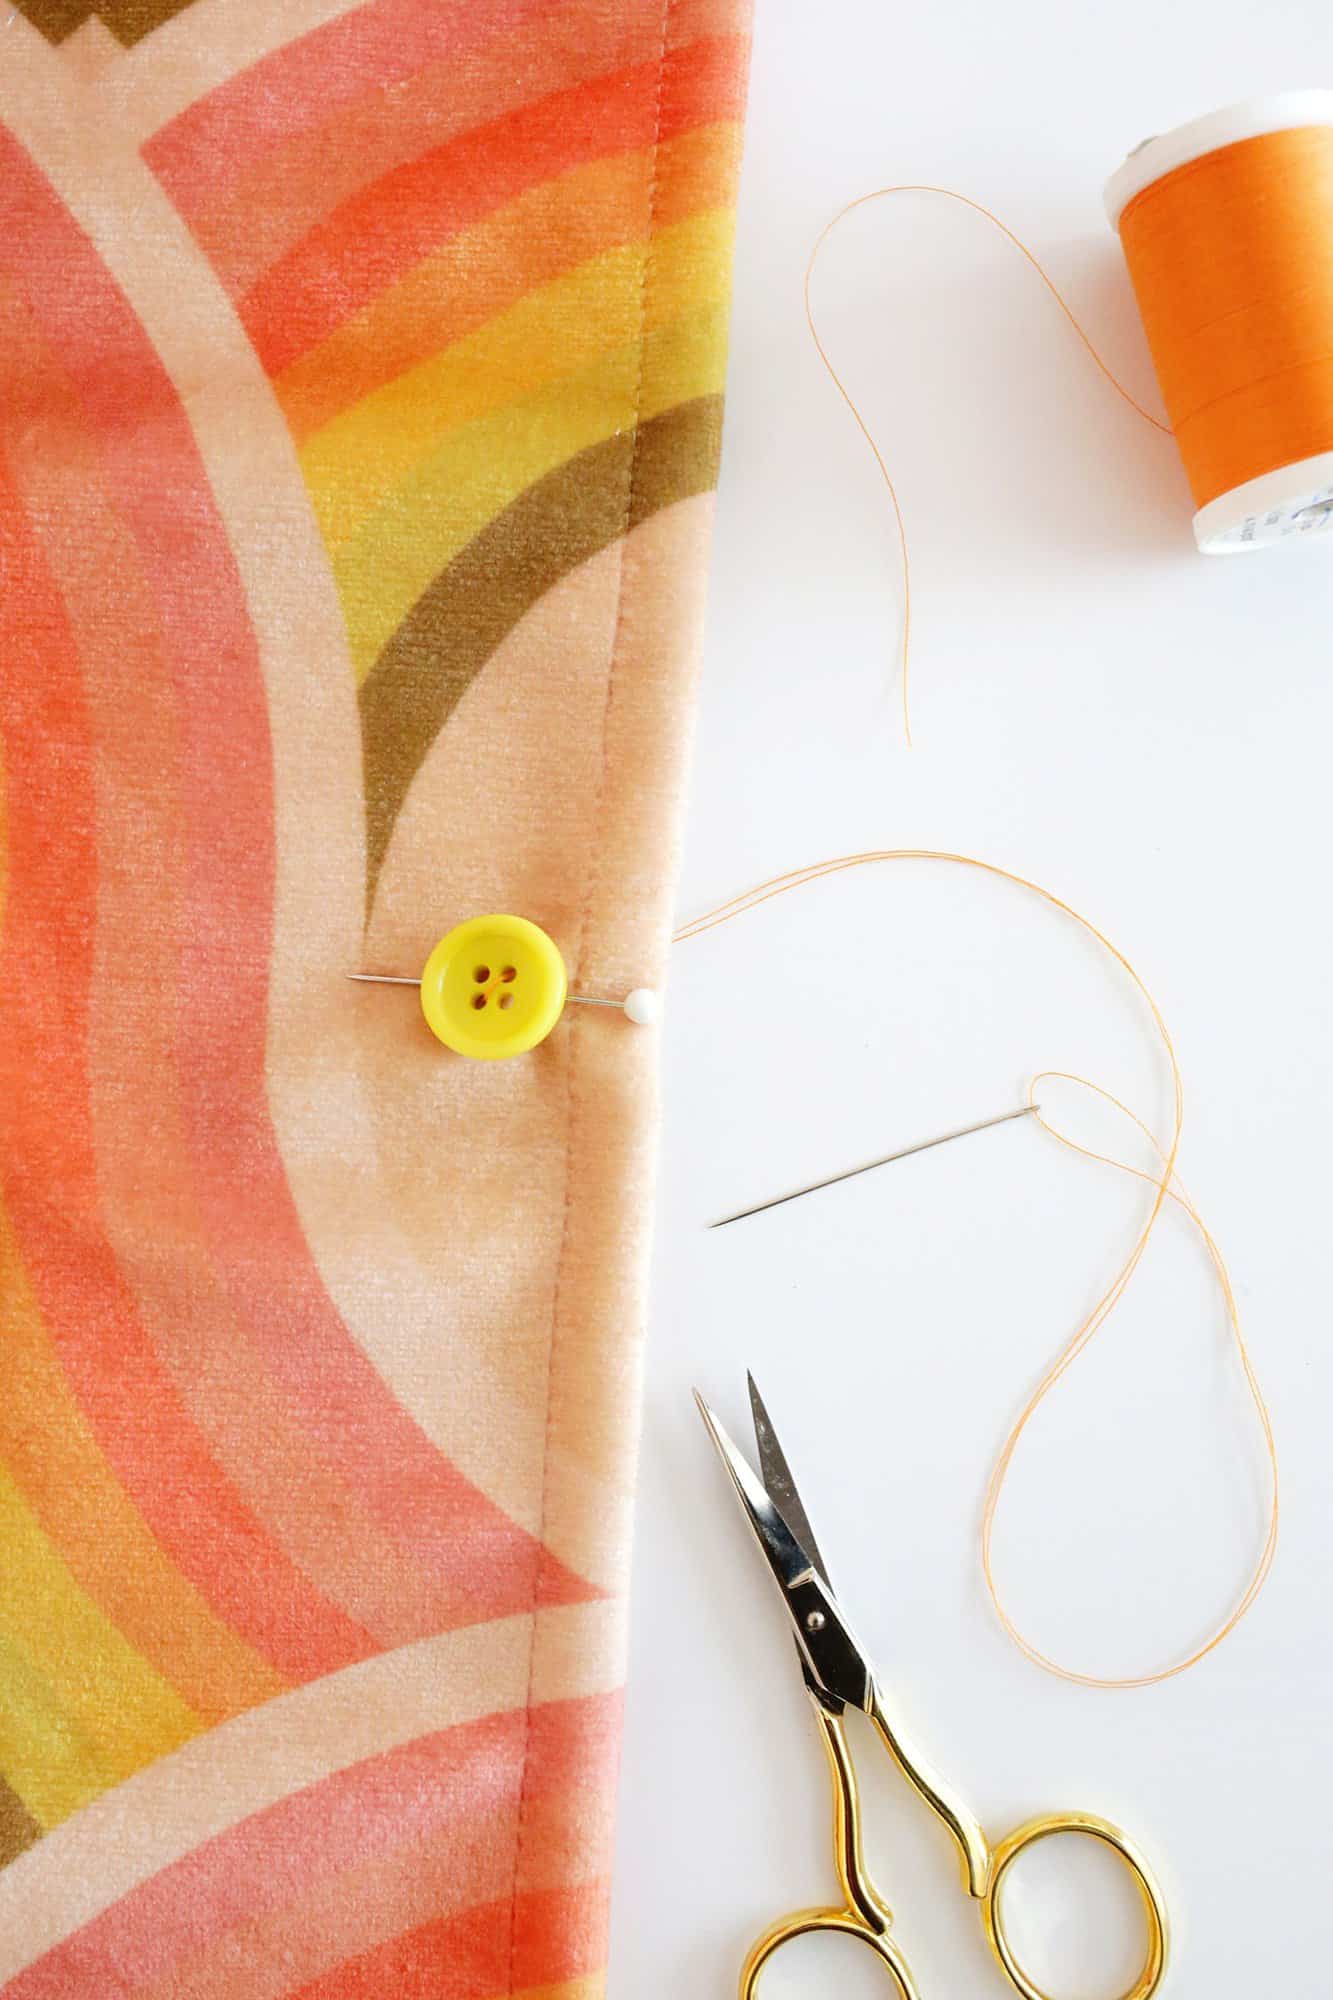
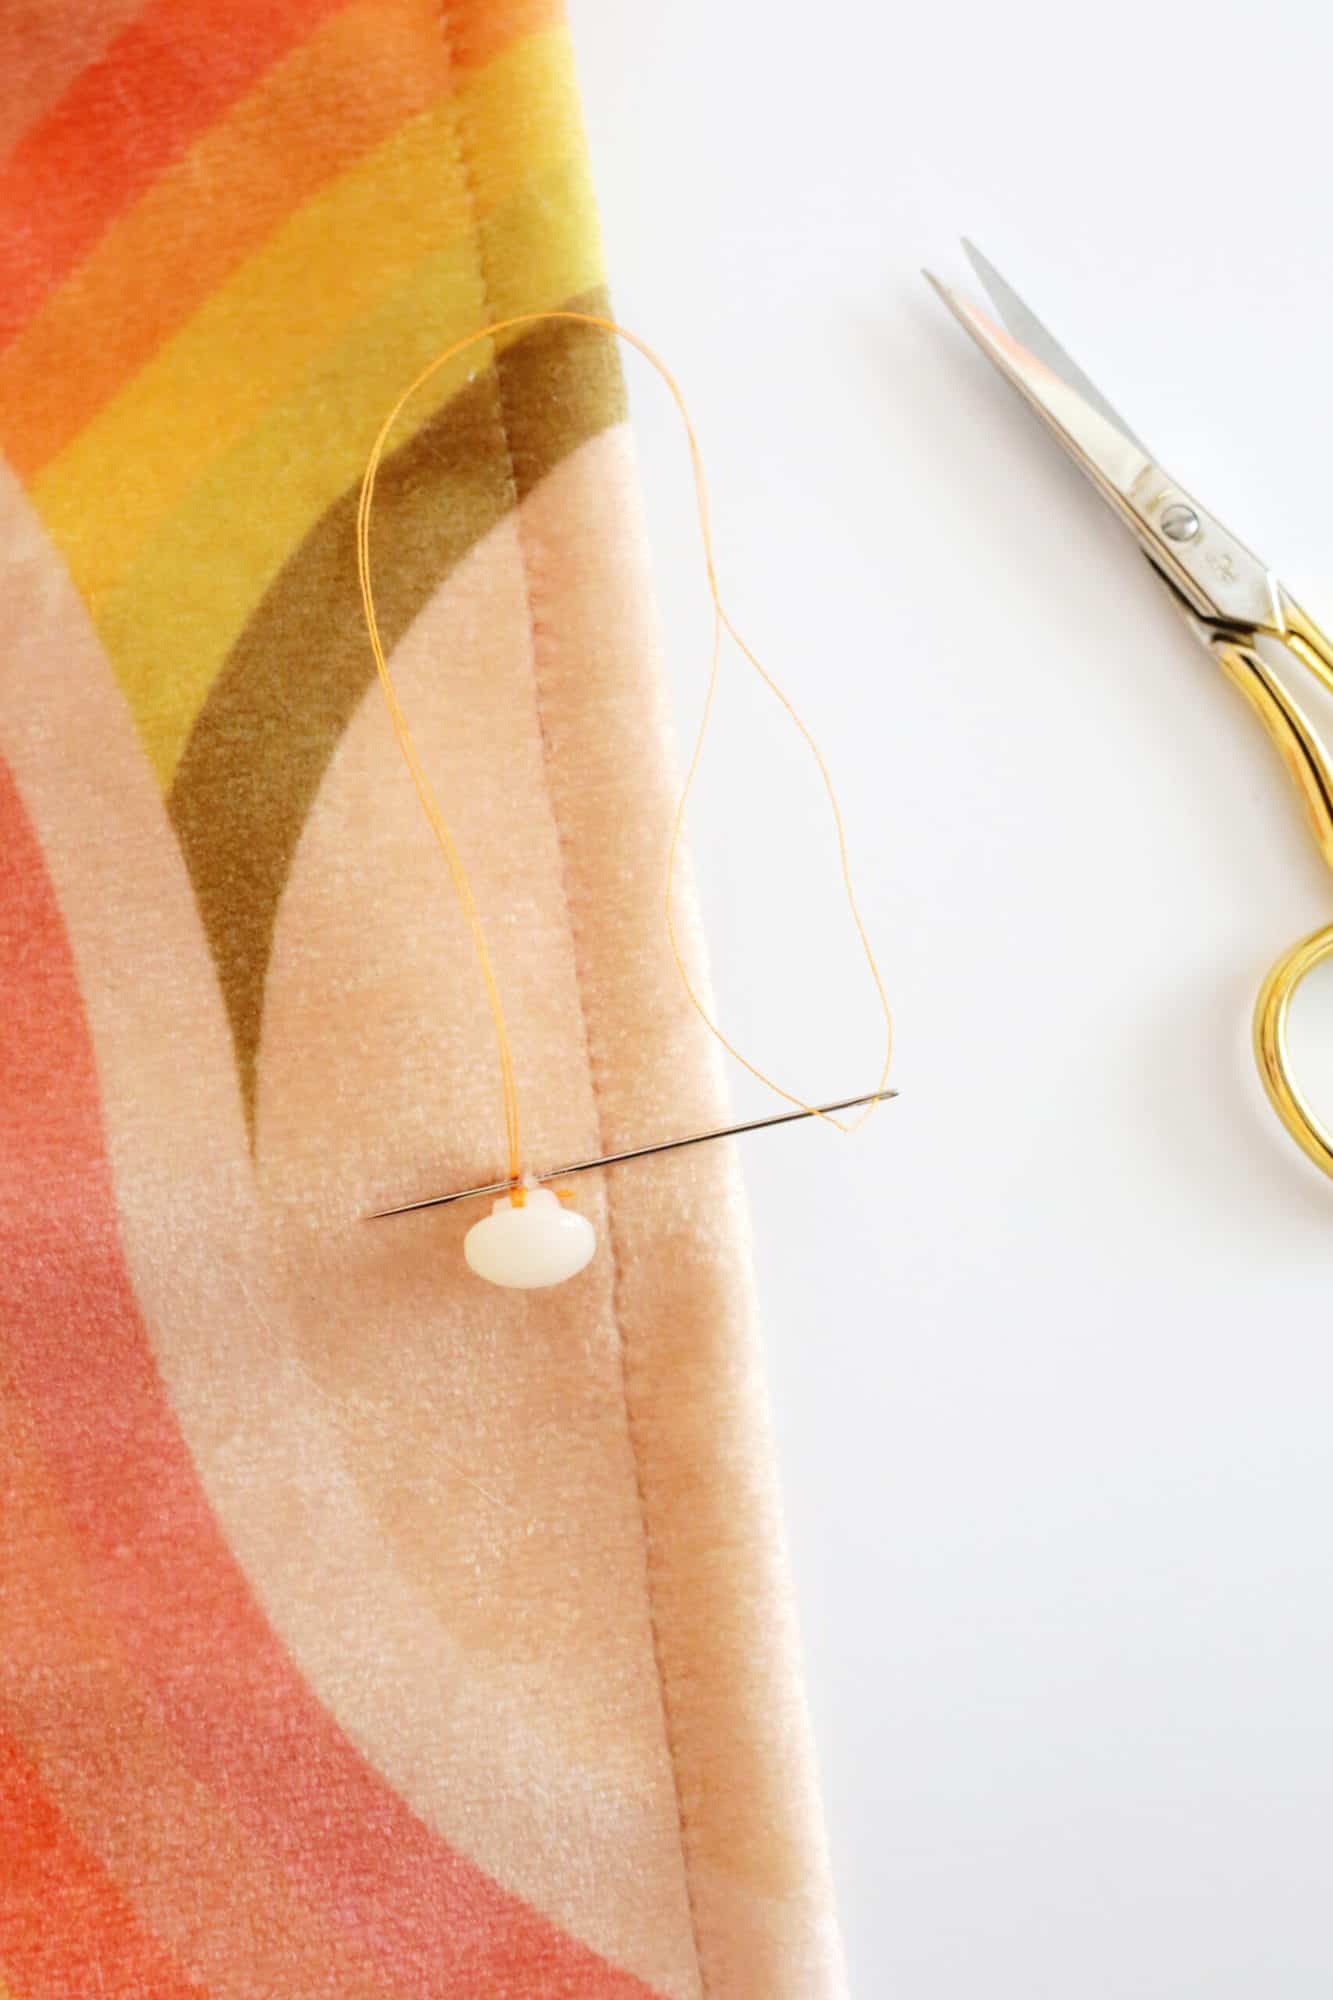
Use straight pins as spacers: Place a straight pin under the button between the button and the fabric in the center of your stitch. Having this pin in there will create a bit of space so the button doesn’t get stitched too tight.
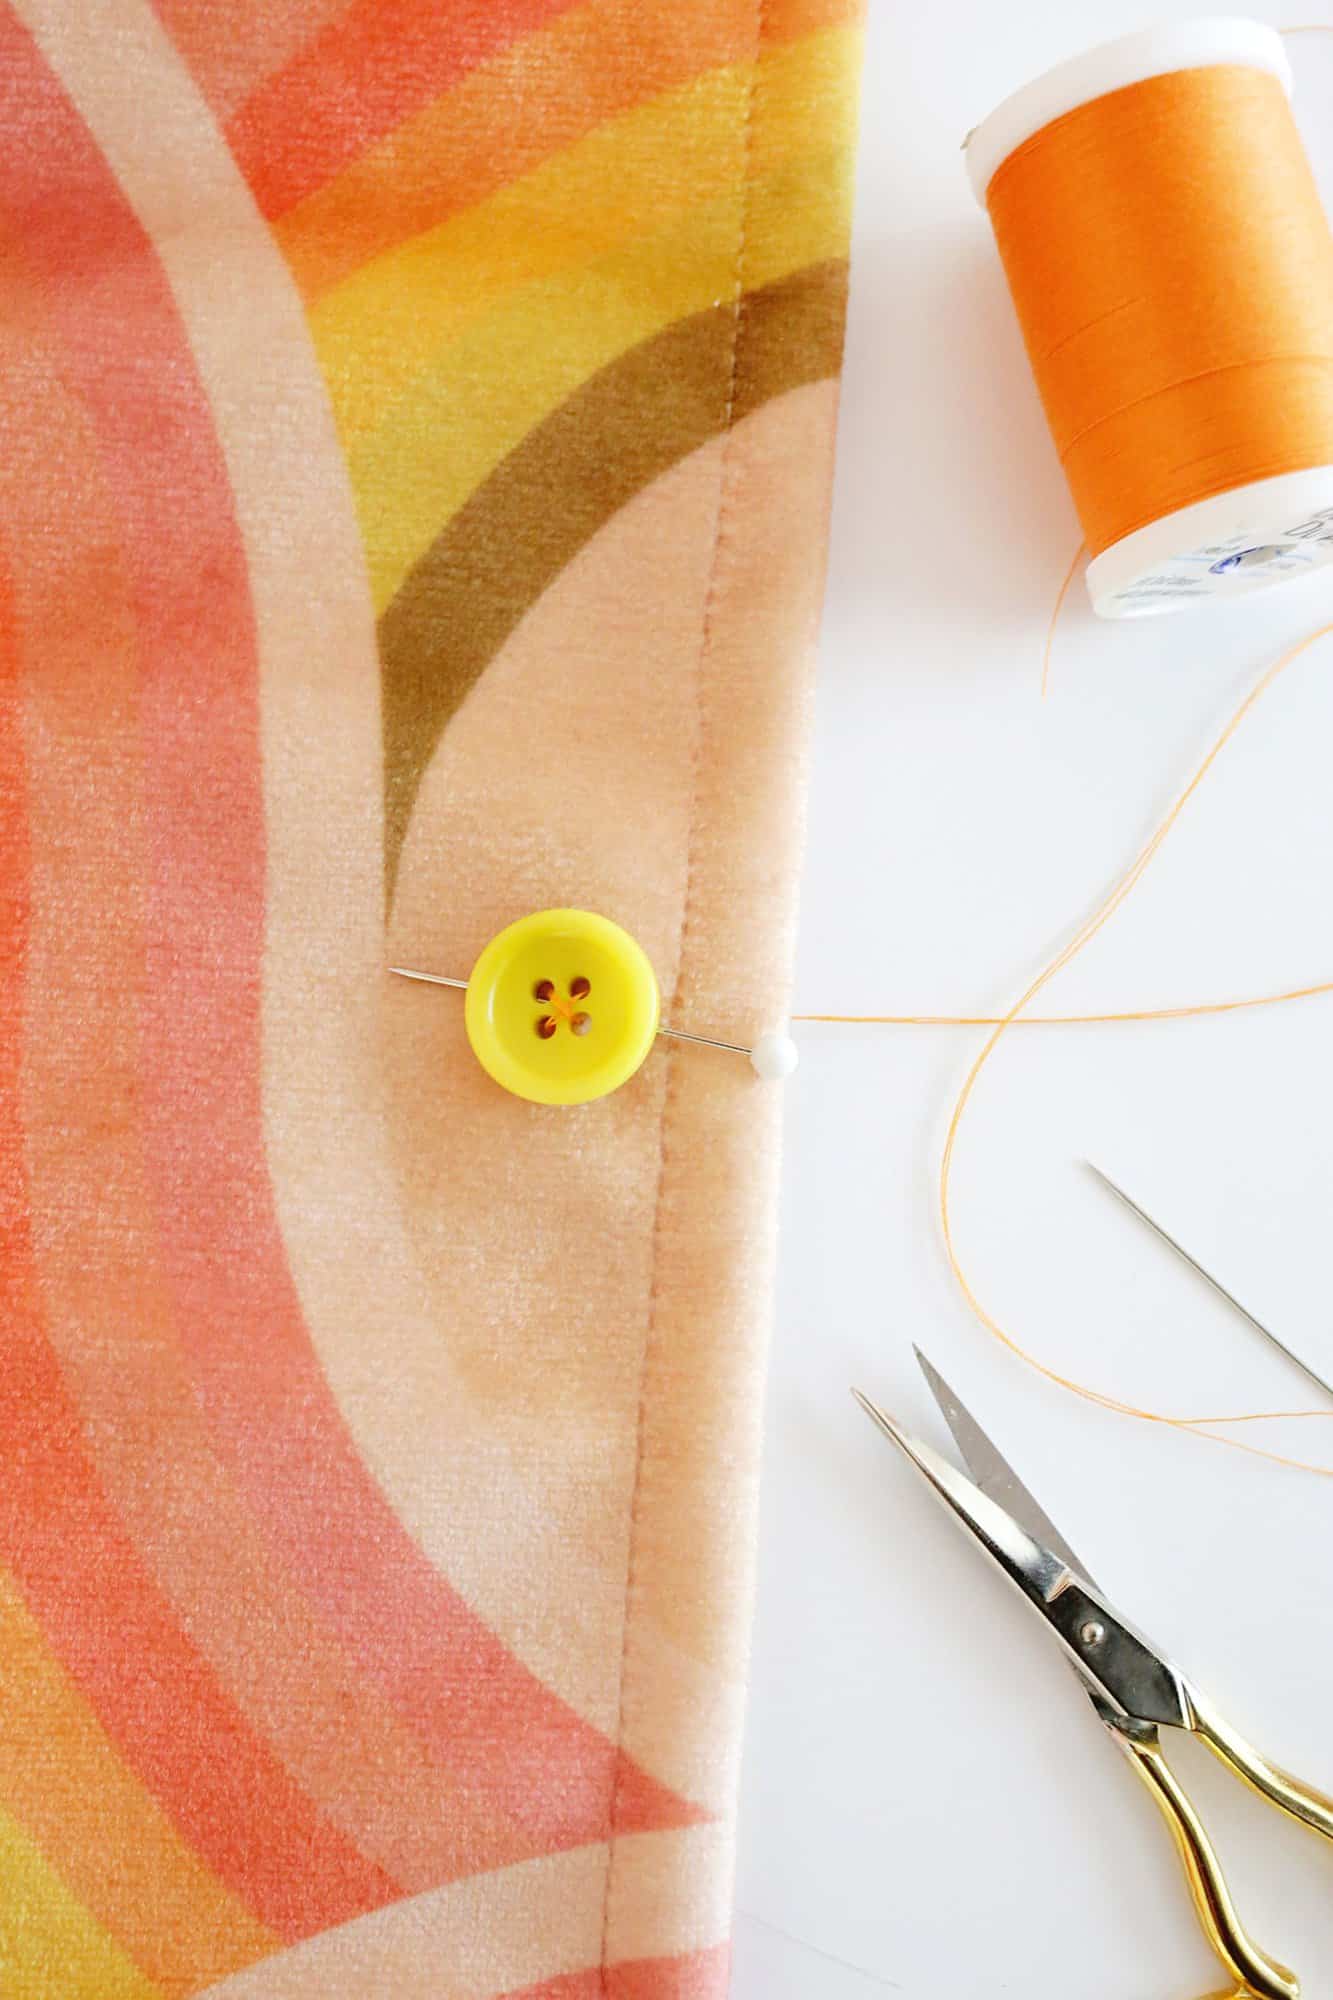
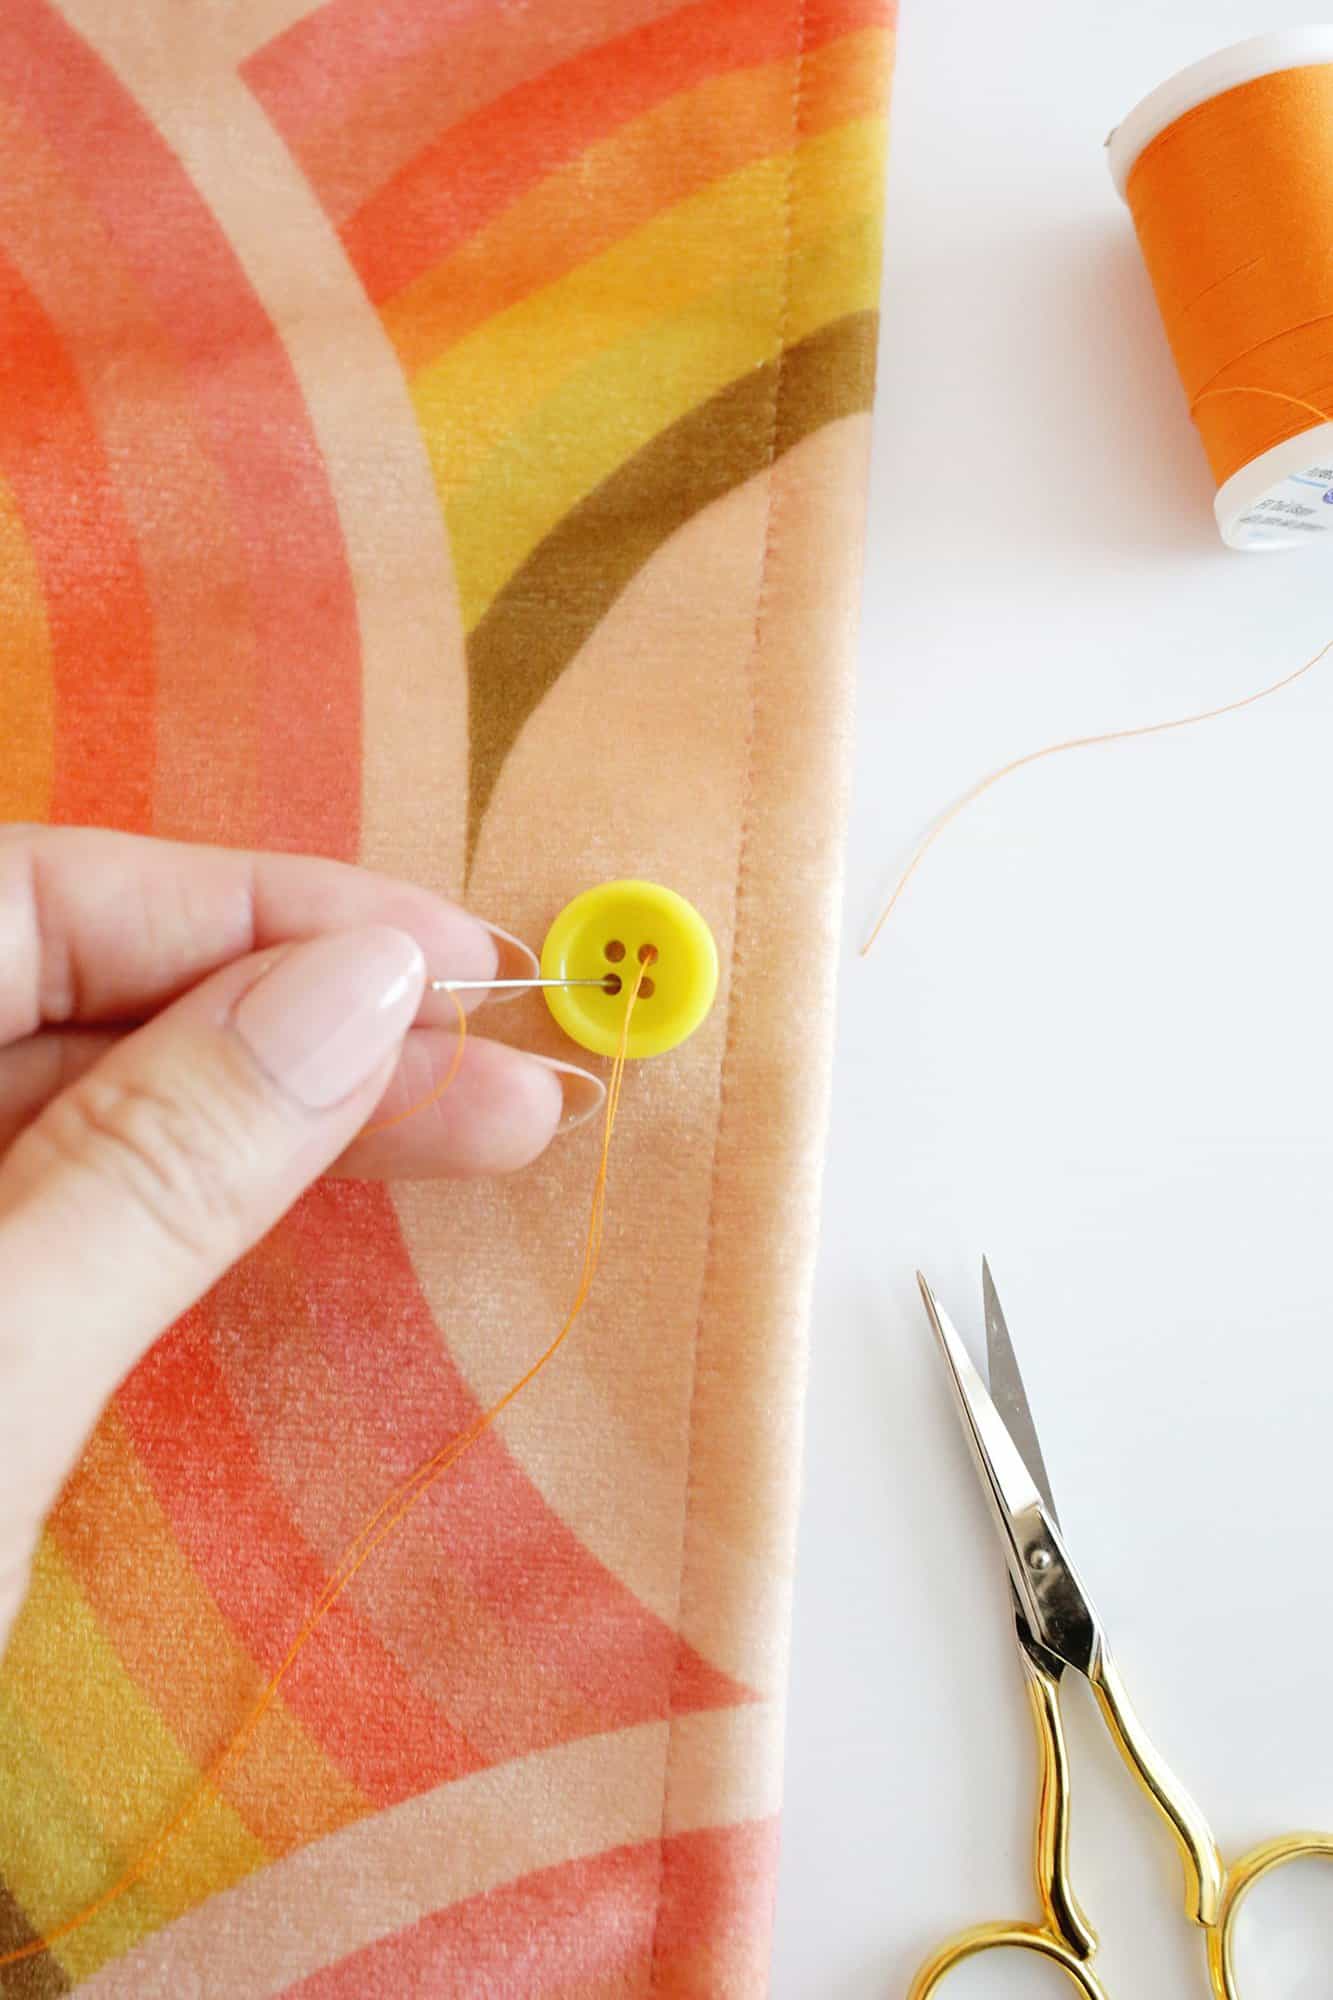
Continue sewing: Continue stitching your stitches by going up from the bottom and going down the next hole several times until the button feels solid as you pull in.
Create a leg (optional): Before you finish your button, go through the material but out under the button and not through the buttonhole again.
Take the pin straight out and thread the thread between the button and the fabric to secure the button and create a border. (This gives you some space between the button and the fabric to button comfortably.)
* If you are sewing a decorative button without a hole, you can skip this step of winding around to create the fluff.
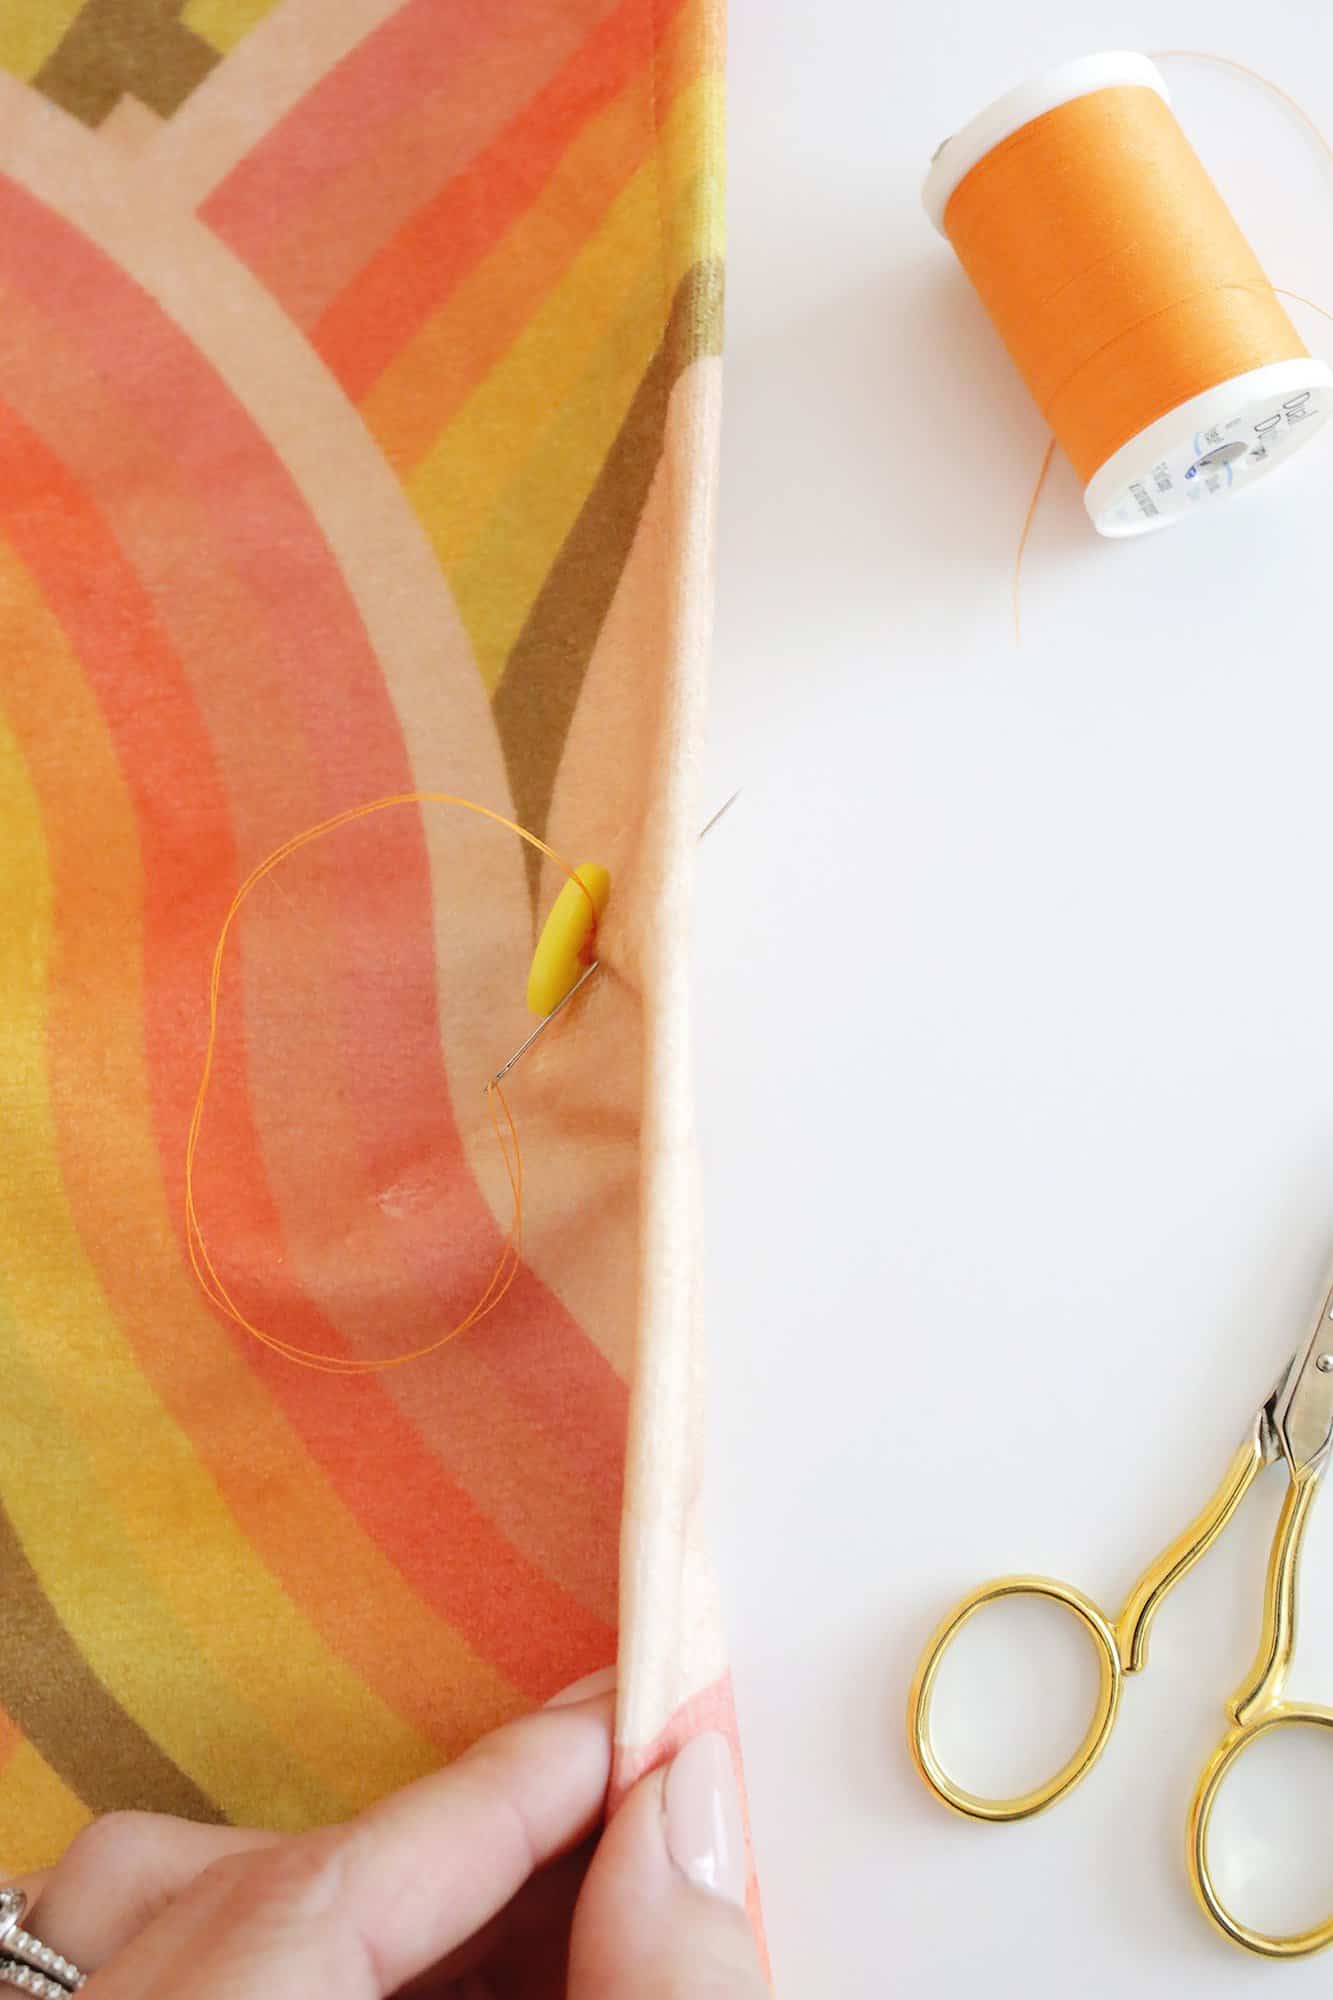
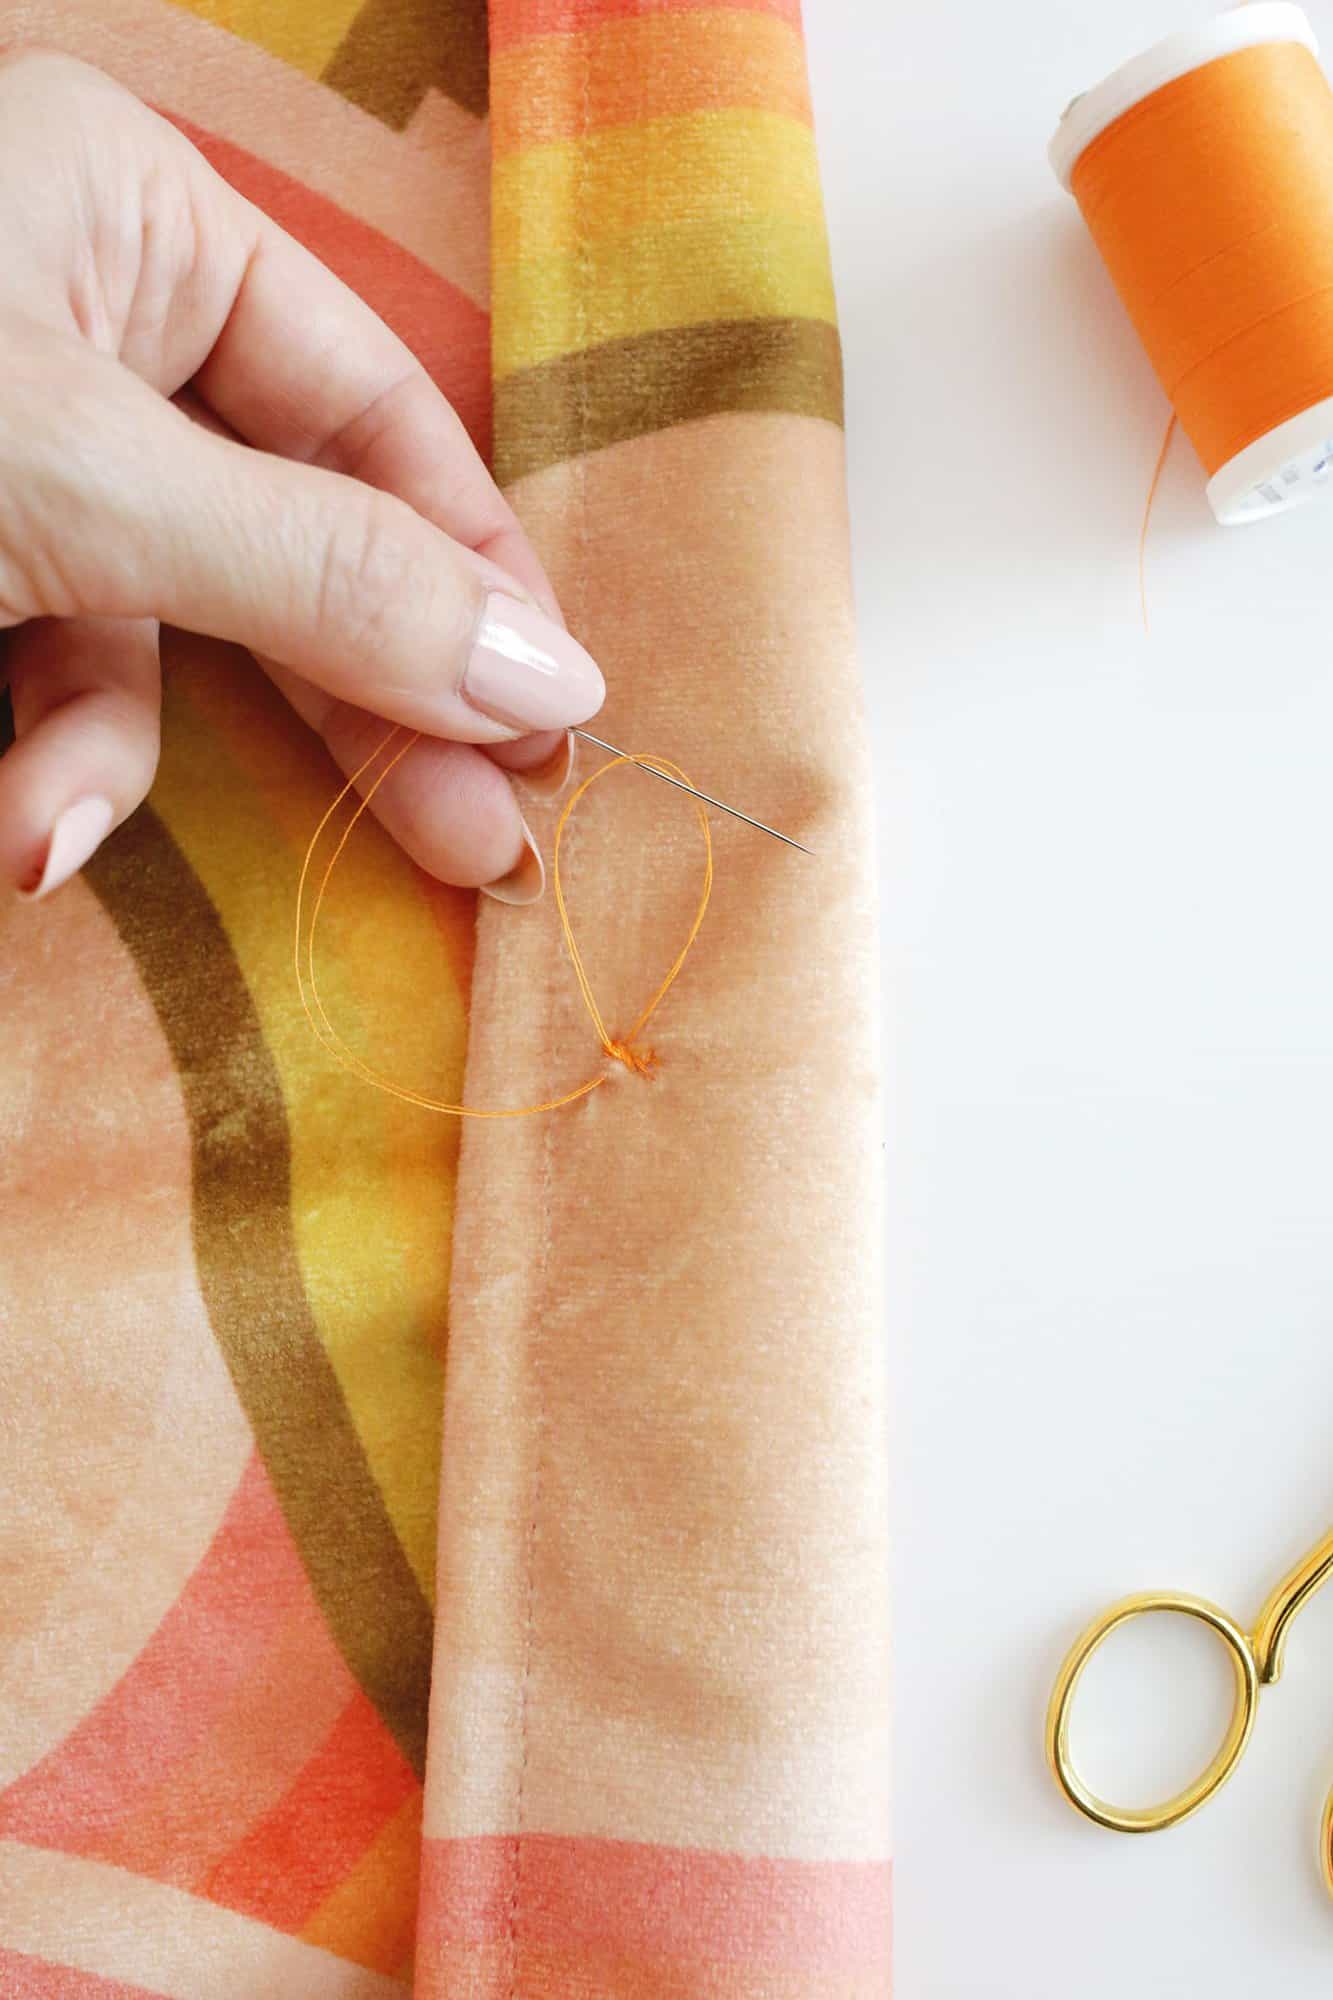
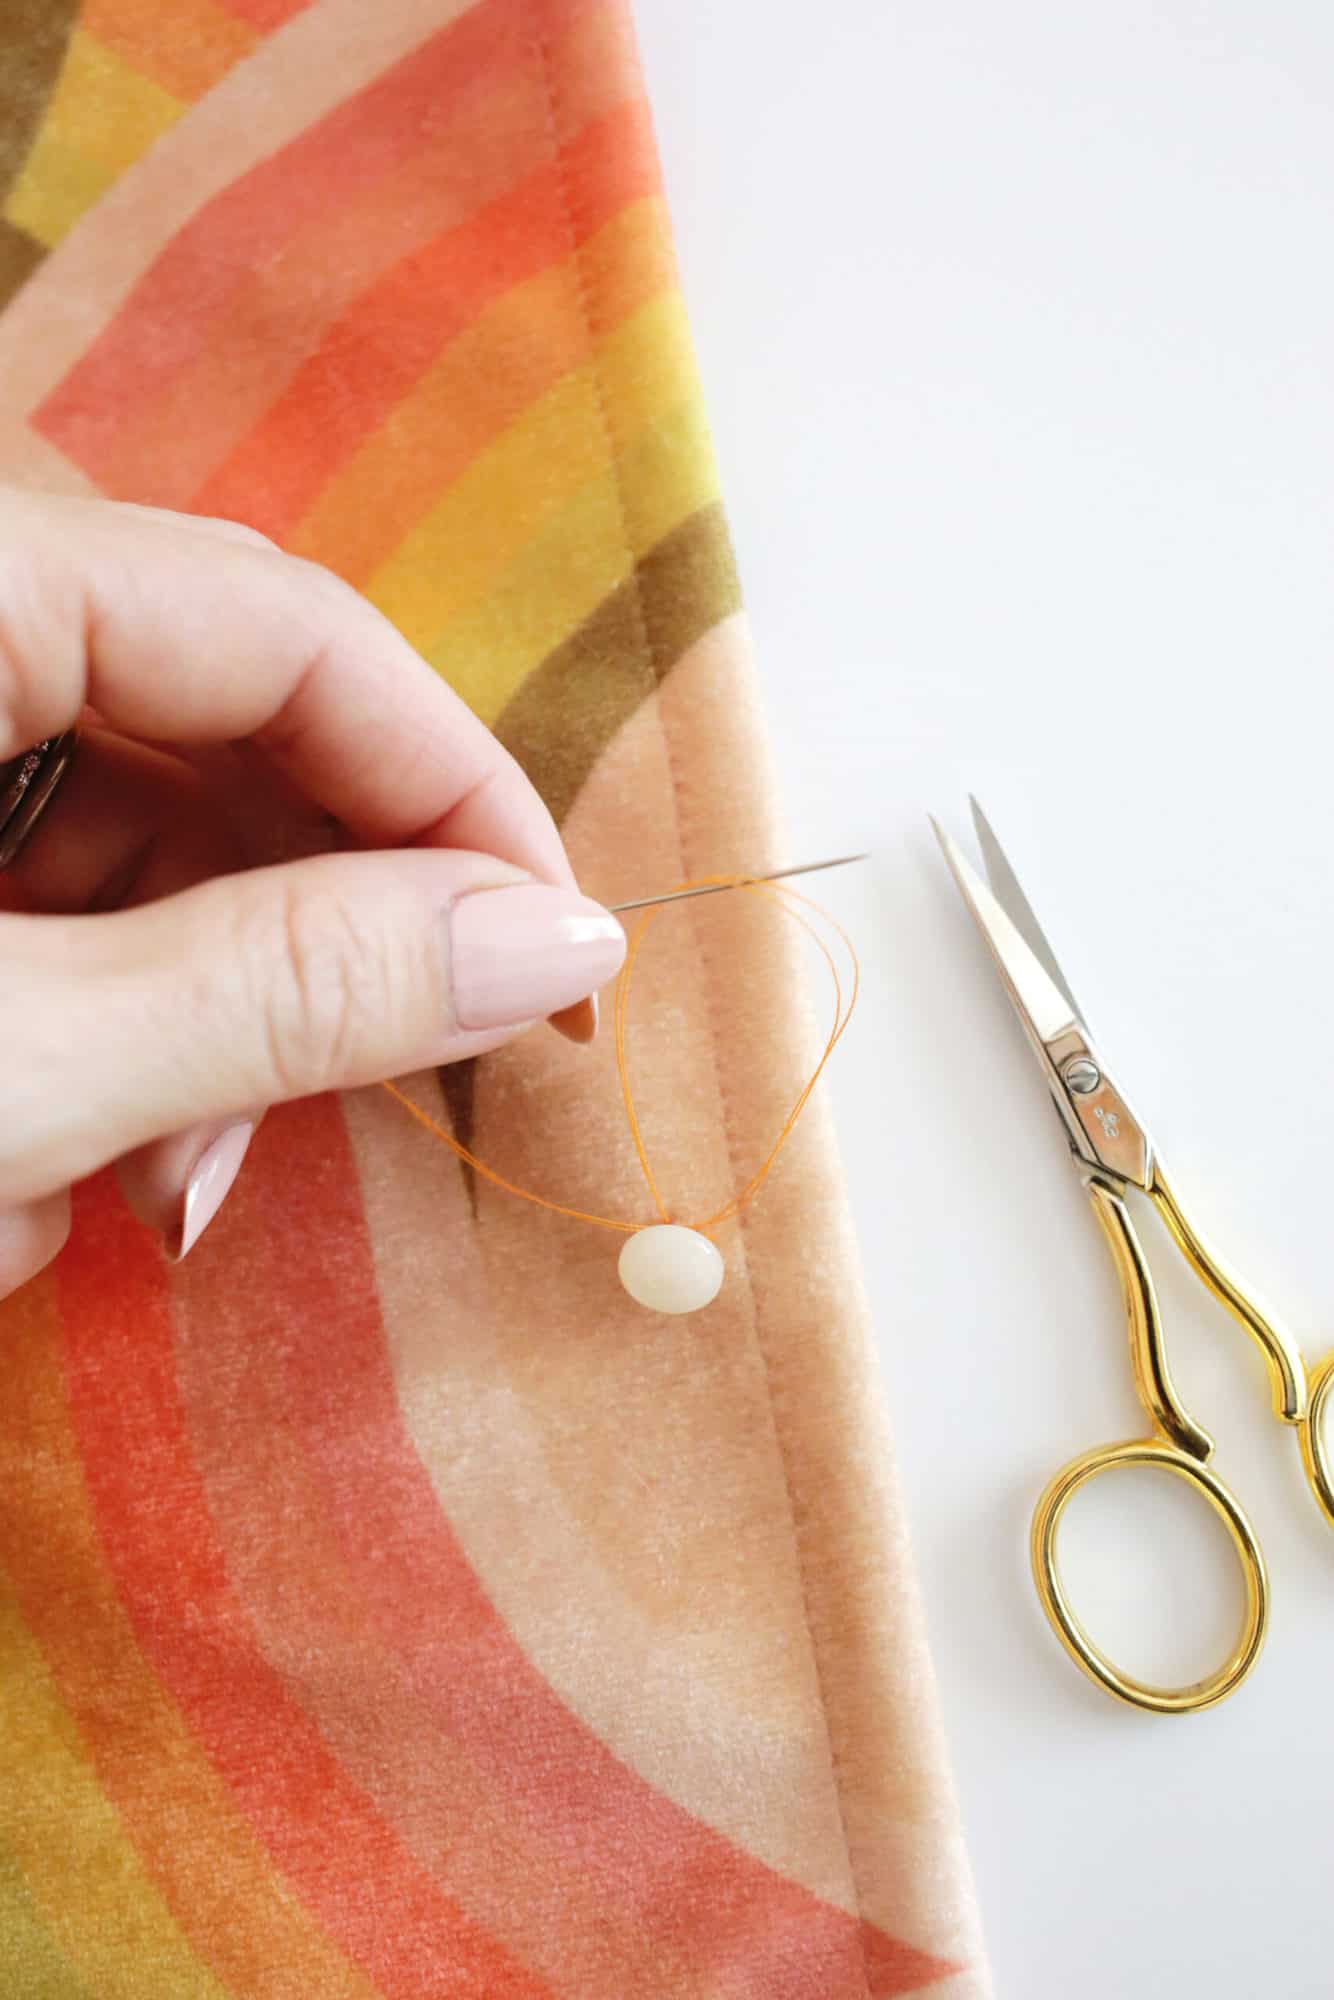
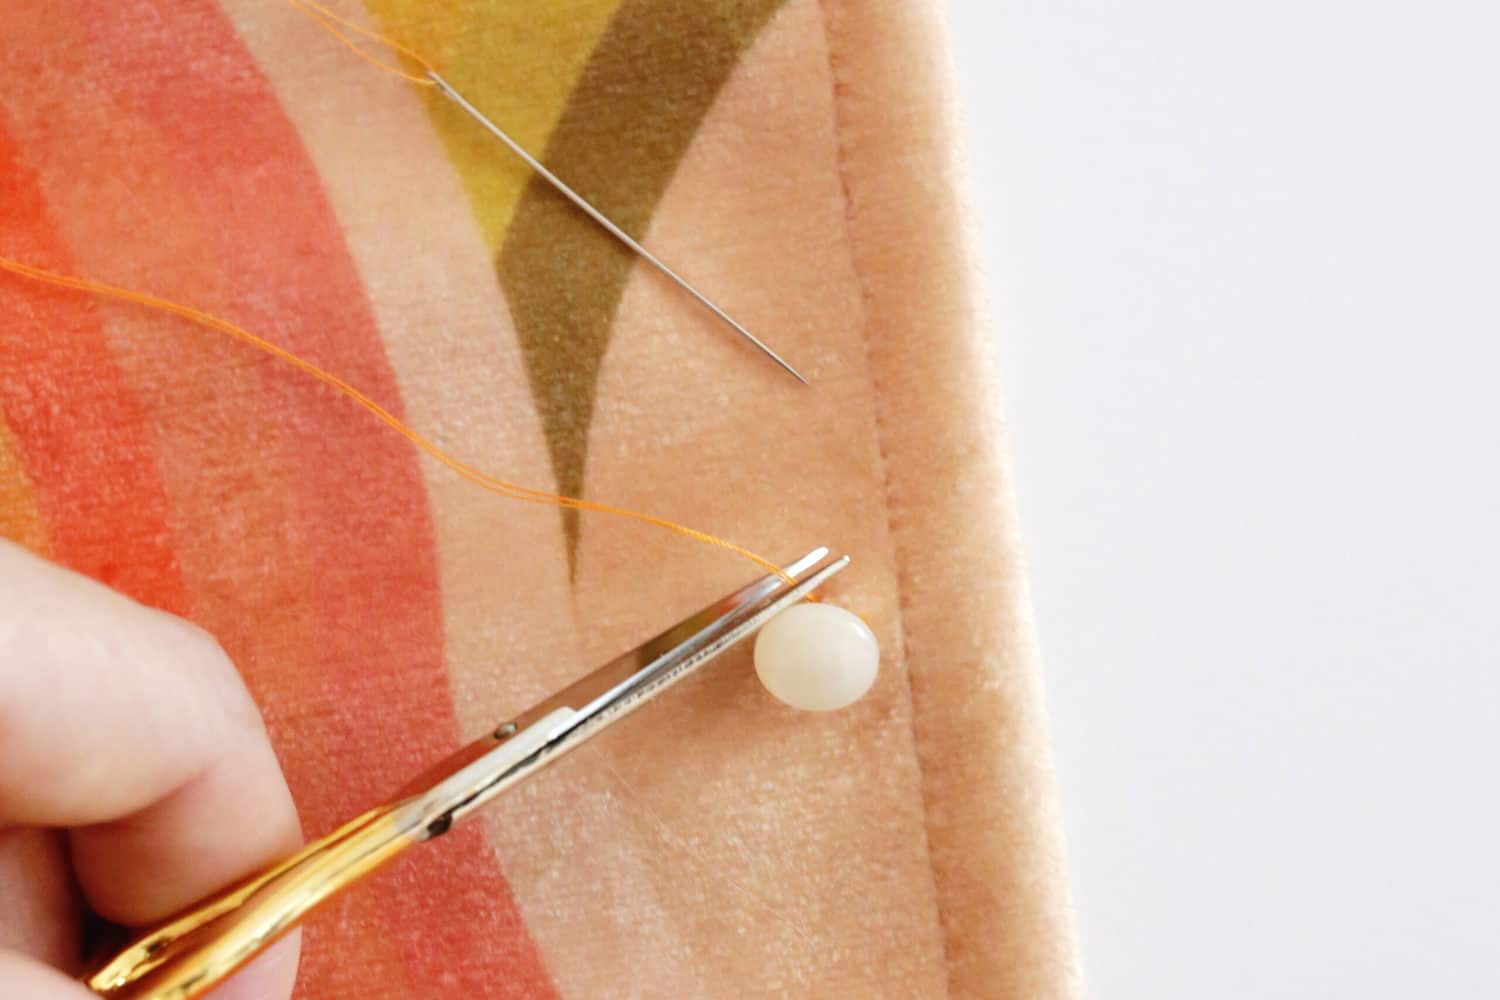
Tie the thread on the underside: To finish, push the needle back through the material, next to the shank so that the needle is on the underside of your material.
Use the needle to catch some of the material underneath and pull it all the way down so you have a small loop of thread.
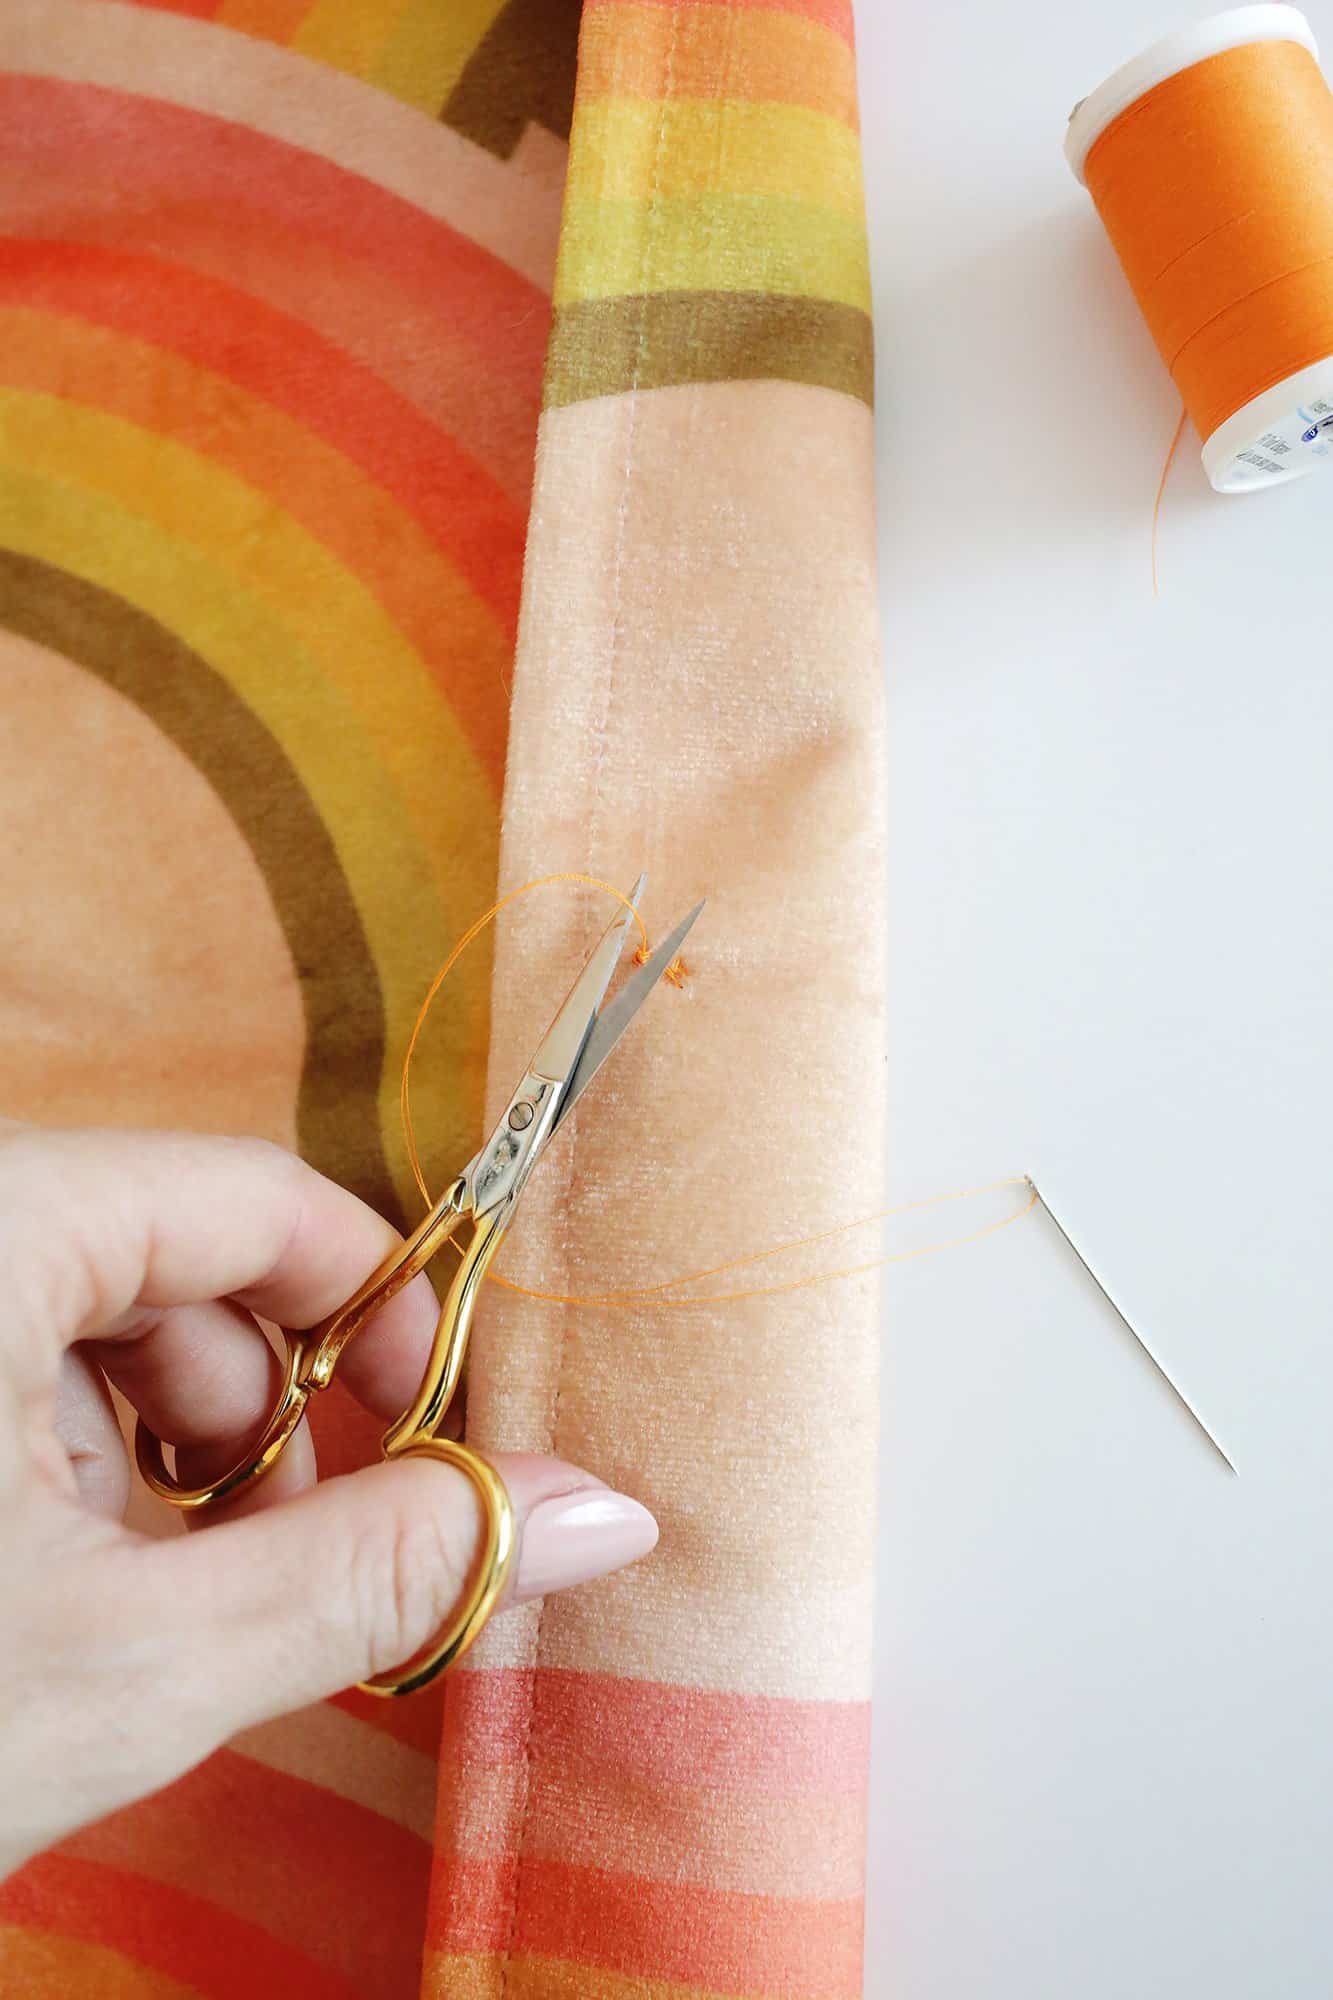
Thread the needle through the thread and pull tight to create a knot. Cut the thread close to the knot and you’re done.
STEPS FOR SEWING BANK Buttons:
Munition:
limbs button
-theme (normal weight works for almost anything but you can do it a heavy weight for larger coats, etc.)
-needle (a many packages like this there are several options for different yarn weights)
-scissors
–Marker disappears (optional)

Needle thread: Cut a piece of thread about 24″ long and thread it halfway through the needle so that both ends are equal (you can use a pointer like this for threading). Holding your strands together, tie a knot at the end to tie them together.
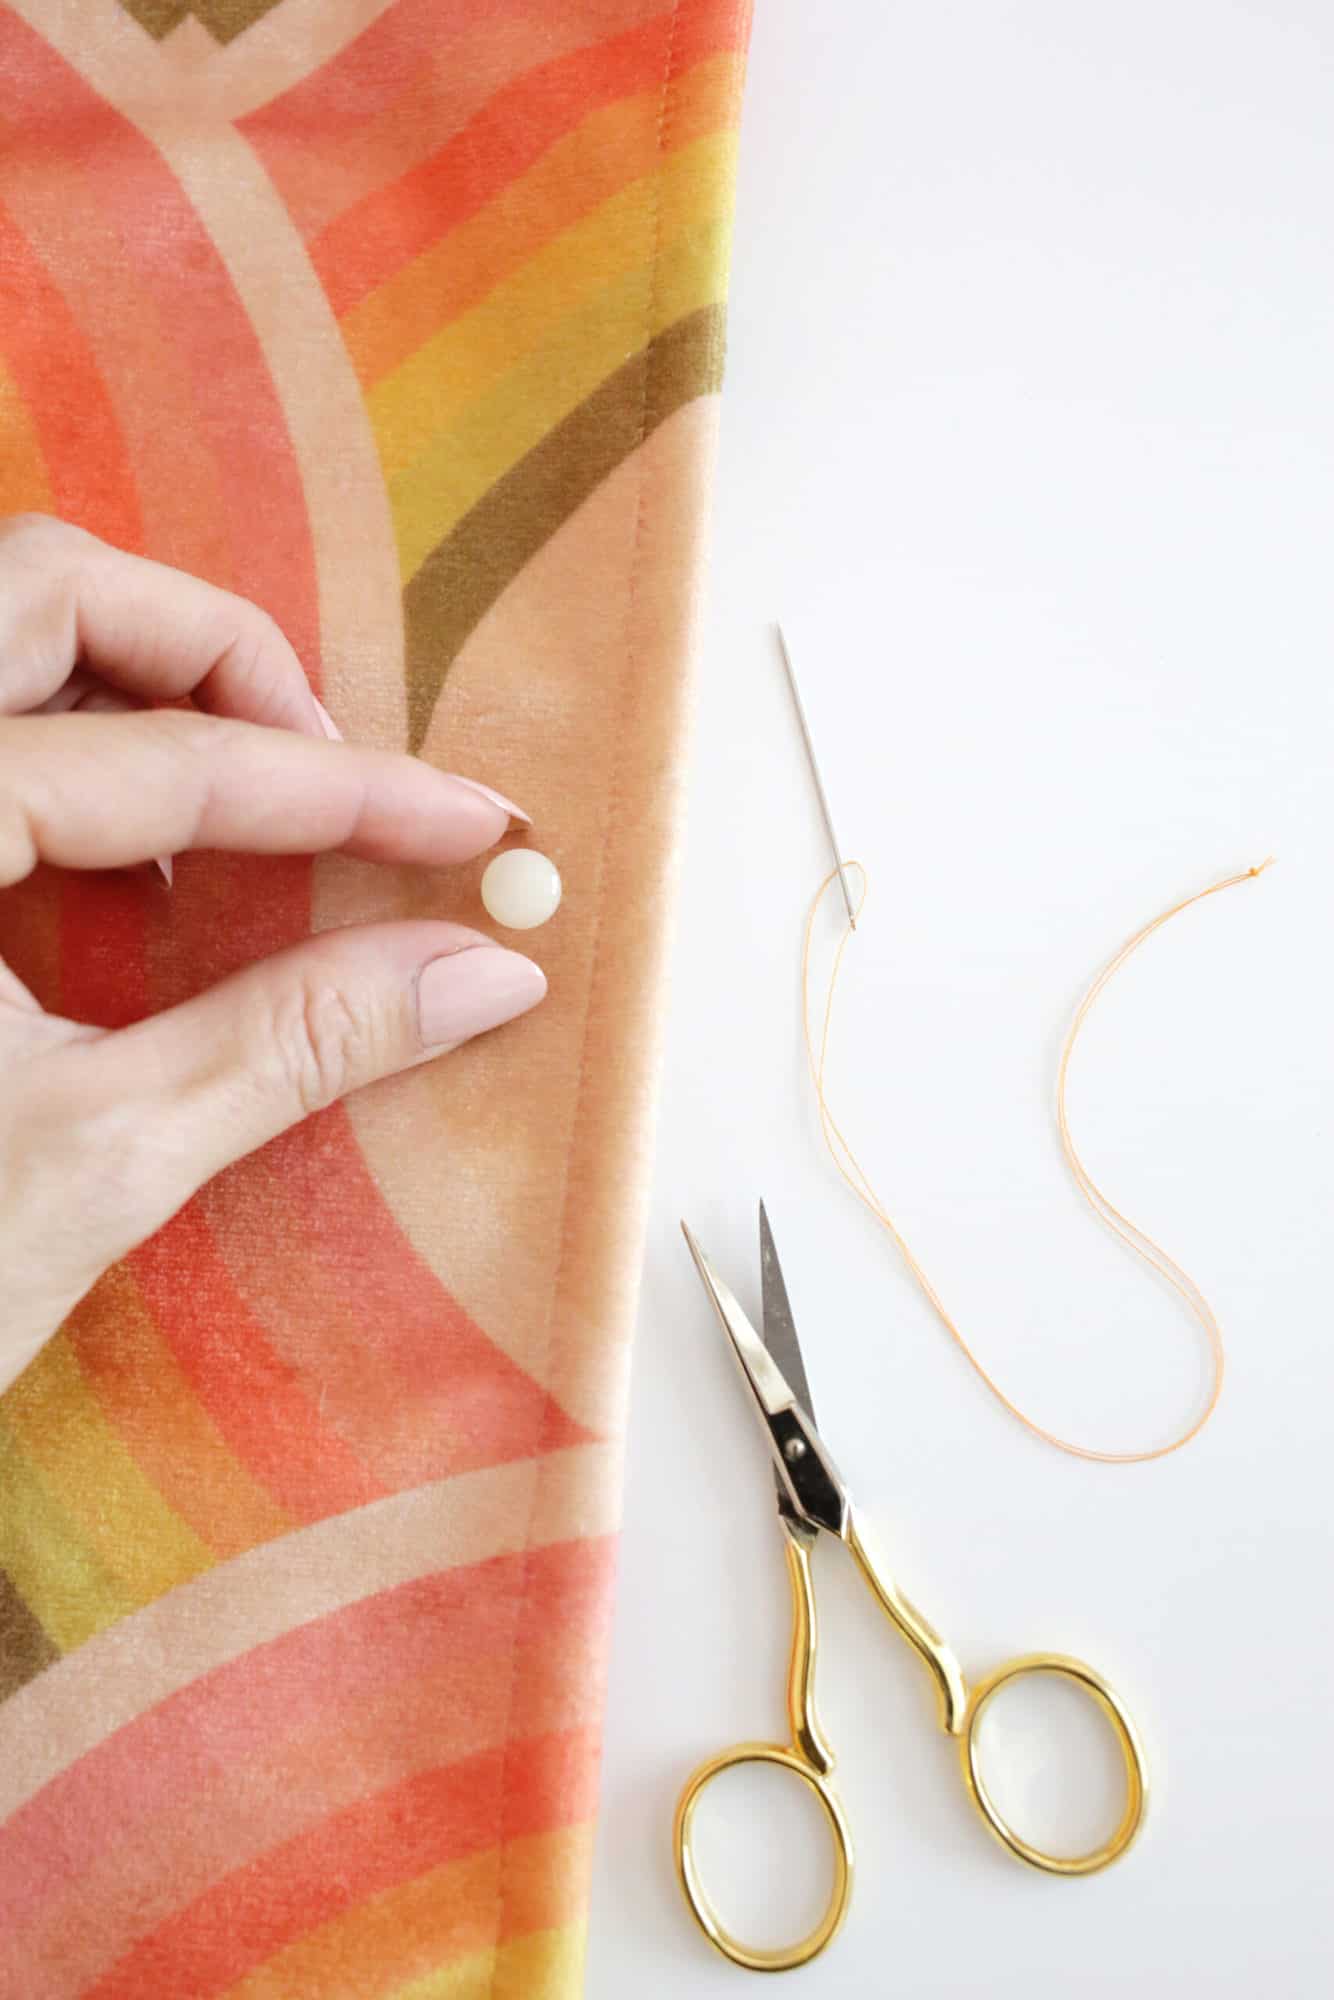
Button positioning: Position the button where you want it on your garment. Check that it’s the right spot for the eyelet if it’s on a jacket, shirt, or jacket. You can also use Marker disappears to mark the location if you want.

Start your first stitch: Push your needle through a small bit of material at the spot where you want the button to be. Drag it through all the way.
Your button theme: Thread the needle through the hilt of your buttonhole.

Attach button: Thread the needle through the small piece of fabric again as you did before and pull tight to attach the button.
Continue to thread the needle through the button shackles and then through the small fabric underneath a few times until you pull it firmly in.
Clinch: To finish, thread another thread through the small section of material and pull it all the way down so you have a small loop of yarn.
Thread the needle through the thread and pull tight to create a knot. Cut the thread close to the knot and you’re done.
Do it! You’ve just learned how to sew flat buttons or cuffs, and now you can be your own tailor and make a quick fix the next time a button falls out. Our test garment archive for more projects! Xo Laura
Looking for an easy project unfortunately? Try these out!
Easy way to quickly sew a flat button or foot button (step by step)
Sew a flat or button knot quickly and easily!
STEPS FOR SEWING FLAT BUTTON (TWO OR FOUR TIMES):
-
Needle thread: Cut a piece of thread about 24″ long and thread it halfway through the needle so that both ends are equal (you can use a pointer like this for threading). Holding your strands together, tie a knot at the end to tie them together.
-
Button positioning: Position the button where you want it on your garment (make sure the holes face the same direction as the other buttons nearby). Check that it’s the right spot for the eyelet if it’s on a jacket, shirt, or jacket. You can also use Marker disappears to mark the location if you want.
-
Start your first stitch: Pull the needle up through one of the holes from the underside of the fabric, pulling all the way up until the button stops. Push the needle back down through the second hole and pull the needle through again.
If you have a button with 4 holes instead of just 2, you’ll be going up through one and across the button hole diagonally from that hole instead of straight down, so you’re making an “X” and not is “=” as you may.
-
Use straight pins as spacers: Place a straight pin under the button between the button and the fabric in the center of your stitch. Having this pin in there will create a bit of space so the button doesn’t get stitched too tight.
-
Sewing end: Continue stitching your stitches by going up from the bottom and going down the next hole several times until the button feels solid as you pull in.
-
Create a leg (optional): On your final seam, go up through the material but out under the button, not through the buttonhole again. Straighten out the pin and thread the thread between the button and the fabric to secure the button and contour (this gives you space between the button and the fabric for comfortable buttoning). Push the needle back through the material, next to the shank so that the needle is on the underside of your material.
* If you are sewing a decorative button without a hole, you can skip this step of winding around to create the fluff.
-
Tie the thread on the underside: To finish, use the needle to catch some of the material underneath and pull it all the way down so you have a small loop of thread. Thread the needle through the thread and pull tight to create a knot. Cut the thread close to the knot and you’re done.
STEPS FOR SEWING BANK Buttons:
-
Needle thread: Cut a piece of thread about 24″ long and thread it halfway through the needle so that both ends are equal (you can use a pointer like this for threading). Holding your strands together, tie a knot at the end to tie them together.
-
Button positioning: Position the button where you want it on your garment. Check that it’s the right spot for the eyelet if it’s on a jacket, shirt, or jacket. You can also use Marker disappears to mark the location if you want.
-
Start your first stitch: Push your needle through a small bit of material at the spot where you want the button to be. Drag it through all the way.
-
Your button theme: Thread the needle through the hilt of your buttonhole.
-
Attach button: Thread the needle through the small piece of fabric again as you did before and pull tight to attach the button.
Continue to thread the needle through the button shackles and then through the small fabric underneath a few times until you pull it firmly in.
-
Clinch: To finish, thread another thread through the small section of material and pull it all the way down so you have a small loop of yarn. Thread the needle through the thread and pull tight to create a knot. Cut the thread close to the knot and you’re done.