Is this the best Lightroom plugin?
A few months ago, I started processing all my raw images using the new Lightroom plugin. It resulted in a significant increase in image quality, as I show in this post.
Imagine buying a new camera with over three stops of improved low-light performance. Plus, swapping out your lens for a prime lens. That would be quite an investment, right? I made that switch for just $119. How is that possible, you might ask? It’s not the literal switch I described above. I achieved the equivalent by installing DxO PureRAW4.
I started using AI in my photo editing workflow when Adobe introduced AI Noise Reduction in Lightroom. It’s a game changer.especially for my forest and night photography. At first, I was unsure if I needed a plugin to take over the noise reduction from Lightroom. But since DxO PureRAW4 not only removes noise from images but also improves sharpness and detail, I thought I’d give it a try. For the first 14 days, you can do it for free.
DxO PureRAW4 Results
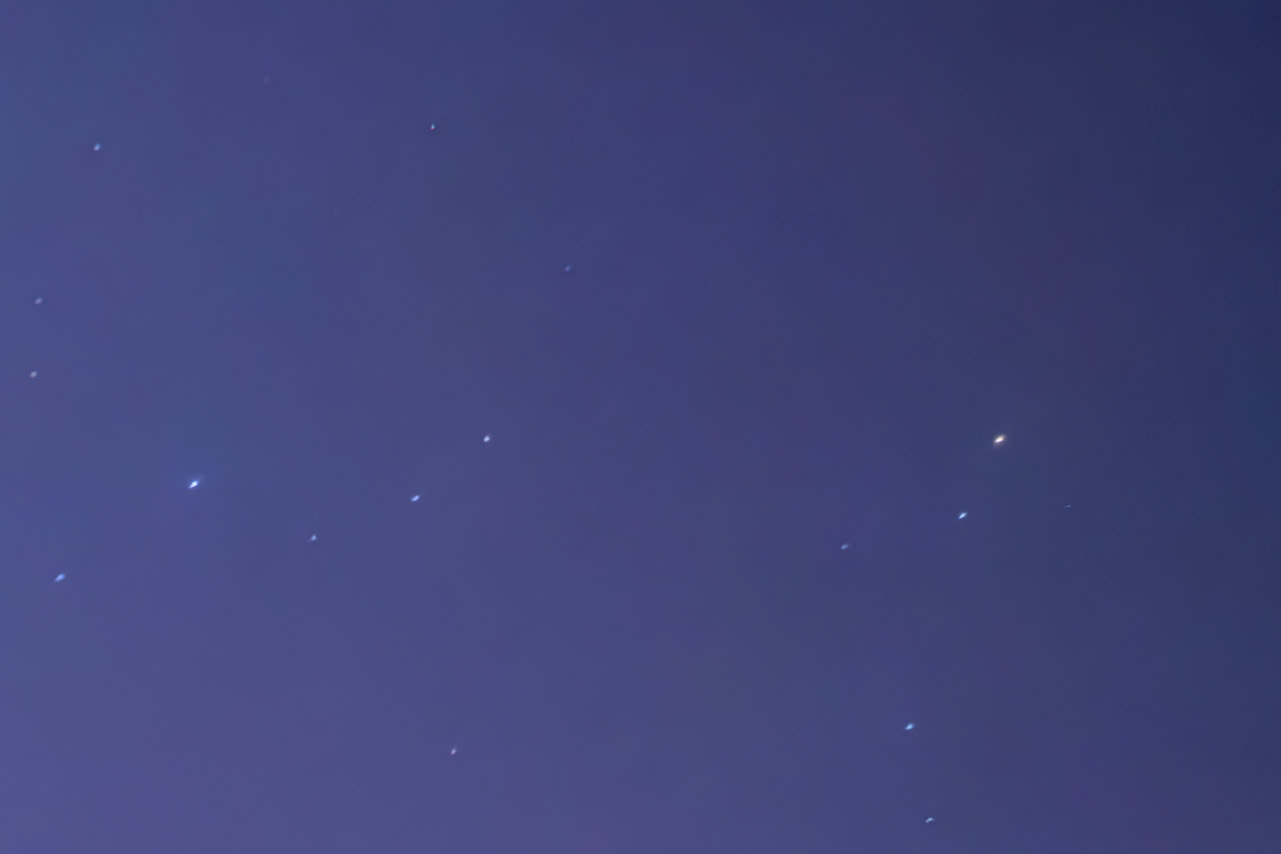
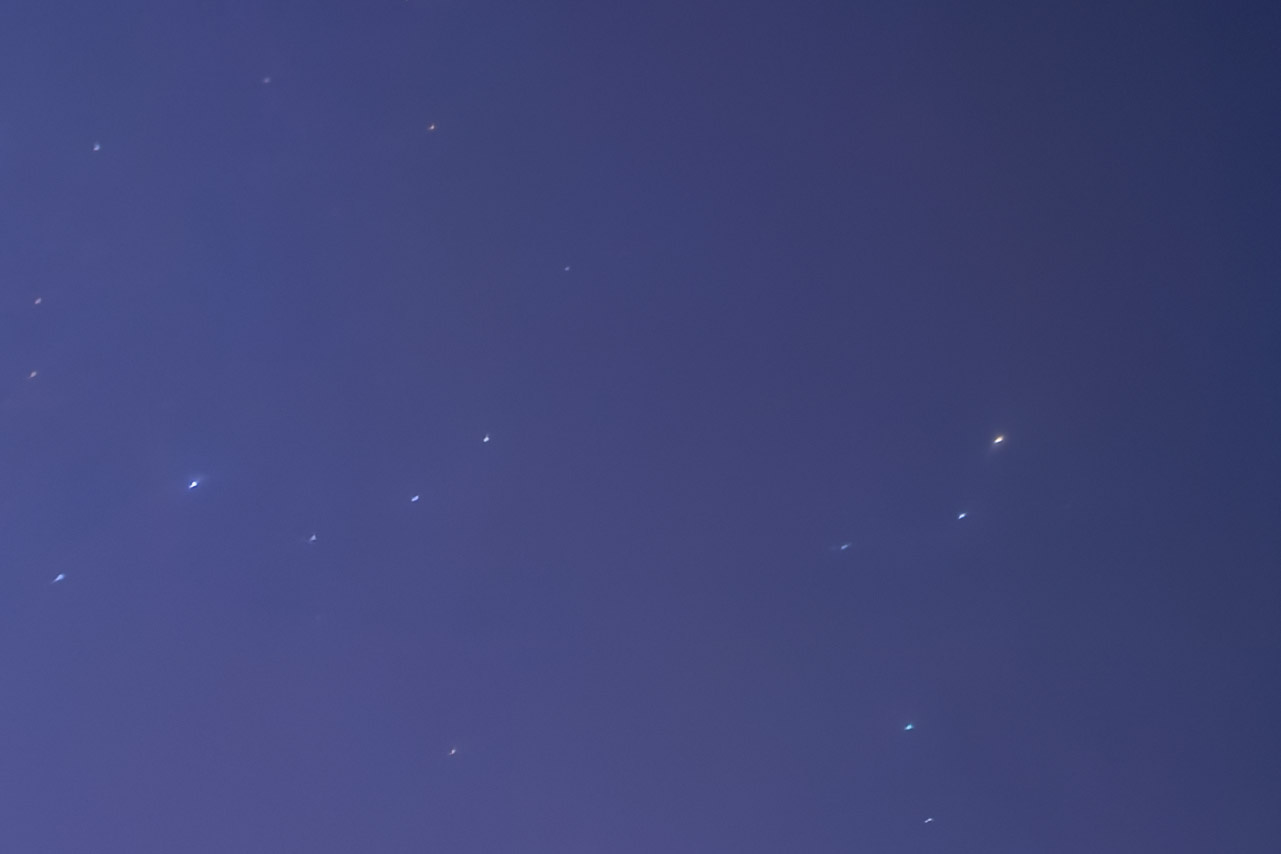
I was pleasantly surprised by the results. I first used it on some ISO 800 shots. Not only did they look like they were taken at ISO 100, but they were also much more detailed. I kept pushing the plugin: How would it compare to Lightroom when processing night shots at ISO 6400? You can see for yourself - on the left is Lightroom, on the right is DxO.
I used an intensity of 100 in Lightroom AI Noise Reduction to completely remove the noise. In DxO, a “Brightness” setting of 85 combined with a “Standard” setting for “Lens Softness” was sufficient. Processing took about the same time for both versions, on my Dell XPS 9510 it was about 30 seconds.
The comparison shows a 100% crop of the top right corner of the image. The corner areas tend to show the most noise because they are darker due to vignetting than the center areas. You can see that both results look completely clean without losing any detail in the stars. With the DxO, I still had a lot more room to play with and it seems that ISO 6400 is no longer the limit for my night shots. The raw image without any NR applied will give you a better idea of the results.
What I also like about DxO is the ability to fine-tune detail. I typically use “Standard” as my “Lens Softness” setting, and the “Brightness” setting can stay at its default value of 40 for 90% of the images I edit. But similar to how I increased noise reduction in the night shot above, I can also enhance detail in problematic images.
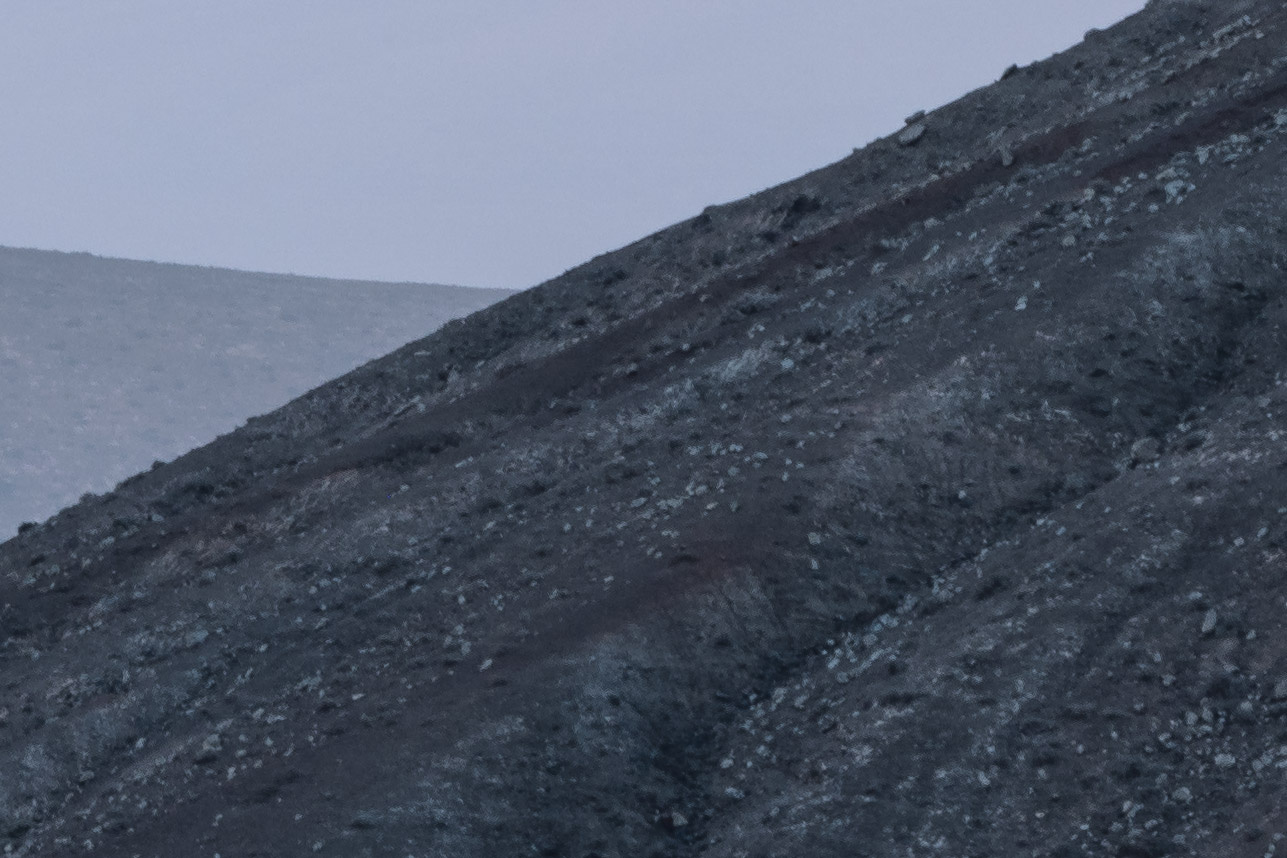
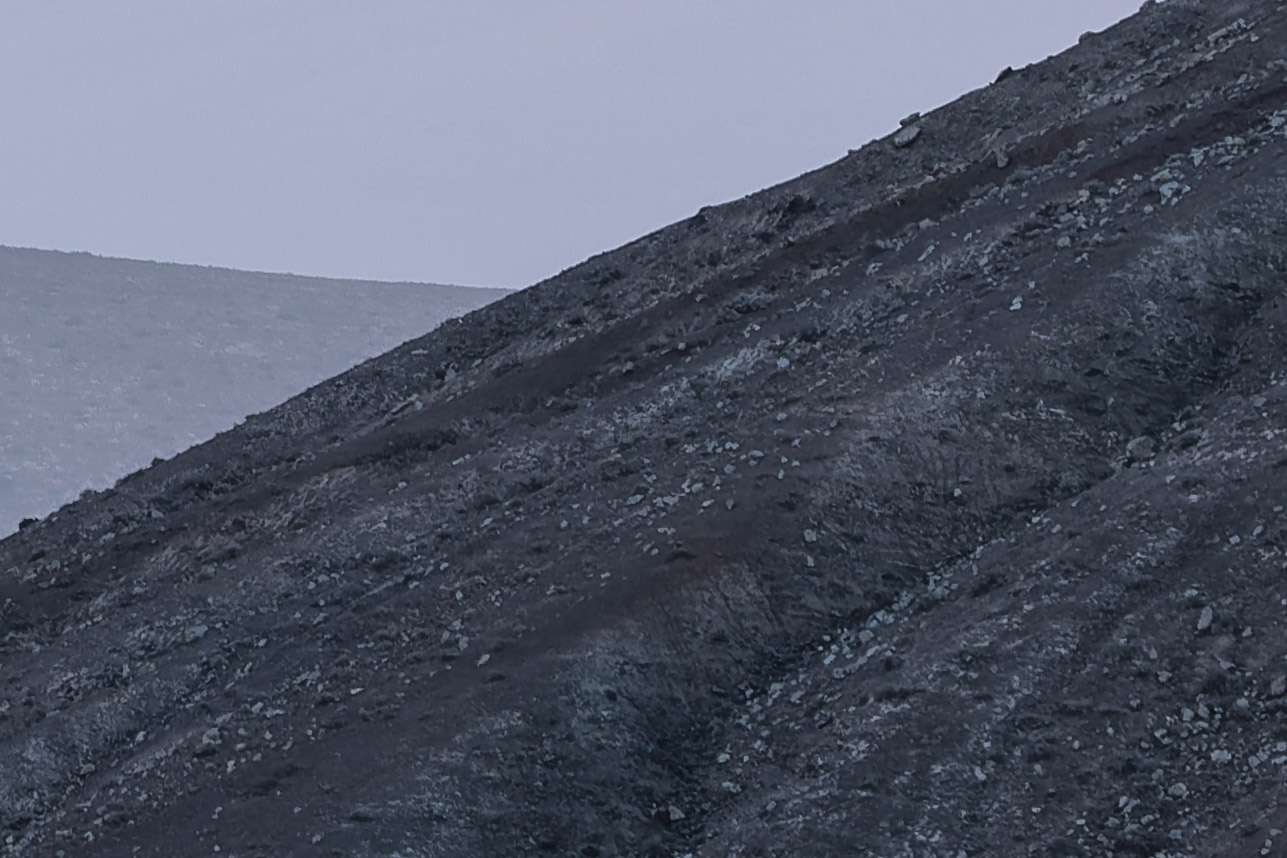
On a recent trip to Fuerteventura, I captured a beautiful sunrise one morning. For the final shot, I switched to a long lens to capture the detail of the mountains rising from the clouds. I guess I was still a little tired because after focusing, I decided to zoom in a little. Sure enough, the image was very soft.
Below you’ll see a comparison of the best I could get with Lightroom’s detail slider and DxO’s with “Lens Softness” set to “hard”. You can see the sharp edges at high contrast that this setting creates. I show how simple it is to fix in the demo video. What’s remarkable is the amount of detail I suddenly have in the image. It’s as if I had set the focus correctly in the first place and now I had something to work with.
The ability to dramatically improve sharpness and noise in images makes PureRAW 4 the perfect extension to use on forest photos. It is also easy to combine with focus stacking software like Helicon Focus as it offers batch processing. In “File - Plug-In-Extras - Instant processing with DxO PureRAW 4” you can apply your settings to multiple images.
This way, you can make DxO part of your raw editing workflow. Use it to convert your raw photos into DNG files. You can further optimize those photos in Lightroom or Capture One before bringing them into Helicon Focus. Because Helicon Focus also supports DNG workflows, making it a natural fit between the two plugins. This makes it easier than ever to create images like the one below, including high ISO settings for foliage and focus stacking for depth of field.
With this software, I no longer worry about windy days when shooting in the woods or other moving elements. ISO 1600 is now an option if needed, giving me sharp and detailed results on my Canon R5. Even ISO 3200 is no longer a barrier. It’s great because now I don’t have to worry about buying a new camera. Using software like DxO PureRAW 4 has given my Canon R5 a few more years of life.
And if you’re wondering if converting to DNG will reduce the image quality of the raw file, I’ve been using DNG for 15 years and have never noticed any problems. I only use lossless compression and have never tried the “lossy” settings.
Conclusion
While DxO produces impressive results, I found that, like Lightroom’s AI Noise Reduction, you have to be careful with Milky Way images. You’ll see artifacts around the Milky Way’s structure if you use those AI tools. You can use DxO’s preview mode to fine-tune settings - it works much better than Lightroom’s AI Noise Reduction preview mode. Turning off the “Lens softness” correction helps. It also helps to average image for such photos as it does not produce strange phenomena.
One more small note, at least on my system. PureRAW 4 crashes about 20% of the time during image processing if I use DeepPrime XD2 with AI. Repeating the same process usually works, so for me it’s fine. But test on your system with the trial version first. Also, install the latest drivers to avoid problems.
You should also know that the results from such AI tools will vary depending on the camera and lens you use. Since they have been trained on photos taken with different camera lens combinations, some may produce better results than others.


