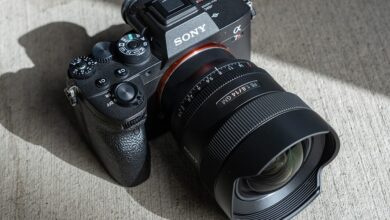
Modern cameras offer a variety of settings to change your behavior and customize to your own preferences. There are also a lot of basic settings you pick once and forget about. Did you know that there are settings you can completely ignore? I found eight of them.
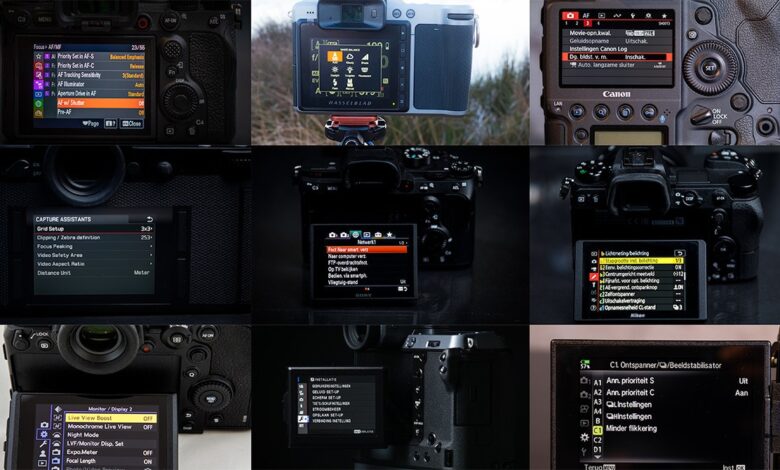
The menu system of modern cameras can be very complex. There can be many settings, and it can be difficult for you to find a way through it. Even the manufacturers can find it difficult to order all of that reasonably. Sony is known for its menu complexity, while Canon has a more streamlined layout. Nikon and Fujifilm are somewhere in between.
Even if you’re familiar with these menus, it can be difficult to find such a setting, no matter what brand of camera you’re using. Fortunately, you can forget some settings, as these won’t make a difference.
For raw photographers only
There are two types of photographers. The first photo is taken in JPEG file format, the second in raw file format. The eight settings I have listed in this article are not important to the latter. But you have to realize that, if you are a JPEG photographer, these settings are very important.
You might think that this article is just for the raw photographer. But I think JPEG photographers can also benefit from this article. Just read it, and find out for yourself.
1. White balance
The color temperature setting is responsible for correct white balance. Typically, there are six different presets, in addition to custom and auto white balance settings.
For the raw photographer, it doesn’t matter what settings you use. White balance can be adjusted to your liking during posting without loss of image quality. Even so, it can be helpful to choose the best possible white balance while shooting. It can help you check the image preview on the LCD screen. If you have the wrong setting, it can be repaired.
2. Image style
Almost every camera offers a choice of photo style or film simulation. These presets will give a certain look to the final image, which is essentially in-camera post-processing. The result will always be a JPEG image. If you’re using a raw photo, the photo profile or film simulation won’t be added to the photo, although you’ll see it in the preview.
In some cases, you can add a similar photo profile to the raw file in your own post-processing. It may not be exactly the same as the configuration provided by the camera manufacturer, but it can be a good starting point for your own final finishing touch.
3. Lens correction
A perfect lens does not exist. Every lens has imperfections. This can be due to blurring, aberrations, or image distortion. The camera provides settings to correct these using the built-in lens profile. If a lens is recognized, certain lens corrections will be applied to the final image.
If you are shooting in a raw file format, these corrections are not usually applied. You will need to manually enable lens correction in the post. Even so, some camera manufacturers will add lens corrections to the raw file itself, which cannot be turned off at all. In other words, sometimes, you don’t have a choice.
4. Noise reduction
There are two types of noise reduction. First, there’s long exposure noise reduction, which uses dark frames to remove hot pixels and other unwanted pixel defects. The second is noise reduction at high ISOs.
Then not added to the raw file. You must use the noise reduction feature of your photo editing software. No matter what high ISO noise reduction you have set, it won’t affect the raw file.
5. Prioritize striking tones
Active D lighting system, prioritizing outstanding tones, Optimized dynamic range. These are all the same names, the extension of dynamic range is visible in the image.
By using the highlight tone priority setting, the camera underexposed the image to preserve highlights. Before the JPEG image is created, it lightens the darkest tones, expanding the dynamic range slightly.
This setting is only for JPEG images, not for raw images. In fact, if you are a Nikon photographer and you use Active D-Lighting, the raw image will be underexposed. So disable this option as the raw photographer is already capable of using the maximum amount of dynamic range.
6. Image aspect ratio
I like taking photos in 4:5 format, especially when shooting in portrait mode. Most cameras offer the ability to change the aspect ratio of the image. For example, Canon allows 2:3, 4:5, 1:1, and 16:9. If you use one of these aspect ratios, the resulting JPEG image will have those dimensions.
If you’re shooting in raw, you’ll end up with a normal sensor aspect ratio, no matter what you’ve chosen. After all, raw means the sensor data is almost unedited, and that’s what you’ll get.
Be careful, though. If you enable crop mode, it will also affect the raw image. With that setting, sometimes, only part of the sensor is used and the resulting image will have a lower resolution. While it is usually found in the same aspect ratio menu settings, it is completely different from the aspect ratio.
7. Color space
The camera has the ability to choose between Adobe RGB or sRGB color spaces. This color space is assigned to the JPEG file, not to the raw file. If you open a raw file in software like Lightroom Classic, it will assign a different color space regardless of your camera settings. For Lightroom Classic, this is ProPhoto RGB.
Color space is only important to the JPEG photographer. While Adobe RGB has a larger color space than sRGB, it may be wise to choose the latter. This will ensure that colors will be displayed correctly on all devices.
8. HDR
Some cameras have a built-in HDR function. This setting is not intended for raw photographers, and it is usually disabled if the camera is set to raw. It will only work if JPEG is selected.
If you want to use HDR, you’re better off using exposure compensation and combining the images in the post. This way, you can adjust the HDR image to your own taste. The in-camera HDR setting does the same thing, but as a result it produces a JPEG image. There’s no way to change that look, although you may be offered a choice between several effects in the HDR menu.
For JPEG Photographers
If you are a JPEG photographer, for whatever reason, the eight settings mentioned in this article are important to you. Use these for your own benefit and choose wisely.
Did you know about other camera settings that are not important to a raw photographer? Please share your opinion in the comment box below.