Color correcting your images can be fun, but in some cases a daunting task. The subtle nuances it brings can make or break an image. Learning how to properly color correct takes years, and understanding the subtle difference that adding numeric values can make to RGB to your images is an art form.
Color correction and color grading are two different things, and although they require similar knowledge, color grading goes even deeper into the area of expertise. Some of us create LUTs (Color Lookup Tables) to quickly add an overall effect to our still images or videos.
There are many different methods we can use to introduce us to the versatility of color grading, and in this article I will cover three of them so that if you haven’t used it yet, you can dip your feet into the world of color grading. .
Option 1: Purchase
First and foremost, the fastest way is to buy LUTs that have already been created by someone else. However, the downside of this is that it will affect your wallet. LUTs can be expensive, depending on who made them. Color grading in its own right is a professional role, and people spend years learning and perfecting the subtleties they can add to an image. The look they can give an image takes a lot of skill.
One of such companies I have used in the past is Hut, where you can purchase film-style LUTs for both your stills and animations. The quality of these is very high and the ease of use can completely transform your images and give you the look and feel you are looking for. 
Method 2: Create your own
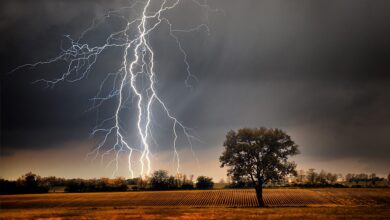
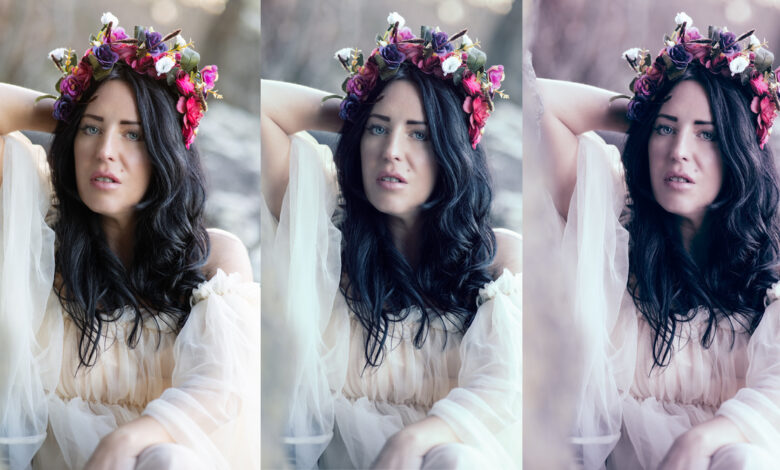
Creating your own LUT is not as difficult as you think. While they may not be on par with the pros, they will still give you insight into the process and possibly a unique style you can build from. One method that I use is to take a still image from a film and create a color profile for the image using adobe color theme. Then I add the color profile to my library and then, using the gradient map in Photoshop, apply the extracted colors.
Adobe Color is a great resource not only for this, but for any type of color work, whether it’s graphic design, color harmonization, or learning the specifics of how it works. of the color wheel as complementary colors, triplets, etc. Once you’ve selected your scene, simply drag and drop the image into the box provided and Adobe Color will analyze the available colors in the scene and provide you with a color chart and hex numbers. From here, you can simply rename and save to your Adobe Library via the save button. This will add a bunch of colors to your Adobe Library, ready for you to use in Photoshop.
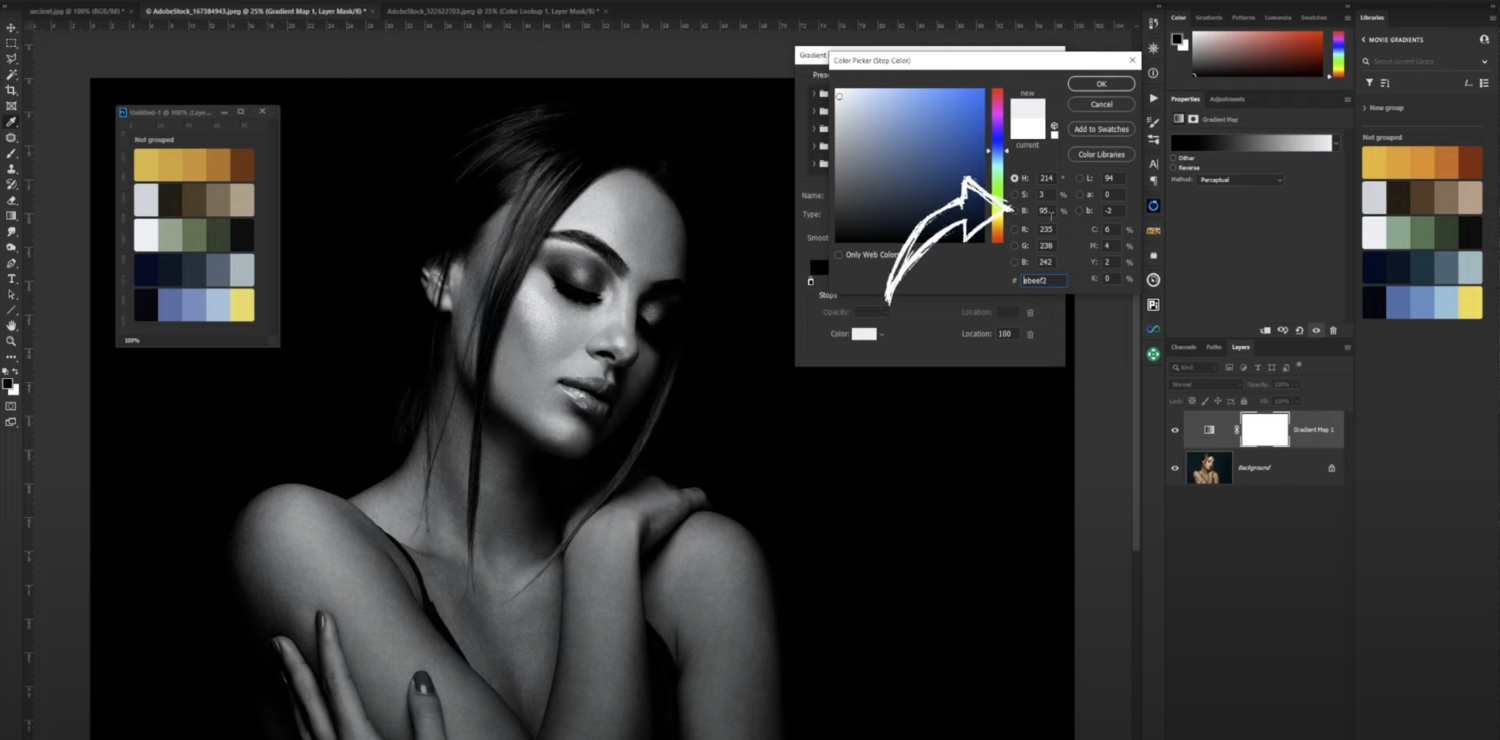
Once in Photoshop, create a basic gradient map, and then, using the color picker, apply the colors from the scene to the gradient map. Each time you add a color, record the luminance value and enter it in the location area on your palette. Use any of the blend layer modes to choose the look you want, and if you want to add more adjustment layers at this stage, now is the time.
 To save the final look, go to File > Export > Color Lookup Table, and in the pop-up that appears, select the file type you require. Since I only use LUTs between Photoshop and Premiere Pro, I just chose the 3DL and Cube formats.
Once saved, you can add them to any image or video file. For Photoshop, you can simply select Color Lookup Table in the adjustment menu and load the LUT from there. Since this is a quick summary of the steps, you can check out the full video below, where we’ll go into more detail about the process. Before you do that, however, please read on, as the next method provides even more scope for endless opportunities for color grading your images.
www.youtube.com/watch?v=89HNGUODxg4
Method 3: Infinite Palette
The Infinite color palette is the one-stop shop when it comes to color grading, as we often think we know what we want but don’t know how to get it. However, the dashboard gives us so much scope that it made us realize that often what you think you want is not exactly what you really want. Let me explain.
dashboard
The panel is very simple in its approach to creating color profiles, as you just need to click the large Create button and it will create a group of layers with the adjustments already applied. Don’t like the first one? Click the button again and it will create different profiles; This is where the fun begins and time disappears. You will suddenly realize that what you think you are after is not as effective as what Infinite Color can produce.

Mix
Increasing and decreasing the intensity slider does what it says on the tin. For a more subtle effect, drag it back and for more intensity, push it to the right. However, the editing latitude doesn’t stop here as you also have the option to shuffle each curve, color balance, selective color, gradient map and color lookup to get the effect you want without compromising affect any other effects.

Editing color layers
The generated adjustment layers are also editable to allow for more variety in your editing.

Use history
Even if you’ve gone too far with your cool creation and want to go back to one of the edits you made earlier, this is where the History tab comes into play. Here you can choose your preferred edit and then simply create a snapshot of it so you don’t forget which one it was.

Save your selection
Once you’ve selected the color profile you’re looking for, rename the group for easy recall later, then simply drag the group onto your Library panel. Building dashboards with multiple configurations will allow for faster editing later. Perhaps you want to create separate galleries for different occasions, weddings, landscapes, portraits, etc.

Add to image
Once it’s in your Libraries panel, it’s ready to be added to any image. This is not just a case of dragging and dropping back an image, as doing so creates a Smart Object, not what you intended. Right click on the color profile and choose Place Layers. This will add an edit group to your image.

The video below demonstrates how quickly you can create, edit, select, and save your color types.
Conclusion
All three methods above are workable and work very well. The first way can be expensive financially, and while you can achieve great results, it may not be a viable option for everyone. The second method introduces you to the world of LUT creation and helps you better understand how color works thanks to the Adobe Color theme. The third offers the greatest range in both color and editing range. It’s fun, easy to use, and timeless when it comes to color grading, and I haven’t even covered the Harmony adjustments in this article, which expands the capabilities of the Plugins panel even further.
Try all of these options and see which works best for you. However, I do appreciate the Infinite Color console you can buy This on Fstoppers.
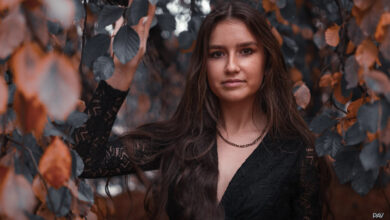
Image used with permission of Sharon Wilson. Model Fiona Bryden.